


With modern kitchens increasingly dominated by electronic gadgets or steel knives of all kinds, we end up overlooking one fundamental element - the cutting surface. The chopping board is not just a stand, but the foundation on which almost any culinary dish is built. While the market is full of options, from plastic to glass, there's a particular category that is Holy Grail for professional chefs and woodworking enthusiasts alike: the chopper end grain (fiber end).
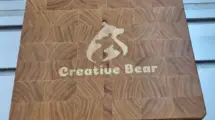
In this article, I aim to explain why this construction is superior, and to do so, I invite you to the Creative Bear workshop to follow the manufacturing process of such a walnut walnut chopper.
Why wood for the kitchen chopper?
Before discussing end grain, it's essential to understand why wood remains king in the kitchen. Plastic chopping boards are cheap, but they scratch quickly and become hotels for bacteria that are hard to get rid of, even in the dishwasher. Glass or marble ones, while hygienic, are the number one enemy of knives, destroying the cutting edge almost instantly.
In the world of wood shredders, there are three broad categories:
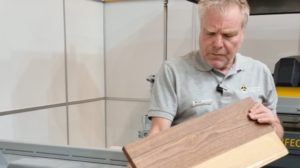
1. Face grain (longitudinal fiber) - Classic choppers, where the wood grain pattern is visible all over the surface. They are beautiful, but I have the disadvantage that the horizontally oriented fibers are easily severed during cutting, leaving visible marks.
2. Edge grain - Wooden slats are turned on the edge and glued. They are tougher than the former, but retain the same fiber orientation problem that leads to faster deterioration.
3. End grain - this is where the engineering comes in. The wood is cut and laid so that the annual growth rings face upwards towards the cutting surface.
The magic of end grain shredders - self-healing and hygiene
Why is the end grain structure considered superior? To understand this better, I will compare the surface of wood to that of a paintbrush held with brushes held up. The microscopic structure of wood consists of tubular fibers. In an end grain shredder, these fibers are vertically oriented. When the knife blade strikes the surface, it does not cut the fibers, but separates them by passing through them. As soon as the knife is raised, the fibers, due to the natural elasticity of the wood, tend to return to their original position. This creates a “self-healing” effect. Scratches are much less visible and the chipper retains its smooth appearance for years.
What's more, the benefits extend to:
- Knife protection - Because the blade doesn't resist fiber breakage, the edge stays sharp much longer.
- Superior hygiene - Because the cuts are shallow, bacteria have nowhere to hide. And wood has natural antimicrobial properties that, combined with proper maintenance, make it extremely safe.
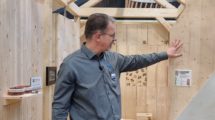
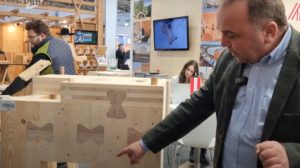
From the Creative Bear Workshop: the process of making a walnut wood chopper
The theory is nice, but practice shows the true complexity of these objects. That's why I invite you to follow the production process of an end grain chopper, where I have chosen as protagonist the walnut - a noble essence, appreciated for its medium hardness, excellent stability and, last but not least, for its deep, chocolate color.
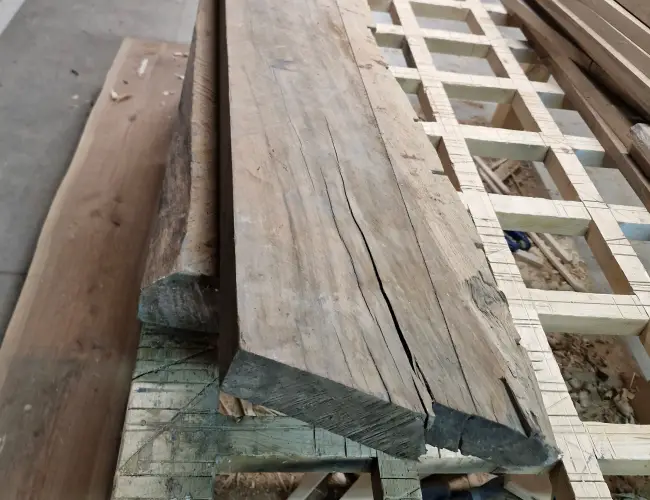
1. Selection and cutting
It all starts with a rough walnut cabinet. The selection is rigorous: we avoid large knots or cracks that could compromise the final structure. The wood is straightened and planed to thickness, then cut into long, perfectly even strips.
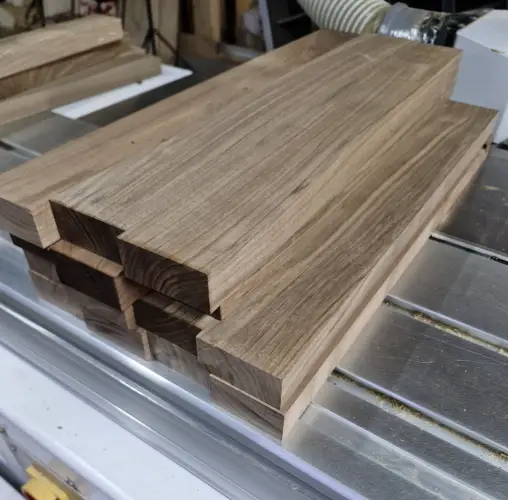
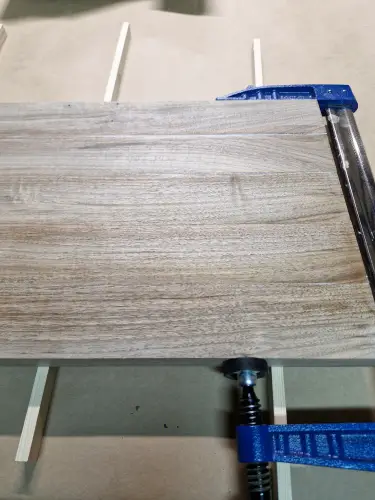
2. First bonding - Foundation
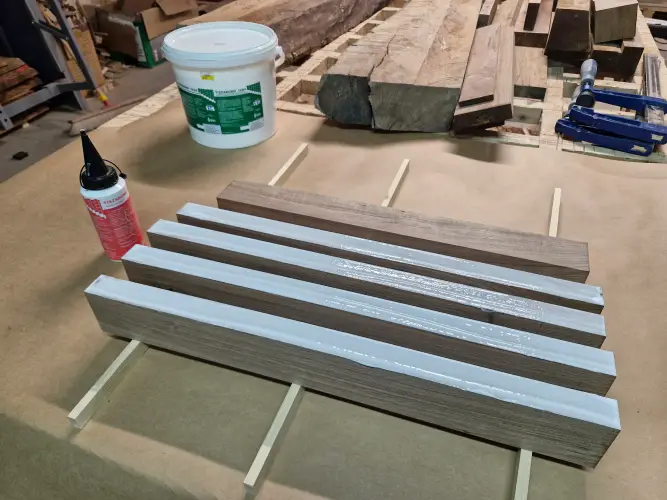
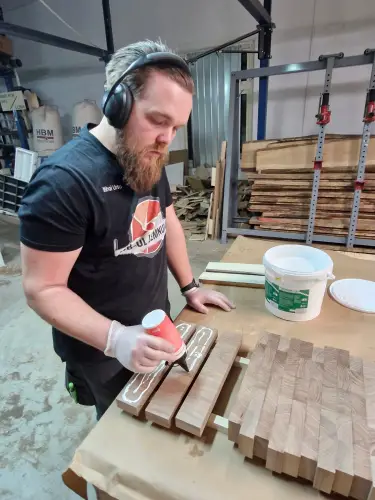
The walnut strips are laid side by side to form a first panel. Here a very important technical detail comes in: the choice of adhesive. For an object that is going to sit in the kitchen, exposed to constant damp and repeated washing, we cannot compromise. We need an adhesive that is highly resistant to the conditions the kitchen offers - lots of water, atmospheric humidity and steam. I chose to use Tiszabond 1kD4, a one-component class D4 adhesive, which means it offers maximum resistance to moisture and water. Once cured, the adhesive becomes inert and extremely strong, guaranteeing that the shredder will never come off, no matter how often it is washed.
! A note for the sharp-eyed: In the production photos you'll notice that I apply the adhesive from a container labeled “D3”. This is not a mistake. I buy D4 adhesive in large quantities, but prefer to transfer and reuse the smaller containers, which are much more ergonomic. I find it much easier to use these for quick and precise application to the edges of parts.


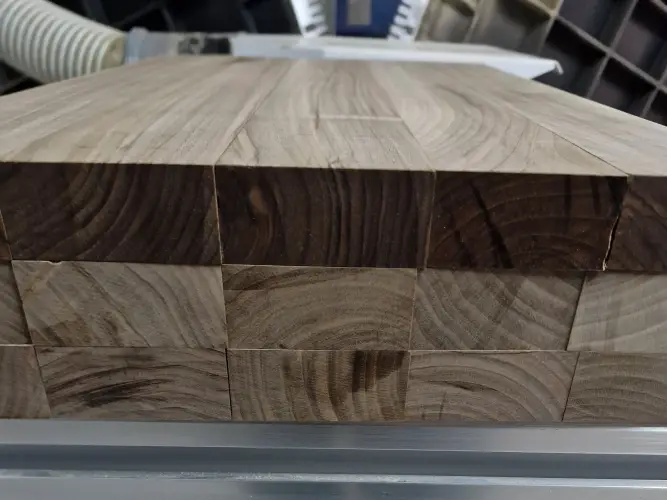
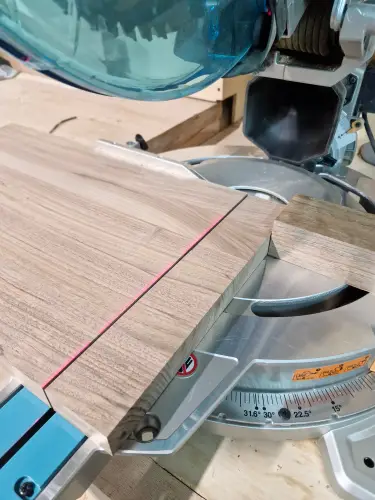
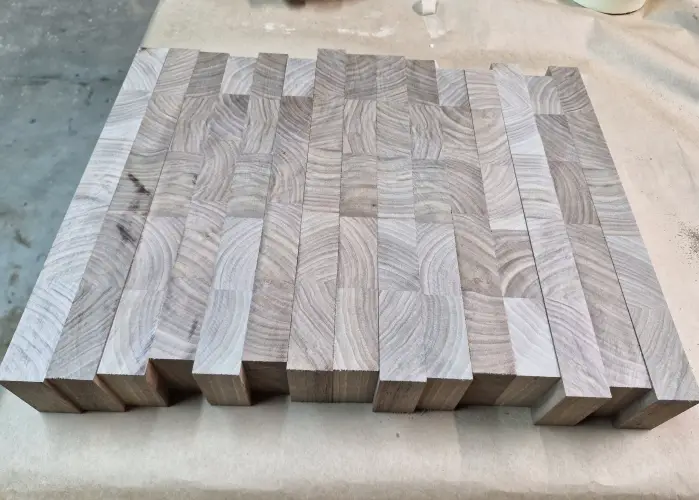
3. Transformation - From longitudinal to transversal
After drying the first panel, the step that defines this type of shredder follows. The panel is cut crosswise into new strips. If we now look at these strips, we see the growth rings of the walnut - the end fiber. These new strips are rotated 90 degrees, exposing the end fiber “in plain sight”. This is when we can create visual patterns (like a “brick” or checkerboard) by staggering the rows.
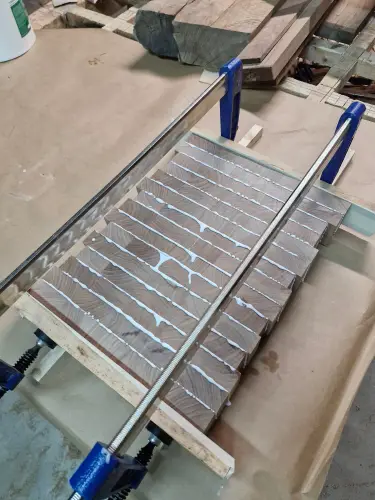
4. Second soldering
The rotated strips are glued together again, forming the final block. The pressing must be even, and the use of D4 adhesive again ensures that indestructible bond between the fibers.
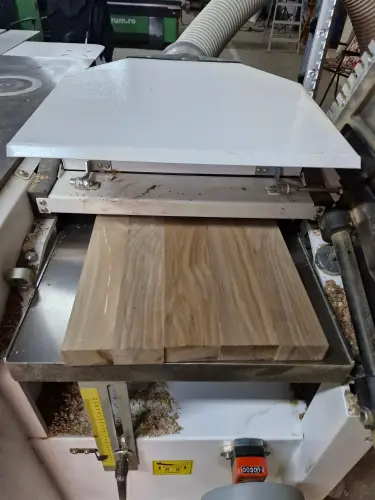
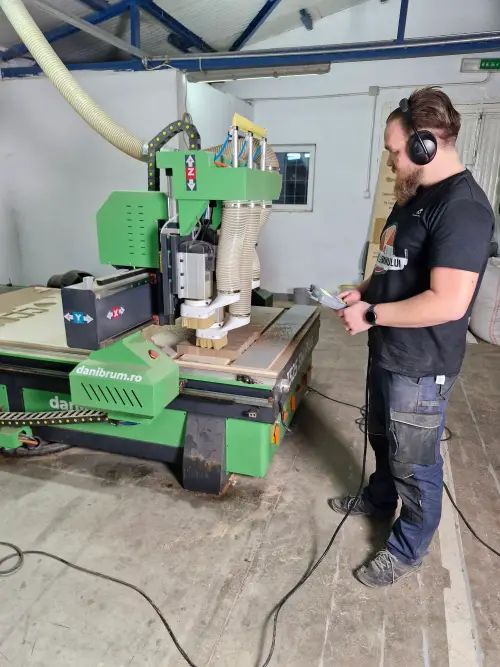
5. Precision calibration on CNC
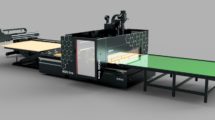
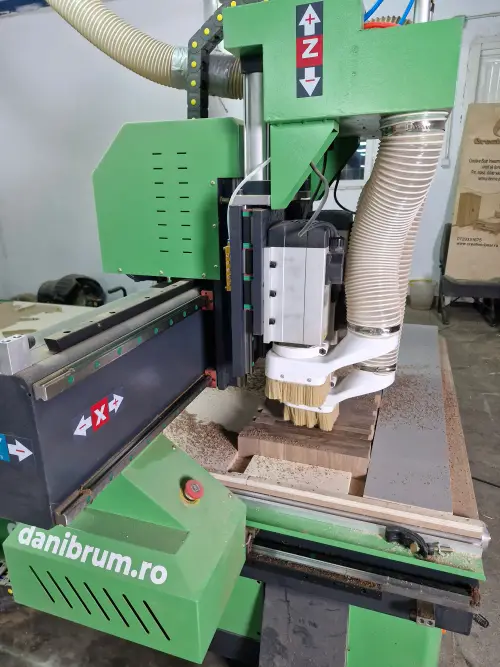
One of the biggest challenges with end grain shredders is achieving a perfectly flat surface. The end fiber is extremely hard and difficult to machine with an abricht or conventional thickness machine, with the risk of tearing out the fibers at the exit (“tear-out”).
In order to eliminate this risk and achieve perfect flatness, we used state-of-the-art technology. Calibration (bringing to a uniform thickness and face flattening) was carried out on a Danibrum CNC machine. Milling on a numerically controlled machine allows us to remove the material with an accuracy of fractions of a millimeter. The CNC passes over the hard walnut surface effortlessly, leaving behind a perfectly flat surface ready for sanding. This step makes the difference between a “rustic” hand-crafted product and a professional one, perfectly stable on the kitchen worktop.
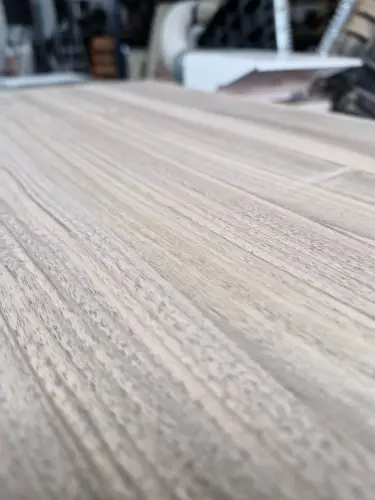
6. Sanding and finishing
After CNC, progressive sanding follows. Because the fiber is “standing”, sanding requires patience, going through various grits until the surface is as smooth as glass to the touch.
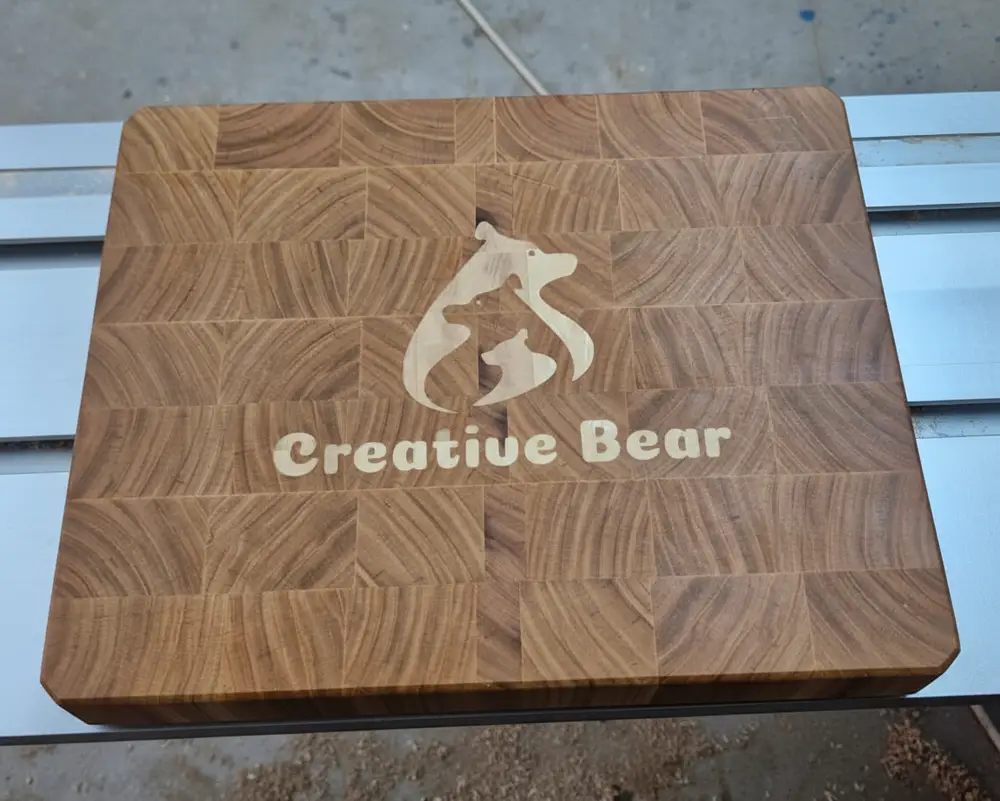
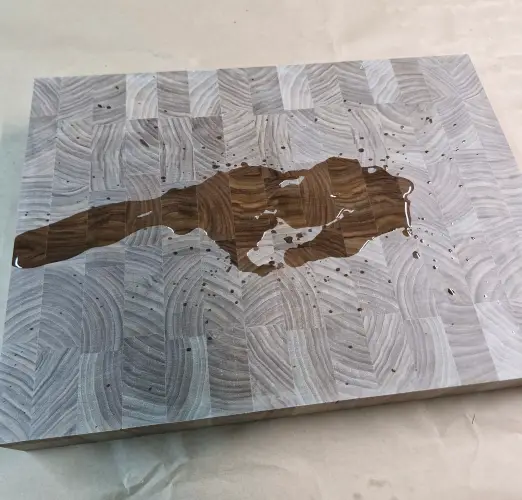
The last step is applying the oil. Food grade mineral oil is applied to the shredder. The walnut thirstily absorbs the oil, the fiber darkening and revealing a spectacular contrast. To seal, we apply a mixture of oil and beeswax as a top coat.
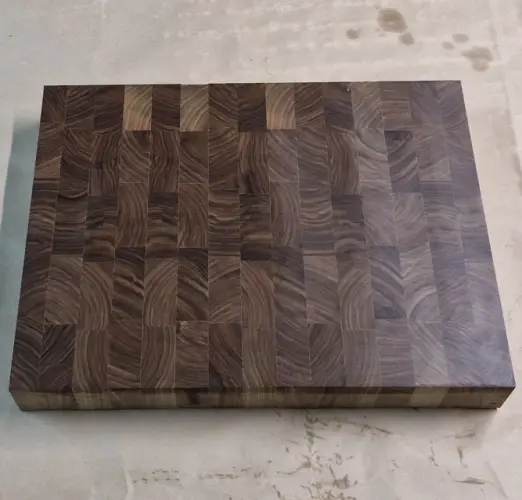
What we have presented above is the base - a classic end grain shredder, a reference model where the beauty comes from the symmetry of the walnut “bricks”, the quality of the Tiszabond glue and the perfect flatness obtained mechanically. It is a “simple” project in appearance only, testing the patience and rigor of any carpenter. But remember: a well-made end grain chopper is more than just a kitchen accessory, it's an heirloom to be handed down to your heirs. Good luck!
Article written by Mihai Ursu - Creative Bear


Add comment