


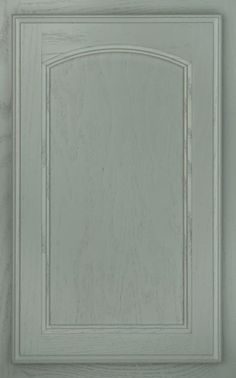
We all love wooden furniture and from what I've noticed, more and more people are trying to make their own, handmade pieces of furniture "around the house". Unfortunately, very often, even if the items look perfect before finishing, after staining and finishing they look so bad that you feel sorry you didn't leave them unfinished. This is often true in factories too. What spoils the look are the stains and blemishes that appear after applying the coating materials (scum, crater, orange peel filmThe following are some ideas and suggestions for achieving a uniform wood stain.
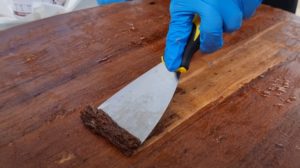
The most important operation before staining is sanding (white sandingWe have always maintained that careful attention to this step greatly reduces finish defects. Sanding should be done gradually, with sandpaper (or sanding sponges) of finer and finer grit. For example, start with 100 grit and continue with 120 and 150. Or 120, 150 and 180. Don't use very fine grits (over 240) because fine wood dust will block the fiber and affect absorption.
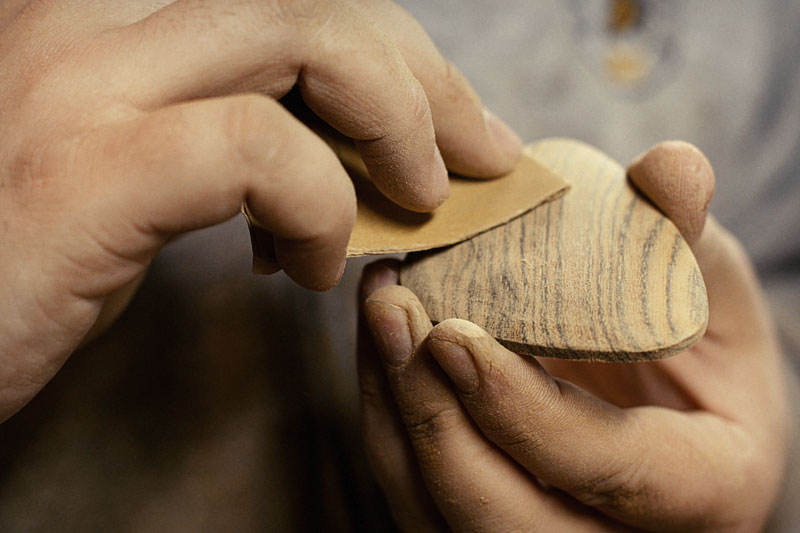
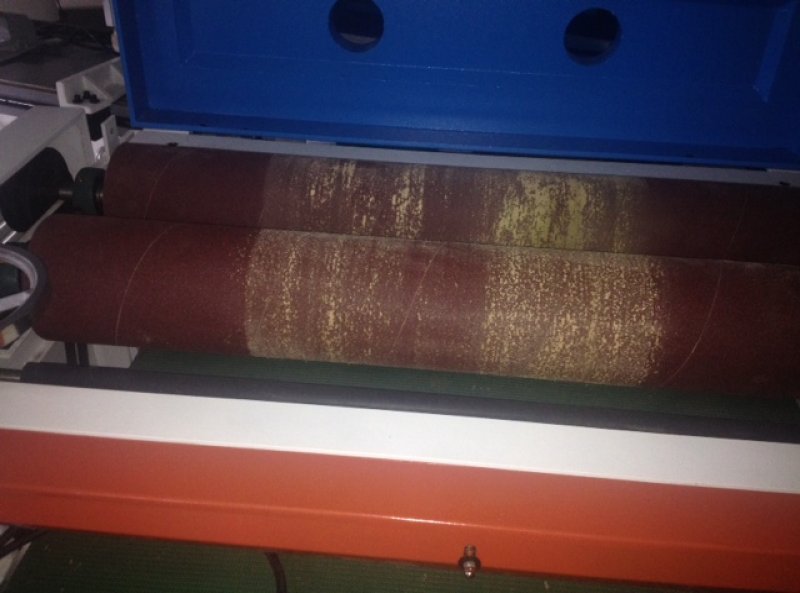
Don't economize on sanding, because it will backfire. Don't use old sandpaper with skipped abrasive. Sanding with improper materials will not break the wood grain, as is normal, but will press it. When staining it will rise and absorb more, causing color stains. The same happens with abrasive belts in factory sanding machines. Prolonged use (longer than the manufacturer's recommended time) will cause the abrasive to melt. A 120-grit paper can then become 280 or even 320.
After sanding, sand the surface thoroughly. If the material is wood with large pores, the dust will remain in the pores and they will no longer color beautifully. It is best with this type of wood to blow the surface with air. If the dusting is done by wiping with a cloth, you can also see whether the sanding has been done properly. Use cotton rags (finet) and if you can feel the cloth clinging to the wood, the sanding has not been done properly.
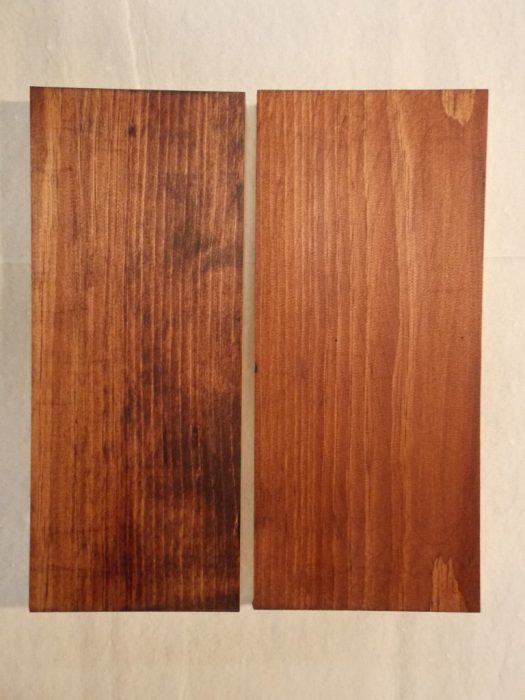
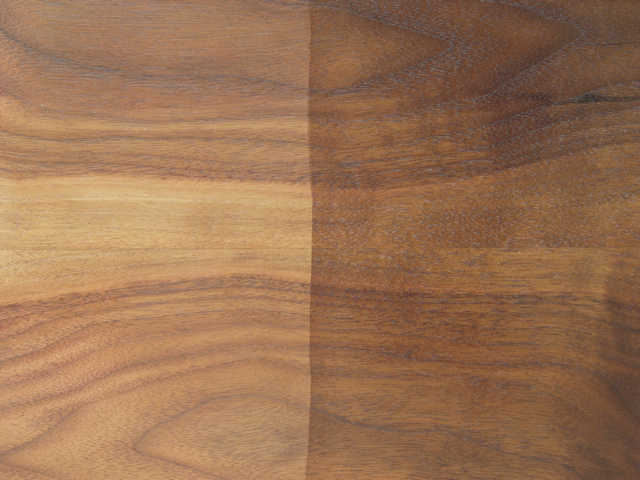
Not all wood species behave the same when staining and the more deeply the stain is absorbed, the greater the risk of different coloration. This is the case with simple water-based stains, which penetrate deeper into the wood. This can be a good thing, because the deeper penetration brings out the natural design of the wood, but it can also be a defect. Fast-growing species have a looser, more uneven grain (poplar). The water-dilutable stains can easily penetrate and stains may appear. In addition, the wood grain rises and subsequent sanding between layers is more difficult.

Absorption is greatly reduced if solvent-based baths are used, or baths in which some of the water is replaced with acetone or industrial alcohol. This way drying is faster and does not allow time for the bath to penetrate into the wood.
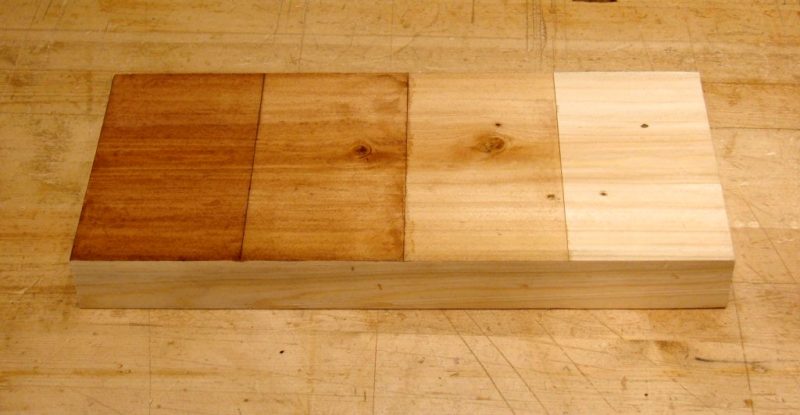
Uniform coloring is also obtained if pigment-based stains are used. The difference is that a dye dissolves in its solvent, resulting in a uniform solution that penetrates the wood and colors it. With pigments, you get a dispersion, not a solution, because pigments do not dissolve but practically float in the solvent. When coloring, they do not penetrate deeply, the wood behaves like a filter. The pigments remain on the surface of the wood, coloring it uniformly, hence the name uniformizing stains. The disadvantage of using them is that the coloration is less transparent, as the natural pattern of the wood is slightly blurred, an effect that is all the more noticeable the darker the color. When you buy wood stains, ask if they contain colorants or pigments. This will tell you how they will behave when stained.
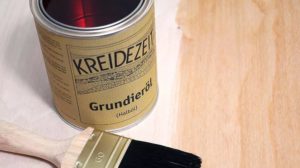
One trick that makes it possible to achieve uniform coloration is to block absorption into the wood. This can be done by applying a very thin coat of primer before staining. But first check that the stain can be applied over the primer. If there are no incompatibilities, apply a first coat of primer, diluted 100% (very fluid, almost like a white stain), let it dry and sand with the same grit as the last white sanding, sand and apply the stain. Be careful, because it doesn't reach deep the color will be lighter, so you should use more concentrated coloring solutions. See below for the difference between staining a treated and untreated surface.
If the application is done by spraying, a uniform coloring can be obtained by not applying all the product at once, but by making several repeated passes until the desired color is achieved. This controls both absorption and drying. The application takes longer, but the drying time is reduced.
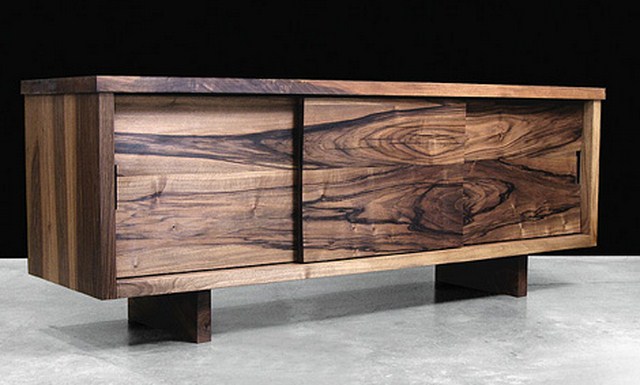
Sometimes, due to different absorption, color differences occur between furniture elements or between elements that form a solid carpet (pieces of wood glued together). For some people this difference is not at all disturbing - on the contrary, it is a way of highlighting the diversity of the wood.
But some people want a more uniform look. In this case, before the final varnish, you can apply a fast evaporating coloring solution, i.e. a uniformizing agent. The initially applied stain can be used, diluted with acetone (if compatible), or a similar stain can be made from acetone-compatible colorants. Uniformizer is applied by spraying very thinly over the primer over the entire surface.
If the primer is water-based, compatibility must be checked beforehand. Drying is almost instantaneous, so the varnish can be applied for 15 minutes without sanding beforehand. Sanding of the primer should be done before applying the leveling solution. The leveler is like a veil that covers everything and although you can see differences in color underneath it, the feeling is that everything has the color of that veil.
Specially formulated baths, with added resins and solvents that control absorption and drying, can also be used to achieve even coloring, but more about them in another article.