


In order to look good, the furniture is finished according to certain conditions and rules. If they are not followed correctly, there may be areas on the surface that don't look the way you want them to. They are commonly called finishing defects. The orange peel appearance of the film is probably the most notorious of these flaws. How it occurs, why it's called that and how it can be remedied, find out below.
Insufficient time for film stretching causes orange peel defect
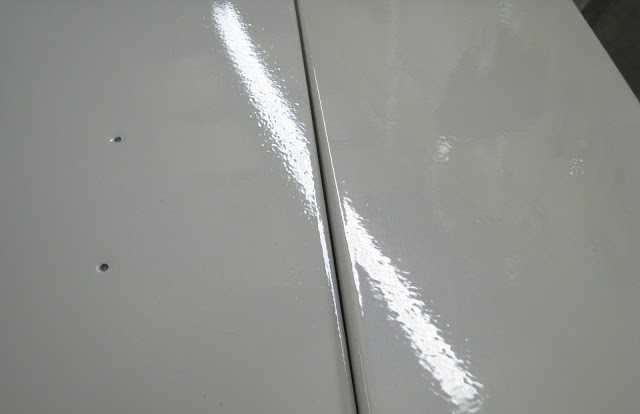
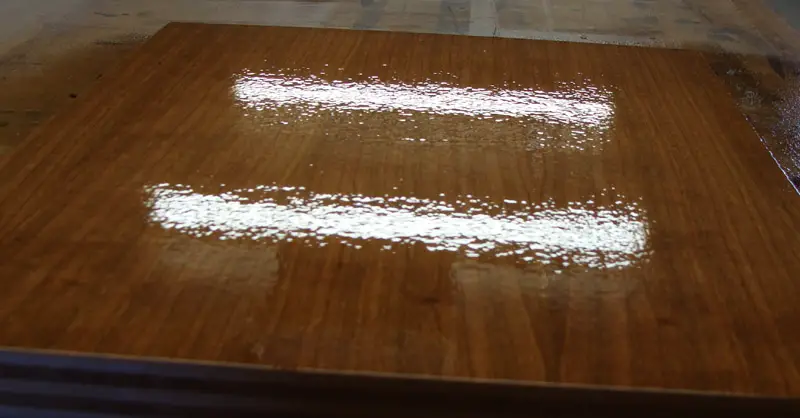
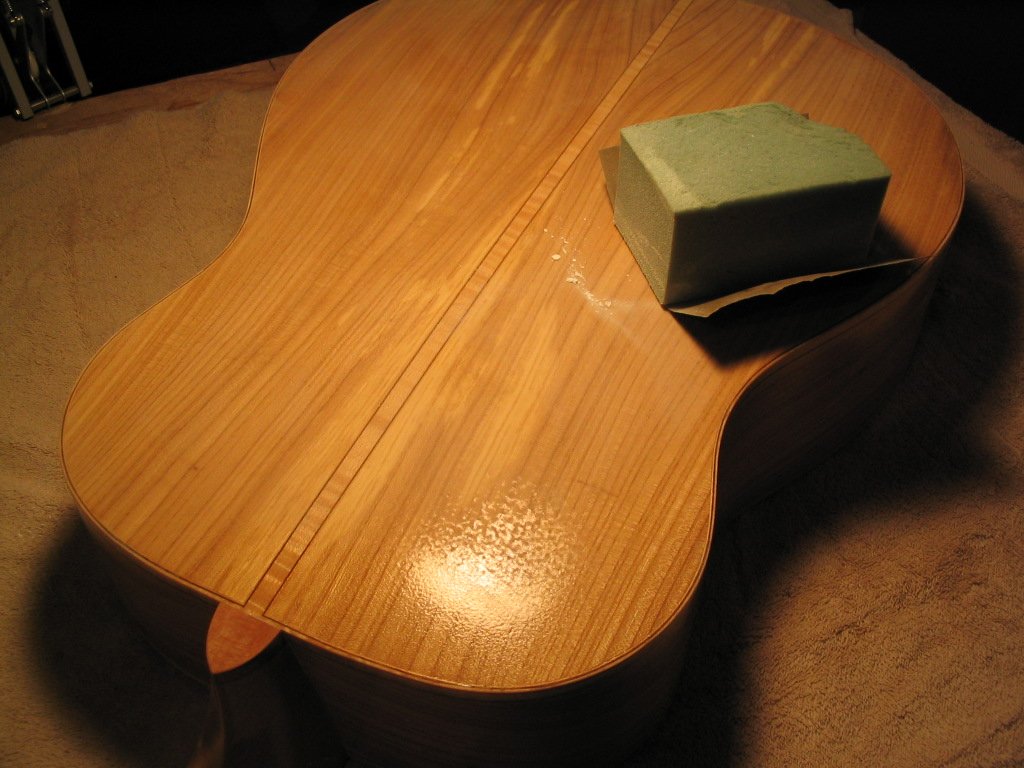
It's called that because after drying, the film is not perfectly smooth as it should be but looks like an orange peel. The defect is visible immediately after the varnish is applied, but can sometimes disappear once it dries. Orange peel occurs when the finishing material does not have the time or conditions to spread very well on the wood substrate.
Film-forming products are viscous materials that take time to spread perfectly. If the time taken to lay down is longer than the time for the film to dry superficially, the defect will remain after the film has dried completely.
The drying time can be adjusted with the thinner. Less thinner than recommended means a more viscous product that will take longer to set. If the thinner evaporates faster than this time orange peel will appear. The quality of the thinner is also important. Even if the recommended amount is added, but it evaporates too quickly, the defect will appear. You will have to use a slower thinner or add a very slow amount of thinner that delays drying.
Conditions in the application area are also important and can influence the appearance of the film. Large temperature differences between the wood substrate and the applied material can lead to orange peel film. The temperature of the finishing material, the wood substrate and the environment should be between 18 and 20°C. Also, low air humidity in the application area influences the drying time leading to the defect.
Other causes of the defect
Too small distance between spray gun and workpiece or too high pressure can result in an orange peel film. When spraying by hand, the gun should be kept at least 25 cm away from the part and the pressure should be 2.8-3 atm. There is often a tendency to increase the pressure, thus making the sprayer feel more productive. It may move faster, but the film quality will suffer. When applying with pumps or spray robots it is very important to follow the manufacturer's recommendations.
Excess air in the application or drying area there are other causes that lead to defective film. Basically currents are created which reduce the drying time and sometimes spoil the appearance of the film.
How to fix the defect
If the defect appears when the primer is applied and is not very pronounced, it is removed by sanding between coats. However, this requires more effort in the case of manual sanding and a higher consumption of sandpaper.
If the defect is very pronounced, sanding between coats will not be able to remove it, and subsequent coats applied will accentuate it.
When applying varnish, the orange peel appearance is all the more disturbing and visible the higher the gloss of the varnish. To remove it, the surface needs to be polished. This operation is all the more important the higher the gloss of the varnish.
One method used in the past to remove the orange peel effect from nitrocellulose varnish films is equalizing. It consists of wiping the film with a mixture of solvents called an equaliser (butyl acetate, butyl alcohol). There were workers who did the operation directly by hand, without gloves. Sometimes they also sprayed the equaliser over the film. This softened the film again, and the long evaporation time of some components allowed the film to stretch. This was only true for nitrocellulose varnishes and paints which were re-soaked after drying in the presence of organic solvents.
I hope you find the information useful. If you have any questions or queries, please leave them in the space below. I'm sure I'll reply.
Other finishing flaws you can read about:


[...] Finishing defects - Orange peel [...]
[...] Orange peel [...]
[...] Orange peel [...]
[...] Orange peel [...]
[...] to lie on as flat a surface as possible. If the varnish does not spread very well, orange peel appears and influences the gloss level. Always use the recommended thinner for [...]