What you'll find out in this article:
Dragoș Costache and Costi Iosif from IPlan Furniture I met them shortly after I started the adventure called revistadinlemn.ro. I like to think we liked each other. We liked their passion for wood, a passion that led them to leave their old professions and devote themselves entirely to woodworking. You can discover their story here. They started using simple hand tools with which they made that fascinating jeweler's cabinet, and have continually developed. In the meantime they bought machinery, including a circular Felder and plans to purchase more. Some time ago, at our request, they made several specific wood joints step by step. Among them is the swallowtail joint, one of the oldest and most widely used 90º wood joints. As an enthusiastic beginner in woodworking recently asked for details of this joint, we thought that Dragoș and Costi's explanations could be useful to others.

Description of the swallowtail joint
Swallowtail (Dovetail Joint(for those of you looking for information in English) is a corner joint that has been used over the ages in the construction of furniture or houses made of rectangular beams. In terms of furniture, there are several ways of making the cuts and joints, each belonging to a particular period. But in all dovetail joints, the wood is cut at the ends in a trapezoidal shape, and the formed teeth interlock to make a very strong bond. The teeth can be joined with or without glue, but nails or screws are never used. However, the joint is also strong without glue.
The dovetail is one of the strongest ways to join two pieces of wood at right angles. It is used in the construction of cabinets, drawers and other pieces of furniture that need high strength. Its tensile strength is notable, which is why it is the main joint used for drawer fronts. The joint is also very aesthetic, considerably improving the quality of the piece of furniture. Its use shows the superior quality of the furniture and the craftsmanship of the craftsman. In addition, the angle formed by the wooden elements is much more effective than using nails or screws in ensuring the tensile strength and durability of the piece.
Preparing wooden elements and materials
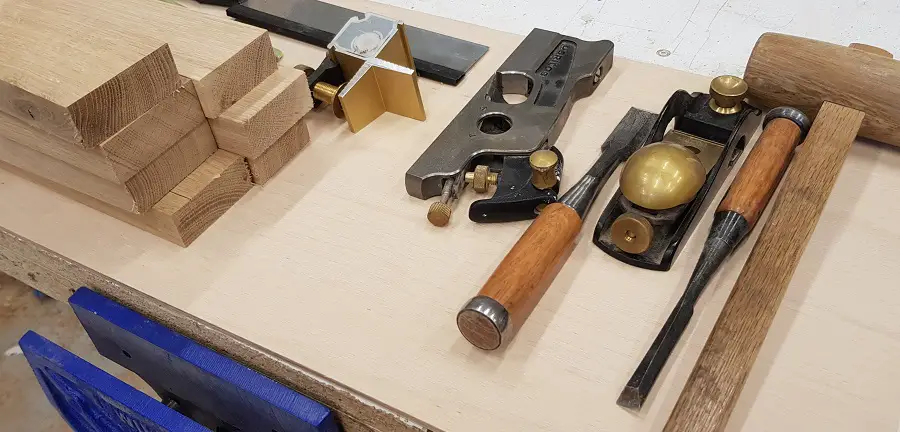
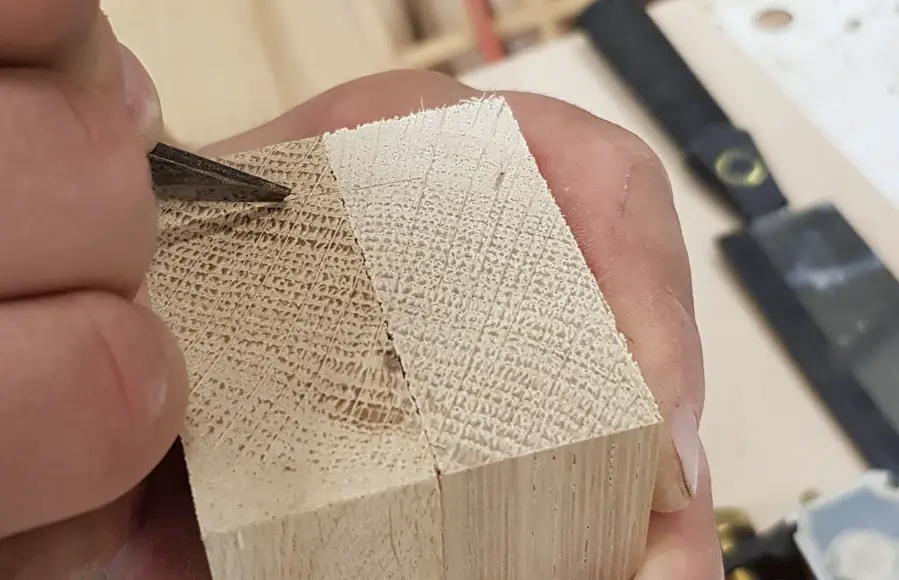
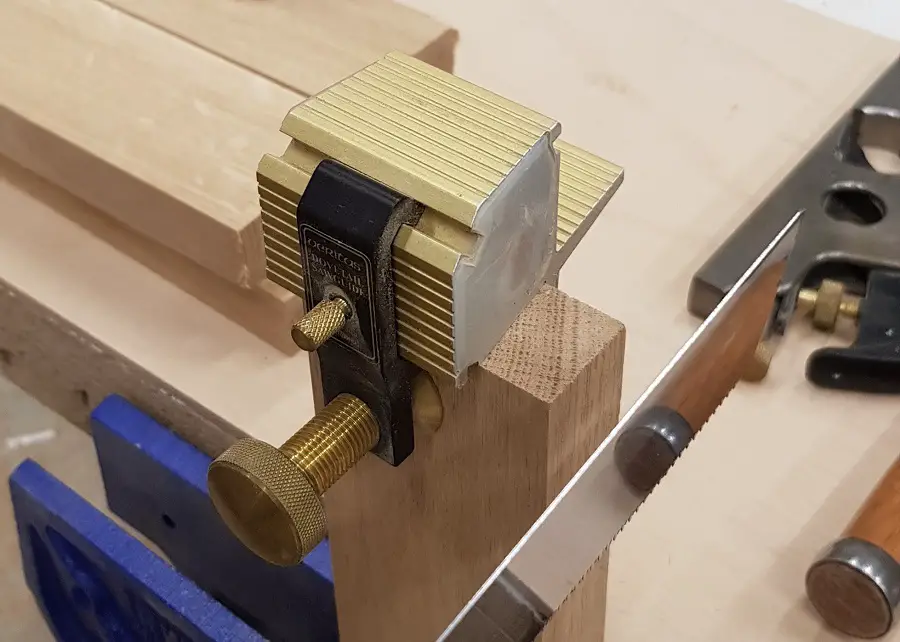
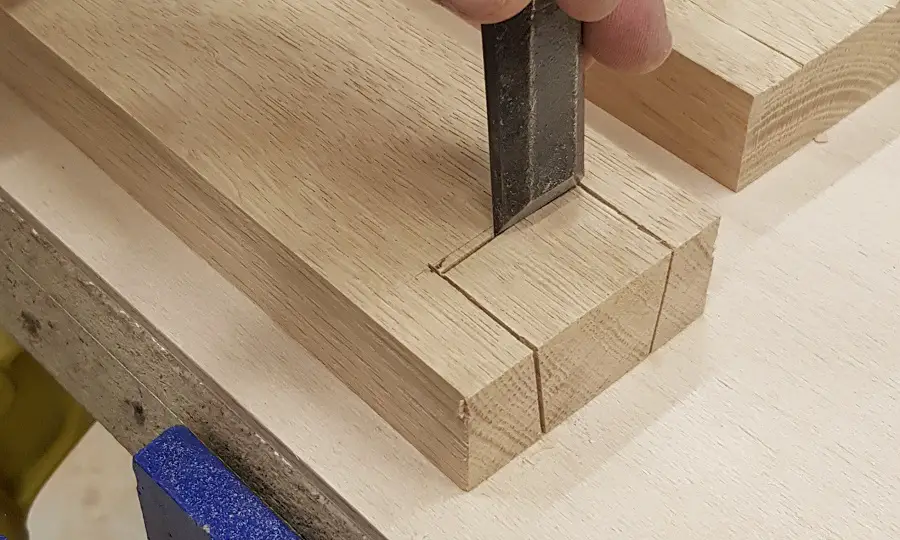
Before starting the jointing, the wooden elements are prepared and cut to the required dimensions. The necessary tools are also prepared to make the teeth, called dovetails, and the sockets, called pins. The wooden elements are placed on top of each other (Photo 1), marking the positions with a tracer to ensure precision when cutting. It is very important at this point to determine where the pins and the tail are to be made, as the tail is cut with the saw edge on the inside. The cutting area can be additionally marked for safety. Before starting to cut, mark the cutting depth with a tool as accurate as possible (Photo 2)
Cutting the tails, pins and splicing
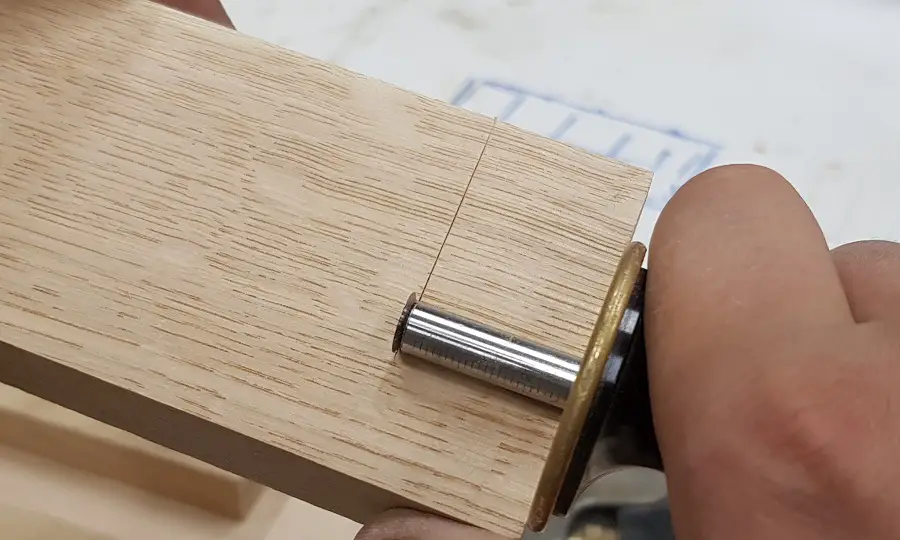
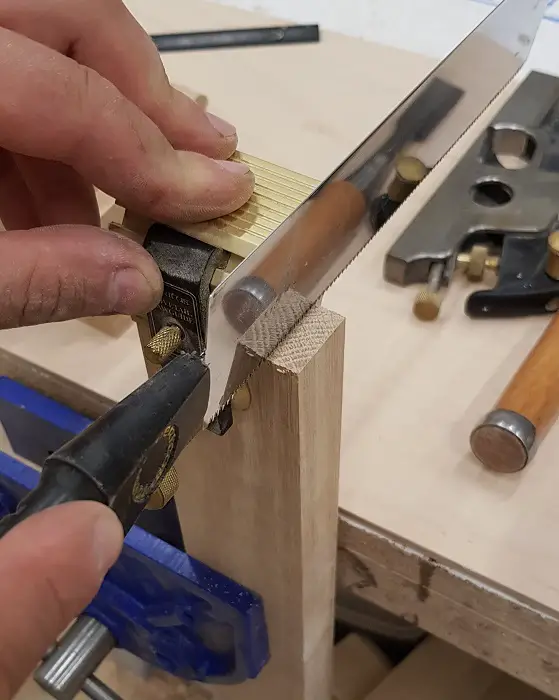
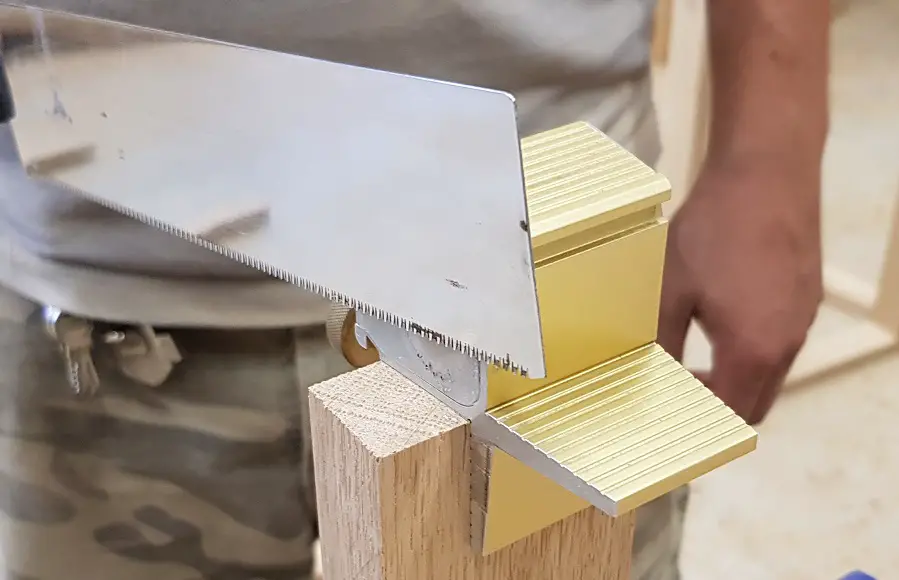
A Veritas template was used to cut the swallowtails and pintails. It is one of many templates for this joint. The Veritas has the advantage of having magnetic sides and holds the saw very well at an angle (Photos 3, 4 and 5).
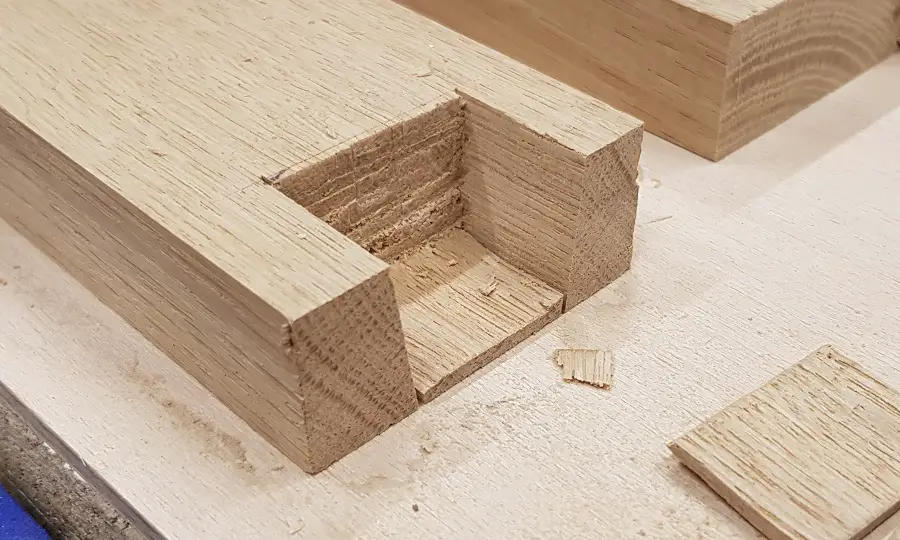
To cut the pins, mount the template on the vertical side so that the edge of the saw falls inside the mark and cut to the marked depth (Photo 6). After cutting the pins vertically, the bottom side is chisel and hammer or cut using a punch. We chose to go for the chiseling option because on thicker pieces or when using very hard wood, the fret can lose the cutting angle. With chisels, however, the control is very good. (Photo 7, 8).
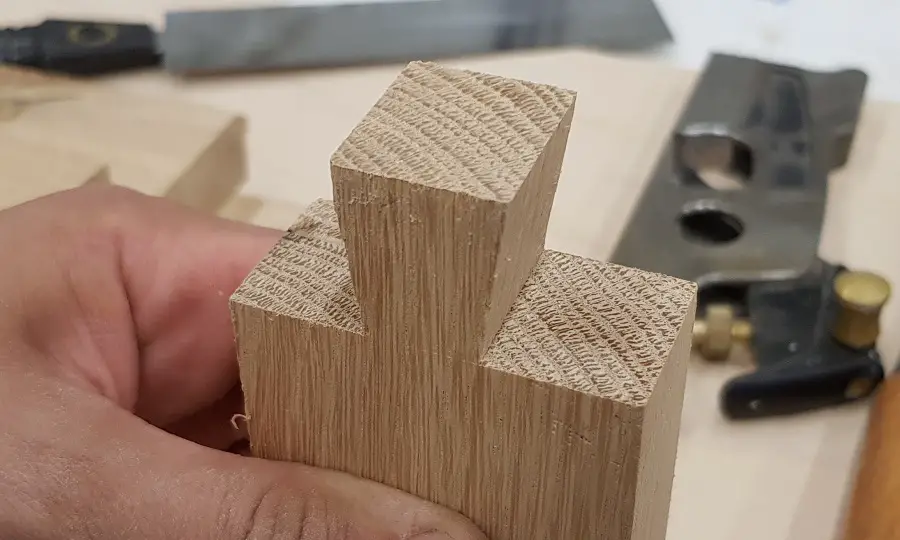
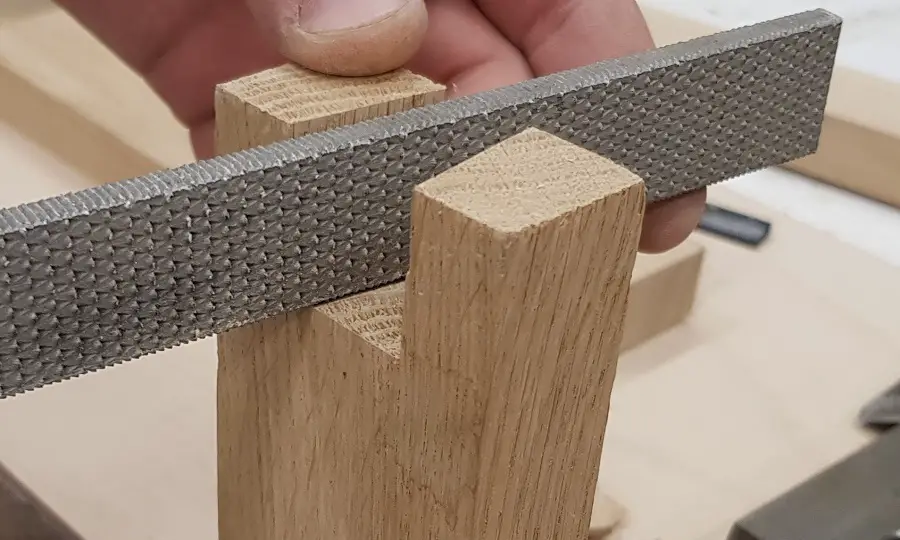
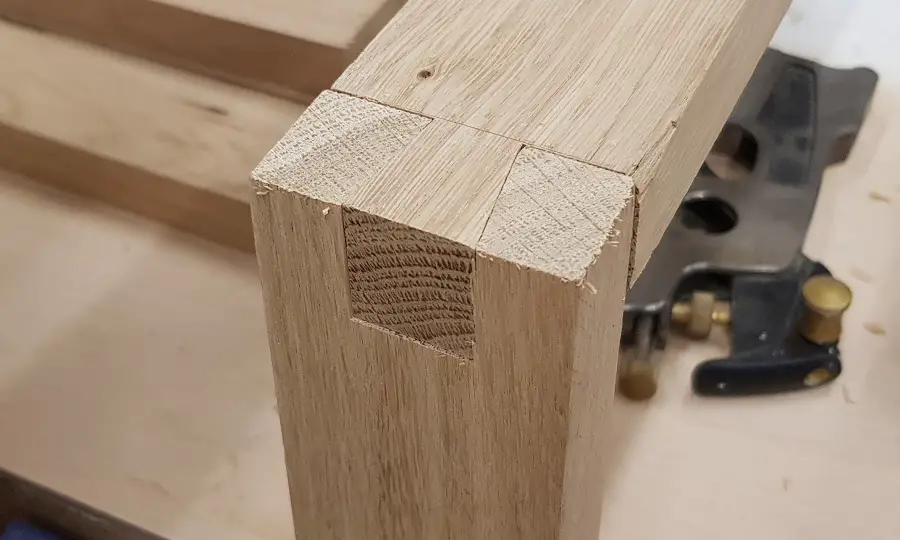
It is important to cut off the swallowtail first and then the pinions so that adjustments can be made with the rasp to make the two parts fit perfectly. The pins are at a 90º angle at the base and are easy to pluck. After adjusting with the rasp, the two sides will fit together perfectly, and fixing the tail is done by tapping gently with a wooden mallet. (Photo 9, 10)
Types of swallowtail joints
A joint has several such pin-tail swallowtail pairs. Depending on how they look from the outside, there are several types of joints:
- proper joint - the jointed wooden elements have the grain ends visible on both sides of the joint;
- half swallowtail (or half stump) splice - the cutting of the pins is done in such a way that the fiber ends are only visible on one side of the splice;
- finger-jointing - a groove with a trapezoidal cross-section is cut on one piece of wood and a trapezoidal tooth is cut at the end of the other piece. The joint is made by sliding (translating) the tooth from one end of the groove to the other.
Joining the drawer fronts is usually done using the second method, to remain hidden. But the dovetail is a special, distinctive joint, so specialists often choose the version that is visible on both sides, enhancing the beauty of the furniture.


Add comment