


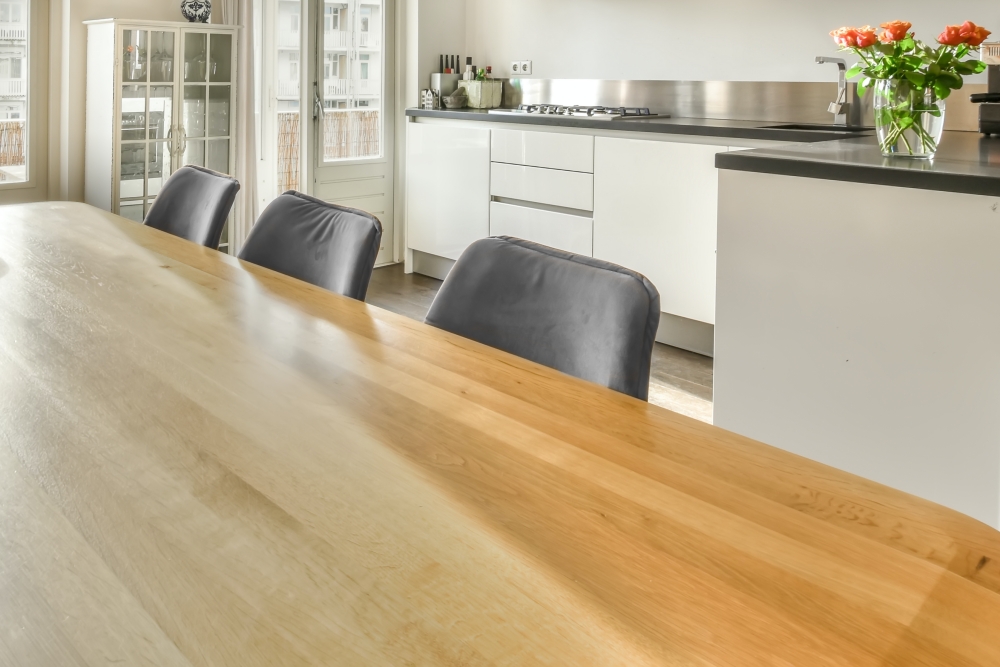
Pentru mulți pasionați de lemn și chiar tâmplari foarte buni, finisarea lemnului nu este punctul lor forte. De aceea, aleg să dau explicații mai elaborate, sperând să fiu de folos celor dornici să știe cât mai multe despre colorarea și protejarea suprafeței lemnului. Aici voi prezenta soluția pentru obținerea unei suprafețe netede ”sticlă”, prin care să se vadă foarte bine desenul lemnului. Precizez de la început că nu voi face referire la acoperirea cu rășini epoxidice, despre care aflați informați aici și aici. Va fi vorba despre finisarea lemnului folosit la interior pentru că, așa cum am explicat, la exterior este nevoie de produse semitransparente sau opace pentru ca finisajul să fie rezistent.
Pentru a ajunge la acea suprafață perfectă trebuie acordată atenție mai multor aspecte
Nu există un material minune pe care să-l aplicăm pe lemn și să obținem suprafața sticlă. Rezultatul este obținut folosind materiale de calitate, potrivite pentru scopul final, respectând toate etapele de lucru, șlefuind bine suprafașa și lucrând într-un mediu cât mai curat, fără praf. Fiecare dintre aceste elemente are importanța lui și unul fără altul nu se poate.
Un astfel de finisaj nu este simplu de făcut. Pentru a obține un lemn colorat finisat ”sticlă” trebuie să avem în vedere mai multe aspecte, și anume:
- Colorarea. Trebuie folosit un material care nu acoperă desenul lemnului ci îl pune în evidență.
- Șlefuirea. Este importantă, atât șlefuirea lemnului, pentru a obține o colorare uniformă, cât și șlefuirea între straturi pentru a obține acea netezime ca a sticlei. Dacă se dorește ca suprafața să fie și lucioasă, mai mult ca sigur va fi nevoie de polișarea ei la final.
- Materialele. Grundul, lacul și numărul de straturi aplicate. De ele depinde transparența, profunzimea și netezimea peliculei.
- Aplicarea. Cum se face aplicarea materialelor
- Mediul de lucru.
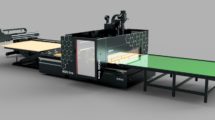
Fiind un finisaj dificil este mult mai ușor de obținut în condiții de fabrică. Acolo utilajele cu care se aplică materialele sunt profesionale și performante, iar spațiul de lucru este adecvat obținerii unei suprafețe netede și a unui luciu bun, ca al sticlei. Dacă vorbim de un proiect de bricolaj, este mai greu să ajungem la o suprafață perfectă din punct de vedere al transparentei. Lacurile din magazinele de bricolaj nu au de obicei claritatea necesară, iar aplicarea cu pensula sau trafaletul nu este cea mai bună soluție pentru a obține o peliculă cu profunzime. Nu este însă imposibil, dacă alegeți bine produsele și acordați atenție și timp suplimentar aplicării.
Acordați atenție materialelor folosite
Colorarea se face cu baițuri transparente. Ce înseamnă acest lucru? Sunt baițuri făcute cu coloranți care se dizolvă, nu cu pigmenți. Cu coloranții care se dizolvă în apă sau solvent se obțin soluții limpezi. Acestea se absorb în lemn și îl colorează, fără a-l acoperi. Avantajul unor astfel de soluții este că scot în evidență desenul lemnului. Dezavantajul, pentru cei care iubesc aspectul uniform, este că scot în evidență și imperfecțiunile suprafeței, nu ascund niciun defect al lemnului. La final lemnul, colorat va fi perfect vizibil, dar aspectul nu va fi uniform decât în rare cazuri, când lemnul nu absoarbe foarte diferit și are desenul uniform. Baițurile care au în compoziție pigmenți nu sunt limpezi pentru că pigmenții nu se dizolvă, formând dispersii. Aplicate pe suprafață, vor acoperi parțial lemnul. Colorarea va fi mult mai uniformă, dar semitransparentă.
Grundul este necesar pentru a obține acea suprafață netedă pe care se așază la final lacul. Ca în cazul finisării cu luciu oglindă, pentru ca lacul să se întindă bine și să se obțină o suprafață netedă ca sticla, este nevoie de un material care să se șlefuiască bine. Prin șlefuire se îndepărtează toate imperfecțiunile peliculei – aer sau praf prins în peliculă, aspectul de coajă de portocală – obținându-se o suprafață dreaptă și netedă. De asemenea, grundul trebuie să aibă o bună transparență. Acest lucru înseamnă un produs foarte bine filtrat și lipsa materialelor de umplere, ceea ce îl face mai scump decât alte grunduri.
Lacul trebuie să fie transparent, dur și cât mai lucios. Lacurile mate au în componență agenți de mătuire care strică transparent și claritatea. Duritatea lacului contribuie și ea la aspectul de sticlă al lacului. În trecut, pentru obținerea acelor suprafețe sticlă de foloseau lacurile poliesterice. Erau foarte dure, transparente și cu corp mare astfel încât finisajul avea profunzime. Pentru comparație, dacă se folosea lac nitrocelulozic era nevoie de 10-15 straturi, față de 3-4 cât era tot sistemul poliesteric. Acum cele mai frumoase suprafețe ”sticlă” se obțin cu lacuri poliuretanice.
Șlefuirea este importantă în toate etapele: și la colorare și la grunduire și la lăcuire.
La colorare, șlefuirea lemnului este importantă deoarece asigură absorbția uniformă a baițului în lemn. Se șlefuiește cu hârtie de șlefuit specifică lemnului, cu granulația finală de 150, 180, chiar 220, dacă lemnul este afânat și scămos. La granulații mai mici, absorbția baițului în lemn va fi mai mare și mai greu de controlat, iar când hârtia este mai fină, praful fin format împiedică intrarea culorii în lemn, apărând petele și colorația foarte deschisă. După uscarea baițului, lemnul nu se șlefuiește, chiar dacă fibra lemnului s-a ridicat. Șlefuirea pentru a îndepărta fibra ridicată se face după primul strat de grund pentru a nu strica aspectul lemnului colorat.
Grundul se șlefuiește pentru a asigura aderența între straturi și a realiza acea suprafață netedă de care pomeneam mai sus. Șlefuirea se face cu hârtie mai fină, granulație min.400 pentru finisajele lucioase. Granulații de 280 sau 320, folosite frecvent la șlefuirea grundului, nu se recomandă în cazul lacurilor foarte transparente și lucioase pentru că există riscul ca rizurile fine apărute în urma șlefuirii să fie vizibile. Informații despre cum se aleg materialele de șlefuire în funcție de ceea ce se șlefuiește, găsiți aici. Se aplică min.2 straturi de grund, dar se poate ajunge și la 4 pentru a asigura profunzimea peliculei. Cea mai netedă suprafață se obține dacă se șlefuiește grundul după fiecare strat. După șlefuire, suprafața se desprăfuiește pentru că praful rămas poate strica transparență și aderența între straturi.
Dacă pelicula de lac are aspect de coajă de portocală, ea trebuie polișată pentru a obține un aspect neted, de sticlă. La fel și dacă mediul de lucru are mult praf care se prinde în peliculă. Pentru rezultate bune polișarea se face în trepte, pornind de la hârtie de șlefuit fină de 600, 800 și ajungând la paste abrazive cu granulația 1000, 2000, 3000 și chiar mai fine.
Despre polișare găsiți informații aici.
Etapele de lucru, pas cu pas
Pentru că cele mai frumoase suprafețe se obțin cu lacuri poliuretanice, etapele de lucru de mai jos sunt pentru poliuretanice. Dar pot fi folosite și alte lacuri – acrilice, hidrodiluabile, nitrocelulozice – succesiunea operațiilor fiind aceeași. Iată care sunt etapele:
- Șlefuirea lemnului, desprăfuire prin suflare cu aer și ștergere cu cârpa.
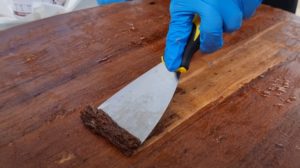
- Aplicarea baițului. Se poate obține o suprafață mai uniformă dacă se aplică baițul în exces și se șterge apoi cu cârpă de bumbac curată. Metoda este recomandată pentru baițurile pe bază de apă și este și un mod de a pune în evidență desenul natural al lemnului. Există tehnici de uniformizare prin pulverizarea baițurilor pe bază de solvent, dar din păcate ascund desenul lemnului.
- Uscarea baițului. Baițurile pe solvent se usucă mai repede decât cele pe bază de apă. La cele din urmă este recomandat un min de 8 ore pentru uscare. Cel mai bine este să respectați timpii recomandați de producătorul baițului. Când se usucă, aspectul lemnului băițuit devine tern, ușor cenușiu, fără acea luminozitate pe care o are când este ud.
- Aplicarea grundului. Se aplică min. 2 straturi de grund, cu uscare și șlefuire între straturi. Cantitatea aplicată trebuie să fie cca. 100-120 g/m². Dacă suprafața rezultată a avut multe defecte, iar pentru a le îndepărta a fost nevoie de o șlefuire energică a stratului de grund, îndepărtând o bună parte din el, se aplică cel puțin încă un strat pentru a obține profunzimea necesară. Timpul de uscare este cel recomandat de producător. Produsele poliuretanice au nevoie în general de catalizare. Tipul catalizatorului și proporțiile sunt stabilite de producător. Schimbarea catalizatorului poate duce la variații ale timpului de uscare și durității grundului. Se folosește diluantul recomandat de producător. Folosirea unui diluant rapid pentru a grăbi uscarea poate duce la gazarea peliculei. Pentru a îndepărta aspectul rugos suprafața trebuie foarte bine șlefuită.
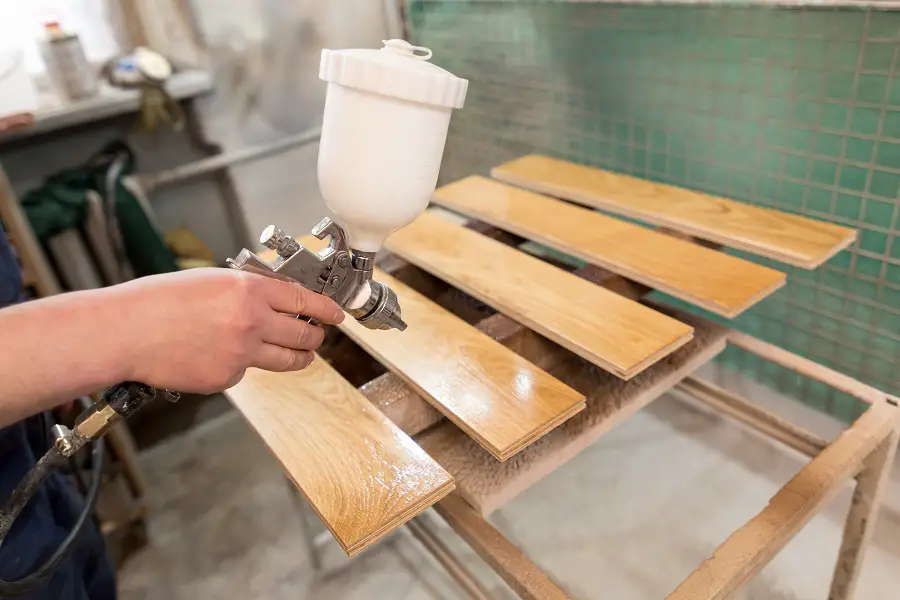
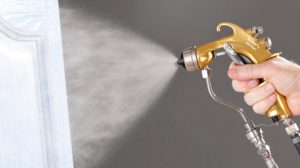
- Aplicarea lacului. Lacurile care dau luciu și transparență sunt mai sensibile și trebuie aplicate exact cum spune producătorul, fără a schimba catalizatorul, diluantul sau proporțiile de amestecare. Aceste schimbări pot duce la modificarea luciului sau transparenței. În general se aplică un singur strat de lac cu gramaj aprox. de 120-140 g/m². Pentru mai multă profunzime poate fi necesară aplicarea unui strat suplimentar de lac. Optim este ca cele 2 straturi să fie aplicate la interval de 1-2 ore pentru a nu fi nevoie de șlefuire între straturi. Dacă trec mai mult de 6-8 ore, lacul de lasă să se usuce total și apoi se șlefuiaște. După aceea se aplică stratul următor. Lacurile lucioase au nevoie de un timp de uscare mai lung. Recomandarea producătorului este cea de urmat și în acest caz.
- Polișarea lacului. Se face doar după uscarea lui totală. Pentru rezultate bune trebuie făcută în etape. Nu întotdeauna este însă nevoie de polișare. Dacă în mediul de lucru nu este foarte mult praf, exhaustarea este bună și există un spațiu special unde se face aplicarea lacului, rezultatul obținut după uscarea lui poate fi satisfăcător. Mai ales dacă lacul nu are acel luciu foarte înalt, oglindă.
Sper să considerați interesante informațiile de mai sus. Dacă obișnuiți să obțineți astfel de suprafețe netede, dure și cu profunzime, ca un strat de sticlă, împărtășiți-ne din experiența voastră. Sfaturile sunt mereu binevenite. Iar dacă aveți întrebări sau neclarități, lăsați-le mai jos, în spațiul dedicat. Sigur vă voi răspunde.


Buna seara, aș dori să vă întreb care este baițul care pune in evidență cel mai bine Frumusețea lemnului de paltin! Menționez că am încercat baiț pe baza de apa și pe solvent dar, rezultatele sint modeste și apar pete. Același baiț, de la firma Kemicals merge fără probleme pe alte esențe de lemn! Vă mulțumesc!
Bună ziua!
După părerea mea, glaze-urile sunt cele mai potrivite pentru colorarea paltinului.
Frumusețea lemnului de paltin rezultă din defecte – fibră creață sau ondulată, noduri – și din razele medulare care dau acele oglinzi specifice care aproape nu absorb baiț. Toate acestea duc la absorbție neregulată în lemn, cu diferențe foarte mari. Sunt persoane care apreciază tocmai aceste diferențe.
Dacă vrem colorare uniformă avem nevoie de soluții care să se absoarbă cel mai puțin în lemn. În acest caz pot fi folosite baițuri pe solvent cu uscare rapidă (conținut mare de acetonă), colorarea primului strat de grund sau glaze-uri (baițuri speciale cu ștergere). Glaze-urile au conținut de rășină care reglează absorbția, iar prin ștergerea lui este evidențiat desenul fără a păta suprafața.