


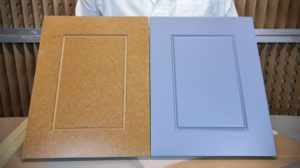
In the knotted area or on certain portions where the fibre is twisted, spots of colour appear. How can I avoid this defect in the future? This îhe question generated a lot of comments about the natural beauty of wood, its uniqueness, with many saying that it must be so and that is its charm. That's right, wood has its own personality and for many of us, it is this unique colouring that makes us love it. But there are few people who go to the store to buy wooden furniture and accept that it has stains and uneven colour, whatever the explanation for this. With standard furniture, what is made today should look like what was made yesterday or tomorrow, even if the wood used (and we're talking the same species) has differences. What methods are used to avoid staining in problem areas of the wood, find out below.
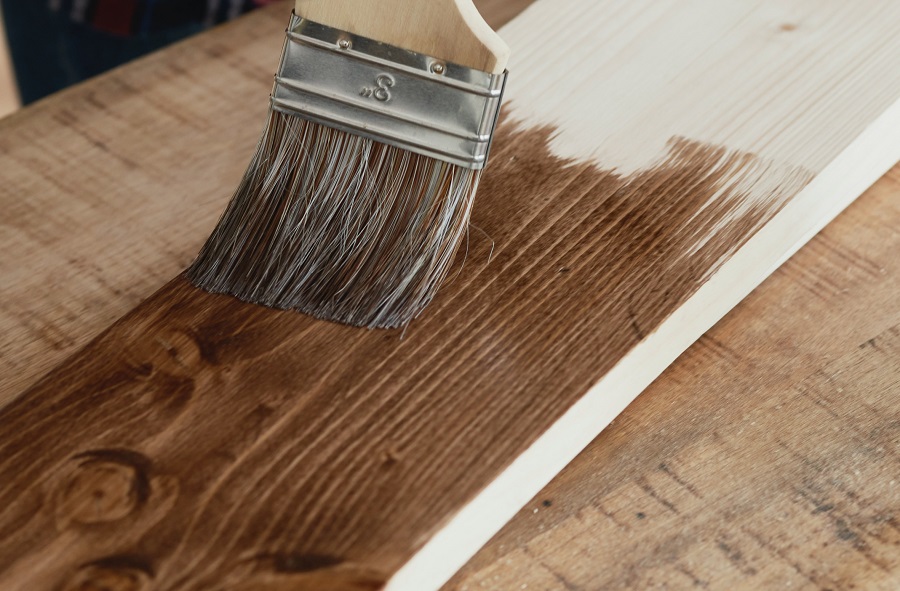
Even if it's a different absorption problem, just sanding doesn't help
Problems when staining wood with berry arise due to different absorption. The wood is not properly sanded, is not well stripped, is knocked, scratched or covered with grease or other substances that prevent absorption. A wood surface that has areas of different absorption will stain unevenly. It will absorb different amounts of colour into the wood and differences in colour or staining will occur.
To avoid this situation the wood must be sanded correctly, in steps, with successive grain sizes. Sand along the grain, abrasive materials should be chosen according to the wood (hard or soft wood), the final grain of the sandpaper should not be very fine (max. 180, possibly 220 for very soft wood) and it will dust very well at the end. Unfortunately, sanding does not help with natural growth defects such as twisted fiber, crimped fiber, knotted area. Even if properly sanded, the wood will still absorb differently and the area will stand out. Differences can be mitigated by reducing absorption and subsequent smoothing of the varnish film.
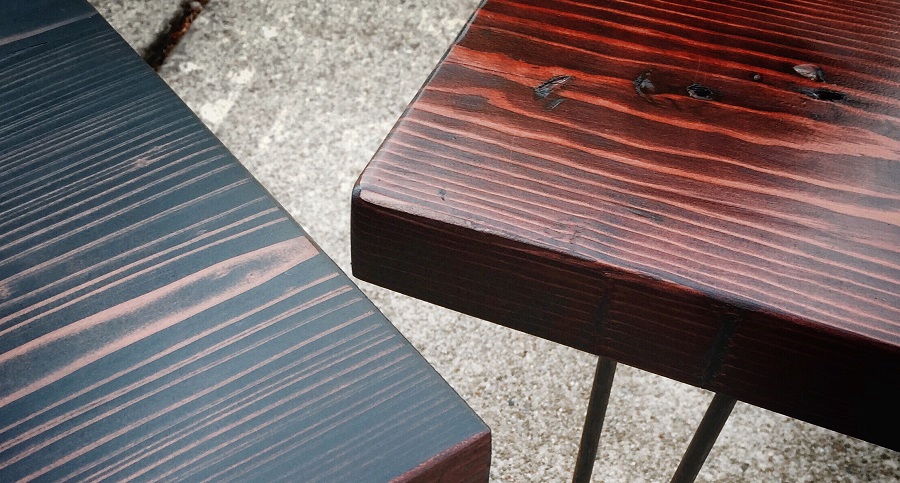
An example of uneven staining without proper sanding or defects is the staining ofresinous. The effect is most noticeable when the wood is cut tangentially to the annual ring (flanged or cathedral wood). Absorption is very different between latewood and earlywood, and the appearance is dull in staining, with latewood almost uncoloured and earlywood dark. Very rarely is resinous wood left like this, generally being evened out afterwards.
Reducing absorption in wood is the surest way to achieve uniform staining - HOW TO DO IT
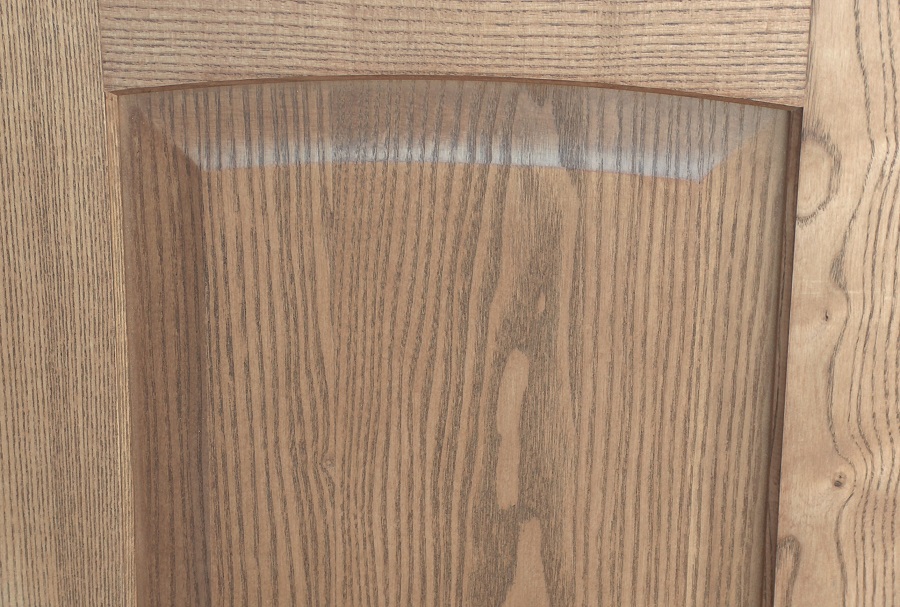
In the case of wood with natural defects, the reduction of absorption into the wood will result in a more uniform surface stain. The disadvantage is the partial loss of the wood's natural pattern, as surface staining diminishes the natural differences in the wood.
Absorption is reduced by applying a first layer of special materials, called insulators, to the wood before staining. Isolators, like primer or varnish, contain resin that penetrates the wood and hardens, blocking the penetration of the stain deep into the wood. The resin content is low so that the insulators do not film. After application and drying, the wood looks almost unchanged from its original appearance. It needs to be sanded, but be careful, sanding no longer starts at 60 or 80 but goes straight to 150, even 180. The aim is to even out the absorption in the surface layer of wood so that the colour settles evenly. Insulators are of several kinds and must be compatible with the system used (water-based, solvent-based, UV-curing, polyurethane, etc.).
An improvisation often used in factories is to apply a first coat of primer. This is much more diluted, even 1:1 with water or the solvent used, and applied in a smaller quantity to avoid filming. Experience is needed because too much can reduce adhesion to subsequent coats, and too little may be insufficient to prevent different staining.
The use of uniforming materials reduces colour differences
In this case, there are two types of uniforming materials, some that colour evenly and others that reduce colour differences. Uniform colouring is achieved with special baths called uniforming baths. They contain resins that prevent deep absorption and pigments that, in this case, do not dissolve with the solvent to colour the wood but float in it and settle on the surface of the wood. As with the above methods of reducing absorption, the disadvantage is the blurring of the natural pattern.
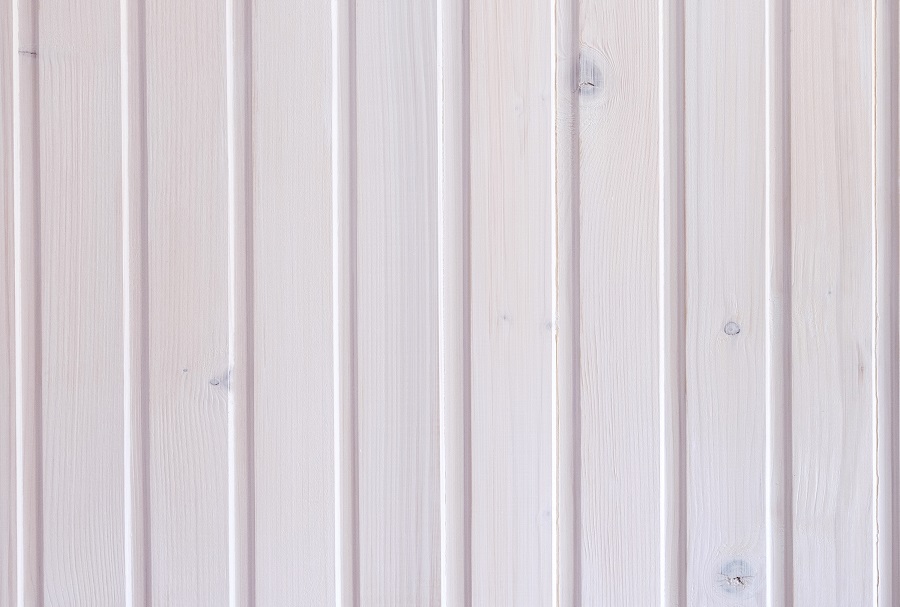
The method is often used in factories, even to even out the natural colour of wood. You've probably seen furniture many times that is said to be natural, i.e. has the natural colour of wood, but is very uniform. It's like that because it has an even layer of berry. For example, ash wood is first coated with a very light (yellowish-white) uniforming berry which reduces the colour difference in the grain. The pores are then marked with a patina very close to their natural colour. The varnish applied over it is very transparent and so the effect is of wood left in its natural colour.
Uniform materials that reduce colour differences are applied between the finish coats. These are a kind of uniforming bath, a kind of corrector that you use along the way. They make the colour of the furniture very uniform in the end so that you can, for example, put table legs on any worktop without any differences. The disadvantage is that the finish loses its transparency, with the wood taking a back seat. The same effect is achieved by using coloured varnishes, i.e. varnish mixed with a small amount of bath.

Application of the bath by methods that avoid deep absorption
Absorption can also be promoted or prevented by the application methods of staining materials. If the stain is applied liberally and then the surface is wiped to remove the excess, the wood design will be brought out, along with the differences in the area of natural defects. But if the wood stain is applied in very small quantities by spraying, it dries on the surface, does not get absorbed and stains evenly, fading the defects.
As a general rule, wiping down the stain will always highlight the natural pattern of the wood, and spray application of a fast-volatile solvent-based stain (acetone) will even out the colour differences within the wood.
In the case of hand gun spraying, the way the nozzle opening, air pressure, air and spray mixture are adjusted leads to different results. If you want low absorption, i.e. uniform staining, the wood should be almost dry. This means smaller berry particles (nozzle as closed as possible), more air in the mixture (quarter or half stroke) and higher pressure (4-5 atm).
I hope you find the information useful. As usual, additions are welcome. And if you have any questions or queries, please leave them in the space below. I'm sure I'll reply.


Add comment