


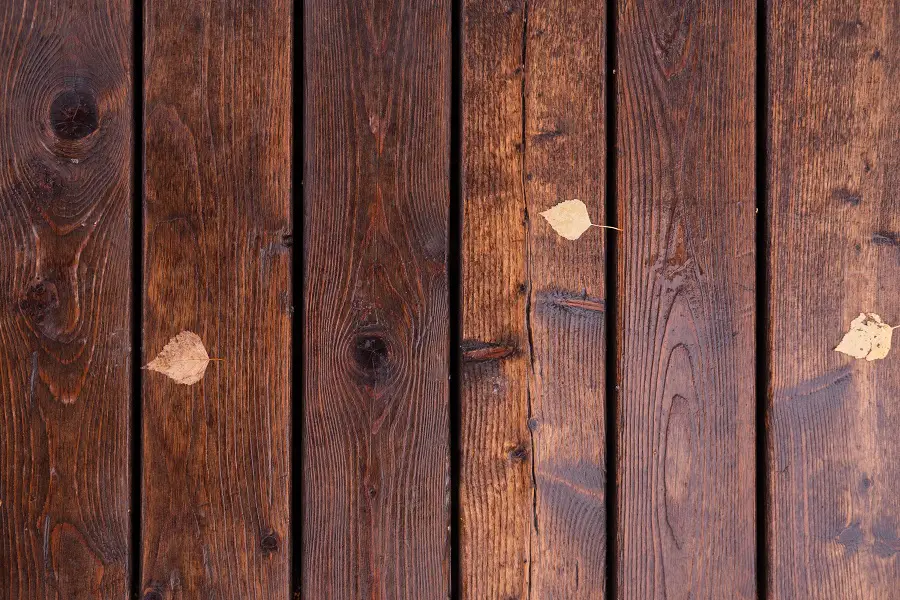
Staining often results in a much improved appearance of the wood, enhancing its natural design. However, the process can be full of challenges requiring understanding, patience and often a bit of skill to solve. Stains, uneven or different colouring to the sample spoil the appearance of the piece of furniture or wooden object that has been worked so hard for. Find full information on how to stain to achieve a stain-free look here. In this article, we will focus on some of the most common problems in the wood staining process, offering practical solutions to overcome them.

Issue #1 Uneven staining of wood
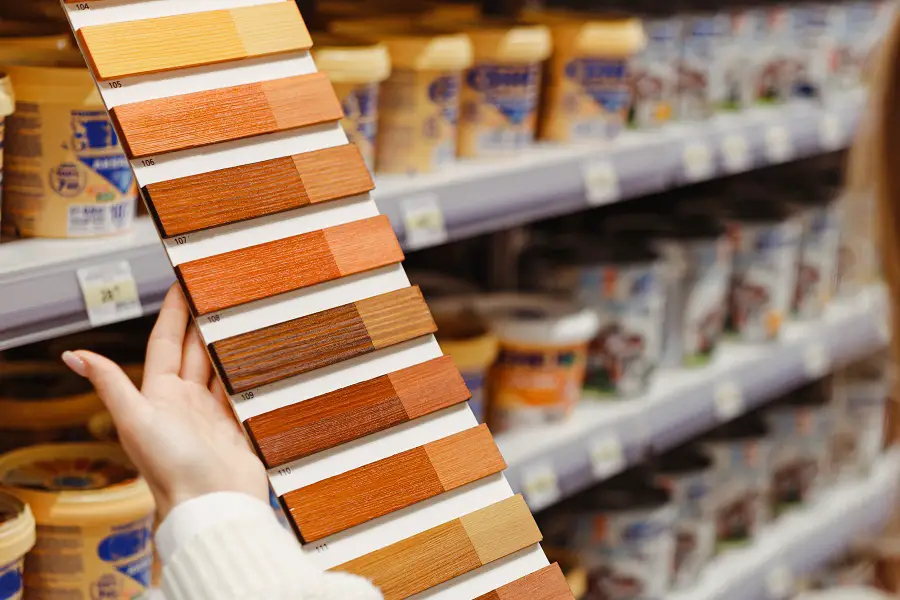
One of the common problems is when wood stains differently, with some portions being lighter in colour than others. This can be caused by the natural variability of the wood, uneven absorption of the stain or misapplication. To prevent this problem, it is advisable to carefully select the wood taking into account colour and texture and when appropriate, use bleaches or whiteners to even out the colour. Also, proper cleaning of the wood surface prior to stain application is essential to ensure even absorption.
If a proper selection of wood cannot be made, one solution may be to bleach it with substances such as perhydrol, sodium hypochlorite (laundry bleach) or soda. Find here several methods of bleaching or discolouring wood. In general, after bleaching, the surface should be washed to remove residues that may later react with the stain.
Another common problem is different absorption due to the variability of pores and texture of the wood. To remedy this, insulating the wood surface with special insulators or diluted aracite solution can prevent uneven absorption. No film should form after application of the insulators. The insulator enters the wood, hardens inside and reduces absorption. After the insulator has dried, the surface of the wood should be sanded before applying the wood stain.
Uneven staining can also be remedied after drying or primer application using a staining solution also known as standardizing. It is an acetone-based, colour-matched, thinly applied over the dry coloured surface or after the first coat of primer/lacquer, dried and sanded. Uniformiser is applied by spraying. After drying, continue with the next coat of primer or the last coat of varnish.
Problem #2 Wipe-on fabric dries too quickly and colour cannot be evened out
This problem sometimes occurs when applying water-based and resin-containing baths, called glaze. It happens because of the small amount applied or the solvent which is very volatile and does not give the necessary wiping time. The result is an uneven colour that is too light or, on the contrary, much too dark.
In the case of light colour, if the bath is water-based the solution is simple. Apply the bath again, this time in a larger quantity and wipe it off so that uniformity is achieved. If glaze has been applied, before reapplying, thin it a little with a retardant thinner (which evaporates more slowly). This will slow down the drying process and leave enough time for wiping.
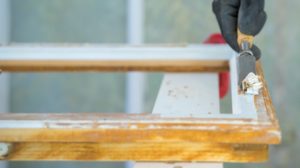
If the colour is darker than desired, we will have to remove it, returning the wood to its original colour. This is done by wiping the surface thoroughly with thinner, then sanding with coarse sandpaper (80-100). If glazes have been applied, it may be necessary to paint stripper to remove it. After coarse sanding, the surface is sanded to a finer grit, but suitable for the wood species, before re-applying.
Problem #3 Parts with fibre ends (twists) are too dark
Following the milling of solid wood, there are places where the ends of the fibre are clustered. On door frames or profiled boards, these areas are also called splines. Here the berry absorption is higher and the resulting colour is much darker than the rest of the surface.
The defect can be avoided if absorption is limited. Limitation can be done by sanding these edges with a finer grit and spraying smaller, successive amounts of berry or by applying an isolator, as in the above situations. Excess quantity and wiping should be avoided.
If the defect has appeared, the recommendation is to seal the area around the rim with paper tape, wipe it with nitro thinner or a mixture of technical alcohol and acetone and sand it, first with coarse paper, then with a finer one. Once you reach wood or a lighter colour, resume the beating by applying small amounts.

Issue #4 The strip highlights defects from mechanical machining or handling
Small dents, scratches or marks caused by a defective machine or tool that are not visible before the beating may occur as a result of mechanical processing and handling. This happens because the sanding of the wood before staining was not done with sufficient care or the defects were generated during this phase using the wrong grit or tools. All of these will appear when the stain is applied and will be accentuated by wiping.
When such problems occur it is very difficult to repair just the defect. It is almost impossible to sand and resurface just that area without any difference from the rest of the surface. In most cases the whole surface has to be resurfaced. It is therefore preferable to discover the defect before staining. This can be done by wiping the entire surface with water or thinner first.
When water is used we have the advantage of no odour, but the fibre will rise more and need to be sanded again. Before applying stains the surface must dry, especially if it is a solvent-based stain. If solvent is used, it will be unpleasant smelling, but we have the advantage of removing any grease stains that may have appeared during handling. Another advantage is the reduced fibre lift, as the bath can be applied without further sanding.
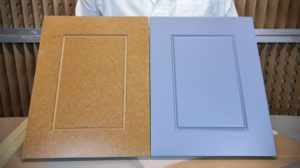
Problem #5 When sanding the primer, the colour was also removed from the edges
During primer sanding (sanding between coats), the colour on some edges may be removed and the wood becomes visible. This may be due to sanding paper with an overly stiff backing that does not mould to the shape of the object, carelessness or overzealousness. The use of abrasive sponges reduces the risk of the defect occurring, but does not eliminate it completely.
Remedy by wiping the edge with stain or coloured primer (with the same stain). If stain is applied, immediately wipe off the excess so as not to stain adjacent areas. If coloured primer is chosen, allow to dry and then lightly sand the area to smooth the surface. Then, in both cases, apply at least one more coat of protection (varnish or primer and varnish) to the entire surface.
The marks can also be repaired using special markers available from varnish and paint suppliers or DIY stores. The disadvantage here is that there are a limited number of colours.
Issue #6 Colour on final object is different from sample colour
Even if the same bath is used as for the agreed sample, the final colour may be lighter, darker or with a slightly different tint. Causes may be sanding the wood with paper that is too fine or too coarse, applying too little or too much stain, using a different solvent or using it without mixing it thoroughly beforehand in the original packaging, using varnishes that are different from those with which the sample was coated.
When the colour is lighter or darker, things are clear. If it's light, it needs to be darkened, and if it's too dark, it needs to be stripped, sanded and coloured again. The colour is not only checked at the end but also in the intermediate stages to make the repair easier. My recommendation is to have a sample on which to see how the colour looks after each stage. The colour can be darkened with a coat of evener applied over the primer or at the end, a thin coat of coloured varnish. It is preferable that the defect is resolved by the final coat of varnish because a colourless varnish has a different transparency than a coloured one. Different methods of stripping a surface, find here.
The problem becomes more complicated when the shade differs slightly, even if the same bath is used. This can happen if the bath is not mixed very well before use, diluted with a different thinner than usual, or if the final varnish is changed. The composition of staining solutions contains pigments that have different weights and deposit differently. If they are not mixed well, some may remain at the bottom of the pack and the colour will be changed. Also, some dyes are not soluble in all solvents. If the diluent is changed, some may become insoluble, settle and change colour. The final colour can also be changed by varnish. Some varnishes have a slight brown tinge (nitrocellulose varnish, for example) which changes the colour of the bath, especially if it is light.
It's hard to repair a changed shade and sometimes needs to be stripped and refinished. However, if the shade is very slightly different and you discover this after priming, try repairing using a smoothing stick with a slight complementary shade. For example, if the surface is slightly reddish, add a little green in the evener and vice versa, red if the colour beats in green. Add a little black to close the colour and reduce the brightness.
Also consider the light when checking the colour. The type of light plays a very important role in how colours are seen. Cool, neon light makes colours appear cooler, with a slight blue tint, while warm light gives colours a yellowish tint. And if the colour is warm and you check a surface that beats blue, shades of green or turquoise appear.
I hope you find the above information useful. As usual, additions are welcome. And if you have any questions or queries, please leave them in the space below. I'm sure I'll reply.


Add comment