


Am un prieten care de câțiva ani locuiește în Anglia împreună cu familia. Este o persoană foarte talentată care, pe lângă afacerea de succes cu prăjituri de casă de care se ocupă permanent, are și o veche pasiune pentru lemn și bricolaj. Zilele trecute mi-a trimis fotografii cu ultima “ispravă” cerându-mi un sfat. Îi voi da sfatul chiar aici, dar nu înainte de a vă prezenta întreg proiectul.
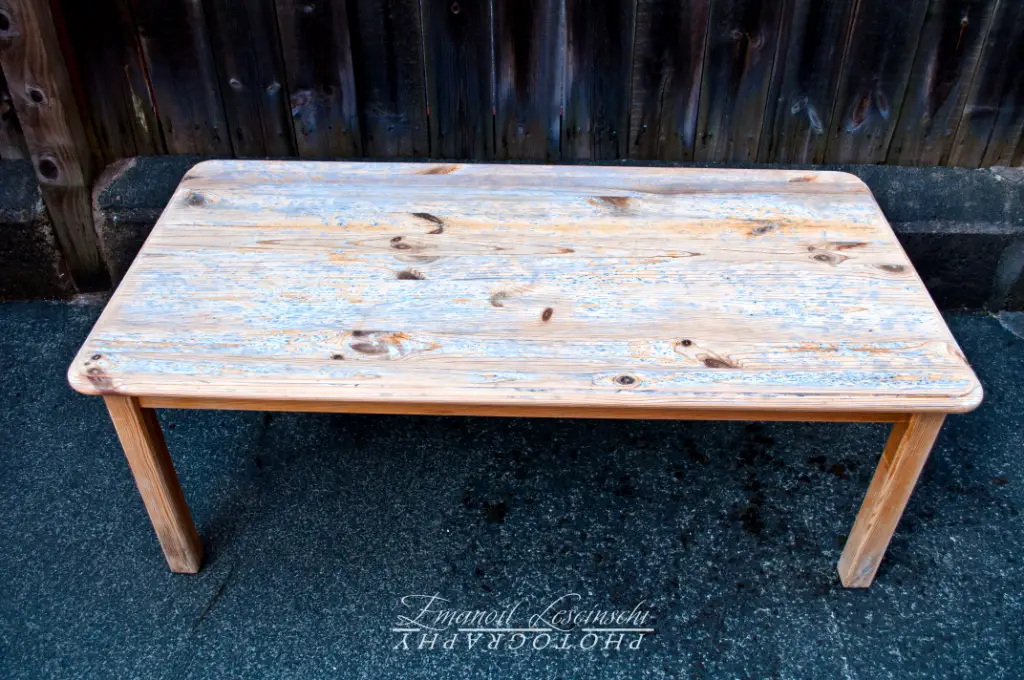
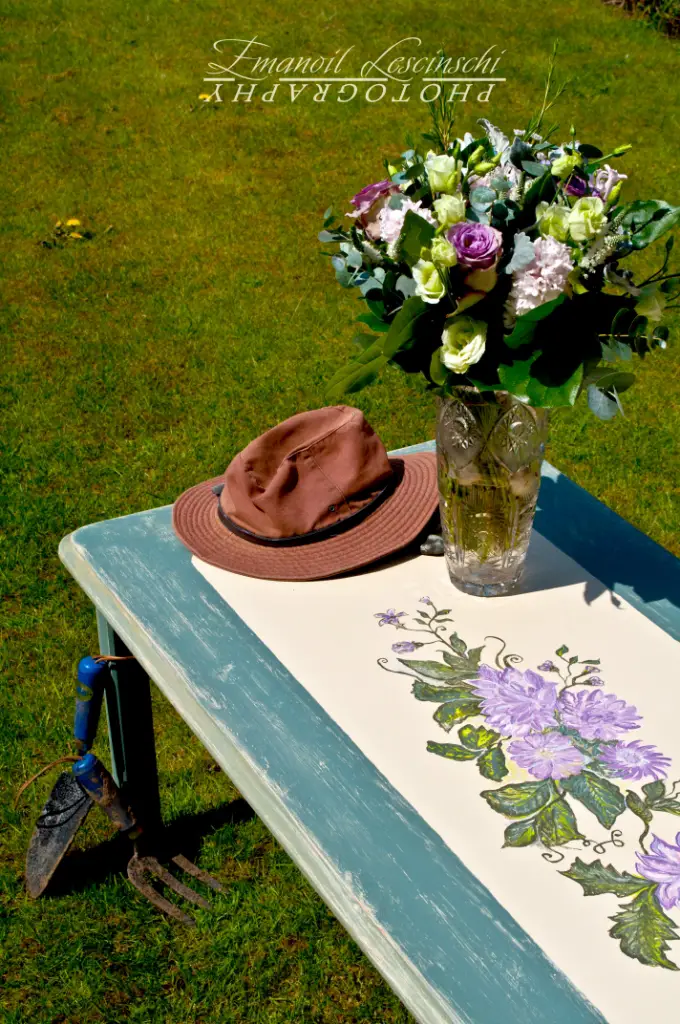
Masa din grădină scorojită de vreme
Aveau o masă veche, din lemn de pin, care a stat 3 ani în grădină, bătută de soare și ploi, timp în care lacul s-a scorojit iar în unele locuri a apărut mucegaiul. La un moment dat s-a gândit că nu ar fi rău dacă ar transforma-o într-o masă de grădină, unde să stea împreună la o cafea în zilele frumoase.
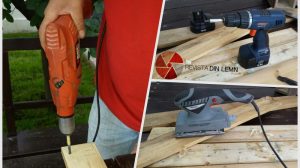
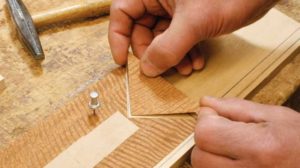
Așa că s-a apucat de treabă. Mai întâi a cumpărat cele necesare: hârtie de șlefuit diferite granulații, bureți abrazivi, vopsele în diverse culori, pensule. Cum nu era prima dată când bricola, micuța mașină de șlefuit era deja în magazie. A venit apoi rândul mesei. A șlefuit-o foarte bine, mai întâi cu hârtie abrazivă cu granulația 40, apoi 80 si 120 până a îndepărtat toate urmele de lac și mucegai. Apoi a continuat șlefuirea cu hârtie 180 pentru a avea un suport cât mai neted și bine pregătit.
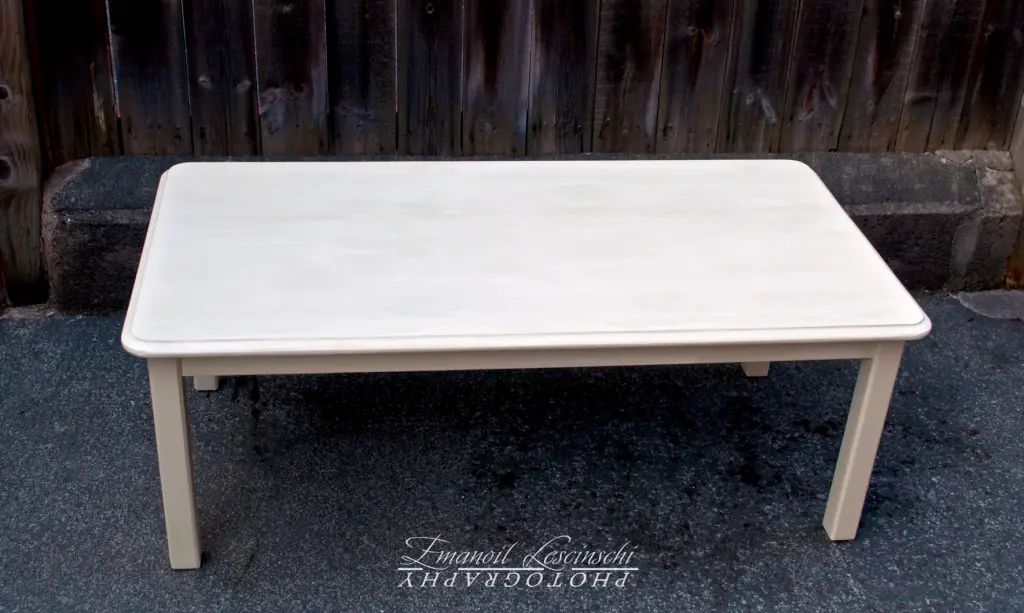
După șlefuire a aplicat cu pensula, pe toată suprafața, un strat de culoare crem, mai exact Cuprinol county cream (v-am spus doar că acțiunea se petrece în Anglia ☺). A așteptat să se usuce vopseaua, a șlefuit bine suprafața cu bureți abrazivi cu granulația 240 și a aplicat încă un strat de culoare.
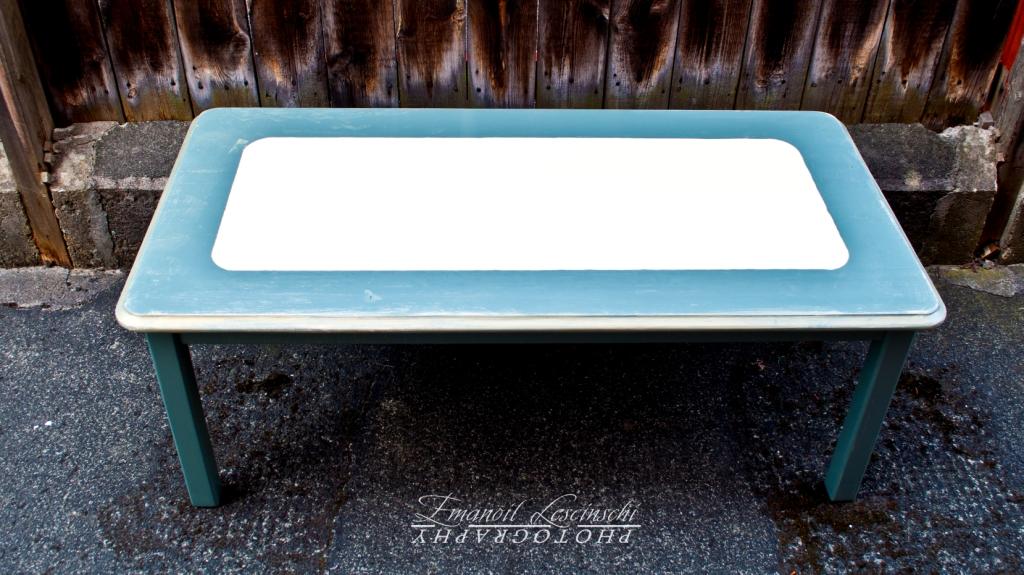
Peste această primă culoare a aplicat, pe picioarele și pe marginea mesei, un strat de culoare Cuprinol wild thyme. Dreptunghiul din centru l-a desenat ușor cu un creion de tâmplărie, la distanță egală de margine – 10 cm, a făcut racordurile la colțuri și a șters liniile nefolositoare cu radiera. Apoi totul a fost vopsit cu pensula, fără a folosi o linie sau bandă de hârtie. După uscare, a antichizat chenarul cu hârtie abrazivă cu granulație 120, iar picioarele mesei cu un burete abraziv cu granulația 200, cu ajutorul căruia a putut ajunge în zonele mai greu accesibile.
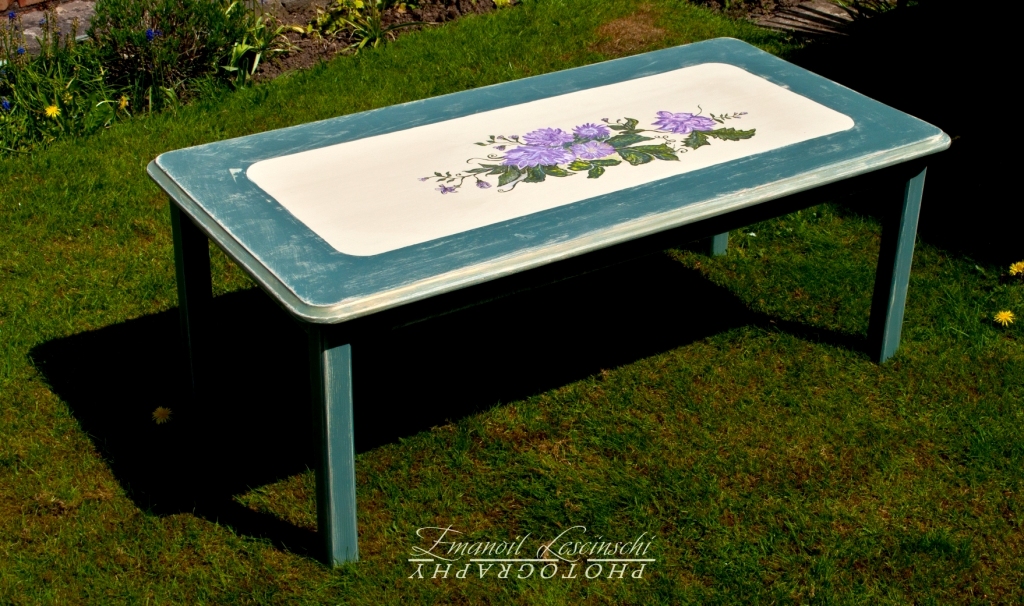
Acum totul era pregătit pentru a trece la piesa de rezistență: pictarea în interiorul cadrului a unui buchet de flori. Pictura a facut-o tot singur, folosind încă 4 culori – sunny lime, pale jasmine, purple pansy și sweet pea (știu că nu erau necesare numele acestor culori, dar sună atât de bine). Florile le-a pictat din prima, adică fără șablon sau alt desen ajutător în creion, doar privind un suport pentru prăjituri care avea flori asemănătoare. La final, așa ca o tușă personală, a aplicat foarte puțină vopsea aurie pe marginea blatului mesei.
Și acum, întrebarea
Ce să facă pentru a proteja masa și pictura astfel încât să reziste cât mai mult la exterior?
Sfatul meu este să protejeze totul cu un lac transparent rezistent la exterior. Trebuie unul cât mai incolor pentru a nu strica efectul. Din păcate, lacurile pentru exterior nu sunt în totalitate incolore tocmai pentru a avea rezistență sporită. Au în formulare absorberi UV și chiar pigmenți colorați. Dar sunt și lacuri care, aplicate în strat subțire, modifică aproape imperceptibil culorile peste care sunt aplicate.
Este foarte important ca lacul să nu interacționeze cu culorile picturii. Dacă atât lacul cât și culorile sunt pe bază de apă se poate întâmpla ca apa din lac (solventul lacului) să dizolve culorile iar ele să migreze stricând desenul. Este posibil ca, chiar dacă sunt hidrodiluabile amândouă, să nu se întâmple acest lucru. Cum este cazul și aici, unde s-au folosit vopsele, nu coloranți, care după uscare nu mai pot fi dizolvate cu apă. Dar întotdeauna trebuie testat înainte, separat, pe o bucată de lemn, cum interacționează cele două straturi.
Cel mai sigur este să se folosească materiale de natură diferită, adică dacă s-a pictat cu culori hidrodiluabile să se protejeze cu lac pe solvent și invers.
Sper că v-a plăcut proiectul și v-a trezit dorința de bricolare. Eu nu pot decât să vă urez succes și să vă spun că sunt aici pentru voi, oricând doriți să vă sfătuiți cu cineva.


Adaugă comentariul