


The idea for the article came from a conversation with a wood lover who really wanted to make something out of wood, but knew little about how he could do it. There were many basics he didn't know, but he had a great desire to get started. I recognized myself in a way because I ended up doing woodworking myself without having taken any woodworking classes. During the time when my work was all about varnishes and paints, I got to go to a lot of factories, saw a lot of machinery and manufacturing lines and understood how they work, but when you work with your own hands, it's different. So, for those of you who are thinking of starting to work with wood, I try to put some tips here - useful information to get things right.
Choice of wood
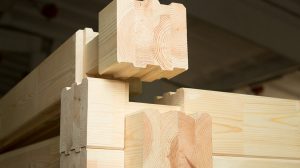
When preparing for such a project you need wood first. If you don't reuse reclaimed wood from an older object then you will have to buy. Small quantities of wood can be found in DIY stores, but the choice of species is limited. A wide range of wood species and wood-based panels can be found at Holver.
As this is your first project, it is best to choose wood from a softer, less valuable species. We all love oak tree or the American walnut, but it's not worth spoiling by our lack of skill. The Raffia are, in my opinion, very suitable for a start. A very good starter option is also tackle. It's wood and it's very stable.
The content of wood moisture is important to avoid cracks or bends. The moisture content of the wood should be between 8 and 12% if used indoors and 14-18% if used outdoors. Buy wood from reliable sources to make sure it is properly dried.
Check the wood before you buy it for cracks, insect holes, nodesnot to be mouldy. All of these can create problems for you later.
Choose species of wood and depending on the subsequent use of the object. There are species that are more hardy outdoors (tec, chestnut), others harder and more suitable for objects subject to mechanical aggression or lighter species, which will also confer this property to the final object. In addition some are harder to work, others easier. A harder wood will be a test for the tools used, but also for your hands.
Choosing hand tools
And since we're on the subject of tools, you'll need some basic tools. The supply is large and it's good to choose the right ones. Don't go for the most expensive ones, but don't go for the cheapest either. Get the ones for a hobby, DIY activity. You don't need professional tools to start with, but you don't need tools that will break the first time you use them, or worse, put your safety at risk.
Let's start with a few recommendations for traditional hand tools.
Hammer.A good hammer is one with a good balance between the shank and the head so that it does not twist in the hand. It should be easy to use, have strength and not put a lot of strain on the hand. This means a hammer with a metal head and a hardwood handle (hardwood: oak, acacia, beech). The wooden handle picks up the vibrations and the hand is not very stressed. If the handle is not made of wood, it is good to have a rubber sleeve to absorb the shock.
Hand saw.Experienced carpenters say that the saw should be chosen so that you can feel the response of the wood when the blade enters it. That means a quality blade with sharp teeth and an optimal profile for cutting hardwood.
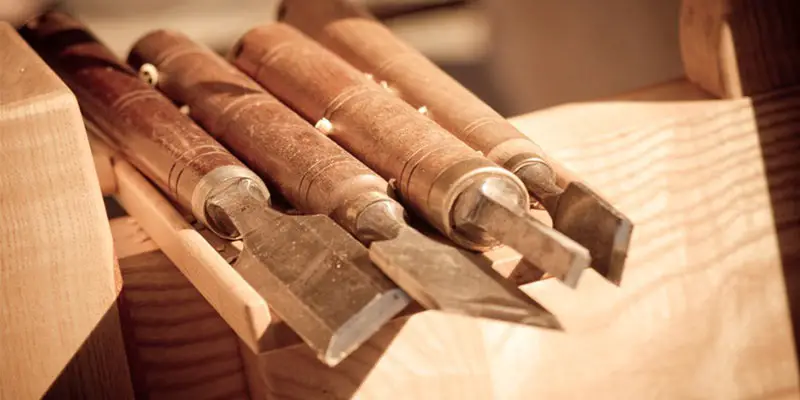
Set of chisels.Chisels are not just for sculpting. They are used to clean joints or cuts made with a saw, for hollowing, removing stock, for splitting, trimming or straightening material. There are sets combining different types and sizes of chisels. Their material must be tough and resistant.
Clamp set.If you ask a carpenter they will tell you there are never enough. They are used to fix the component parts of a glued object or to fix the object to be machined.
Hand drill. Surely the objects you make will also need holes. If there isn't a power tool to do it with, the old hand drill (you may remember it from your drill kit) will always be handy.
Rindea.Sanding is useful for smoothing, smoothing or making dents that give a surface a weathered look. It is a favourite tool of woodworkers, a sort of symbol of the craft. It can be made of wood or metal and it is very important that the blade is very sharp. It's not something you won't be able to work without, but you have to admit it's a great joy to have one, especially if it's old.
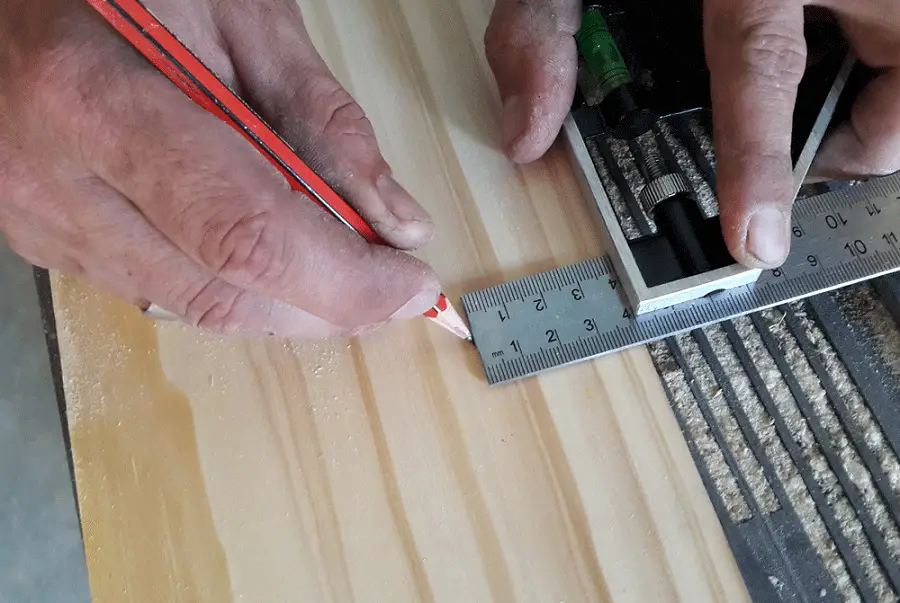
Measuring devices.It is impossible to make an object without measuring the wood before cutting it. You'll need a joinery tape measure - classic and very useful - a ruler and protractor for measuring and plotting angles. A protractor is also useful for measuring depths, inside holes and round bodies.
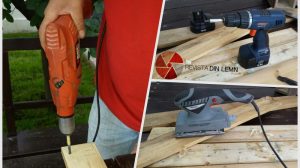
Very useful electric hand tools
If you're past the first few projects and have come to the conclusion that this is the hobby you want to pursue, it's worth considering some power tools. In my opinion the most important ones are:
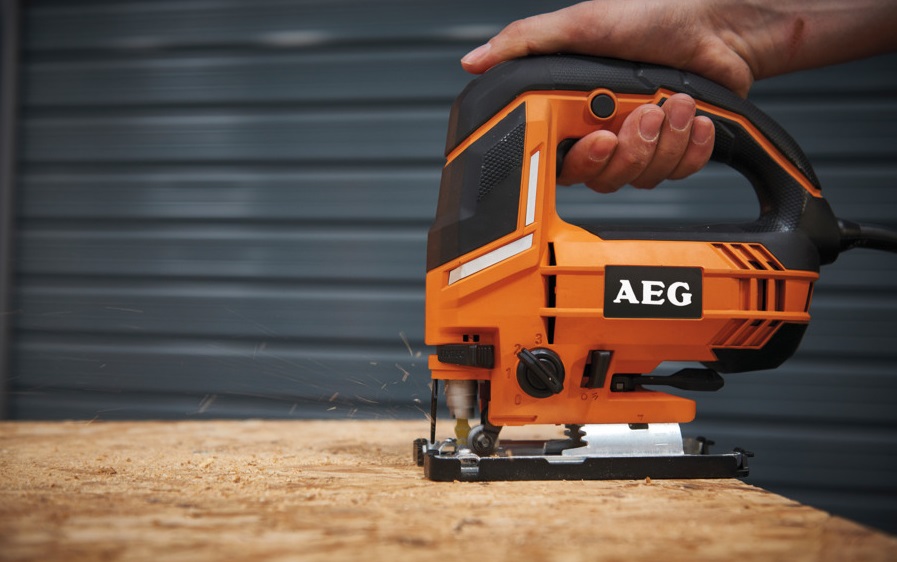
Pendulum saw. It's easier to handle than a handsaw, faster and requires less effort to cut. It can be used for precise curved cuts in wood or plywood or to cut wood-based panels.
Flat sanding machine.It is especially useful if a layer of paint needs to be removed or the wood to be worked is very rough and uneven. It helps a lot to sand flat surfaces quickly and well. But if the surfaces are curved then hand sanding is still the basis.
Bormasina. You can drill holes in wood much easier with a power drill than with a hand drill. The best are the 2-speed ones, which can screw and unscrew depending on the speed you choose. A very good quality drill bit set makes the drill the perfect tool for drilling.
Simple but important tips for a quality end result
Make a drawing, a sketchwith dimensions, location of holes, angles. Measure carefully and then cut and/or drill. "Measure twice and cut once" is a saying that applies here too, not just in tailoring.
Use sharp blades for cuts. The sharper the blade, the cleaner and more accurate the cut. Clean and care for your tools for quality results.
Choose the glue suitable for the conditions in which the object will stand. For places with high humidity (bathroom, kitchen) or for outdoors use D3 or D4 adhesives.
Useiti screws suitable for the dimensions of the holes made in the wood.Larger screws can crack the wood and with smaller ones the grip will not be fixed and secure.
Carefully sand the wood to achieve smooth surfaces with a pleasing grain. The more attention you pay to this step, the better the result will be. Use sandpaper or sanding sponges for the sandpaper.wood grindingThe fine grit (240-400) is for polishing varnish.
If the wood has unwanted holes or cracks, seal them with wood putty. Take care that, by drying, the grout decreases in volume. Apply a larger quantity and sand off the excess after drying.
Don't choose complicated finishing materials. The most suitable and easiest to use are oils and the heavens. Don't choose complicated finishes for your first projects. They're not as easy to do as they look. You'll need some experience before you get to great finishes. Stick to wood protection at first.
Be patient, do each operation carefully and without rushing.. It's not the speed at which you finish the job that will give you satisfaction, but the quality of the product you produce.
To gain experience and dexterity, aim to do something extra with each new project: o merge new, more advanced processing, finishing including colouring or a great effect. Don't skip steps. Don't go immediately from a very simple project to a very complicated one.
Read more! There is a lot of information related to this area. Find out how others are doing what you want to do. Learn from their experience. You don't need to make the same mistakes.
Observe all protection requirements while working. Don't take risks and remember that you are using tools that can become dangerous. Use protective equipment. The most important thing is your safety.
I hope you find this information and advice useful and that it will help you in your future projects. I would be glad if those of you with experience would come up with additions of interest to a beginner. After all we are all bound by the same passion.


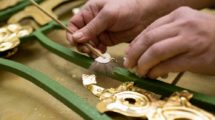
I bought a tracing kit from the bookstore for my grandson ., but I don't know how to use it. How do you attach the board to the plank? What is the role of the V-notched piece?
Hello!
The plywood is not fixed to the board because you will cut the board along with it. The V-notched piece is the one that is clamped to the board. To cut the plywood on which the pattern has been drawn, it is positioned on the piece fixed to the board and the saw blade must be cut through one of the holes or through the free V-groove. The saw remains fixed in position and cutting is done by moving it up and down, moving or rotating the board to follow the design.
Good luck to your grandson!