


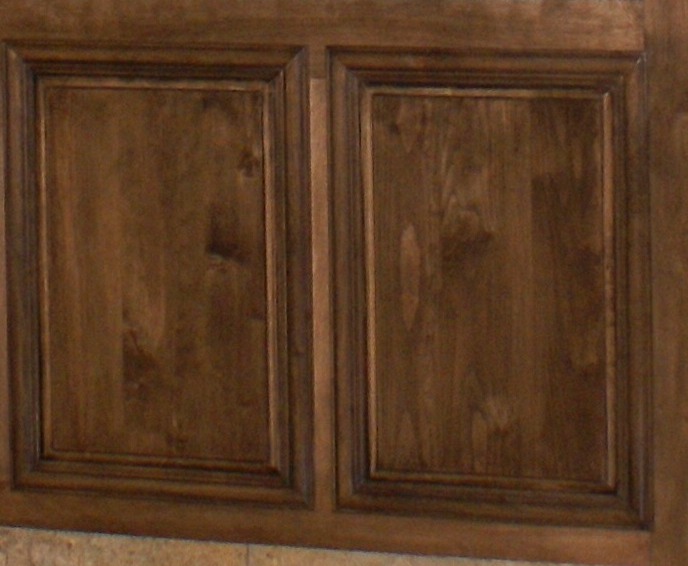
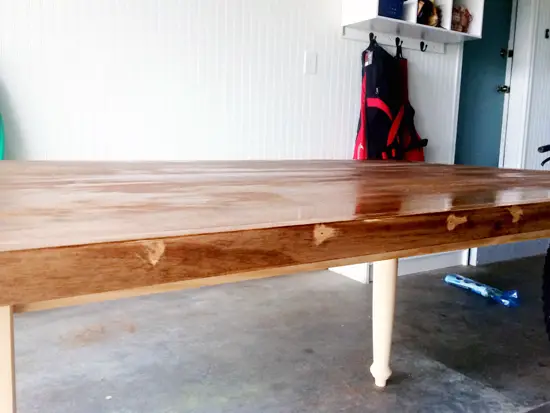
Culoarea aplicată pe o suprafață din lemn interacționează atât cu lemnul cât și cu stratul de finisaj ulterior. Interacțiuni cu urmări apar și între grund și suportul lemnos. Calitatea colorării depinde de mai mulți factori care, dacă nu sunt respectați, vor avea ca urmare apariția defectelor de colorare, adică pete, colorări, decolorări și migrări de culoare.
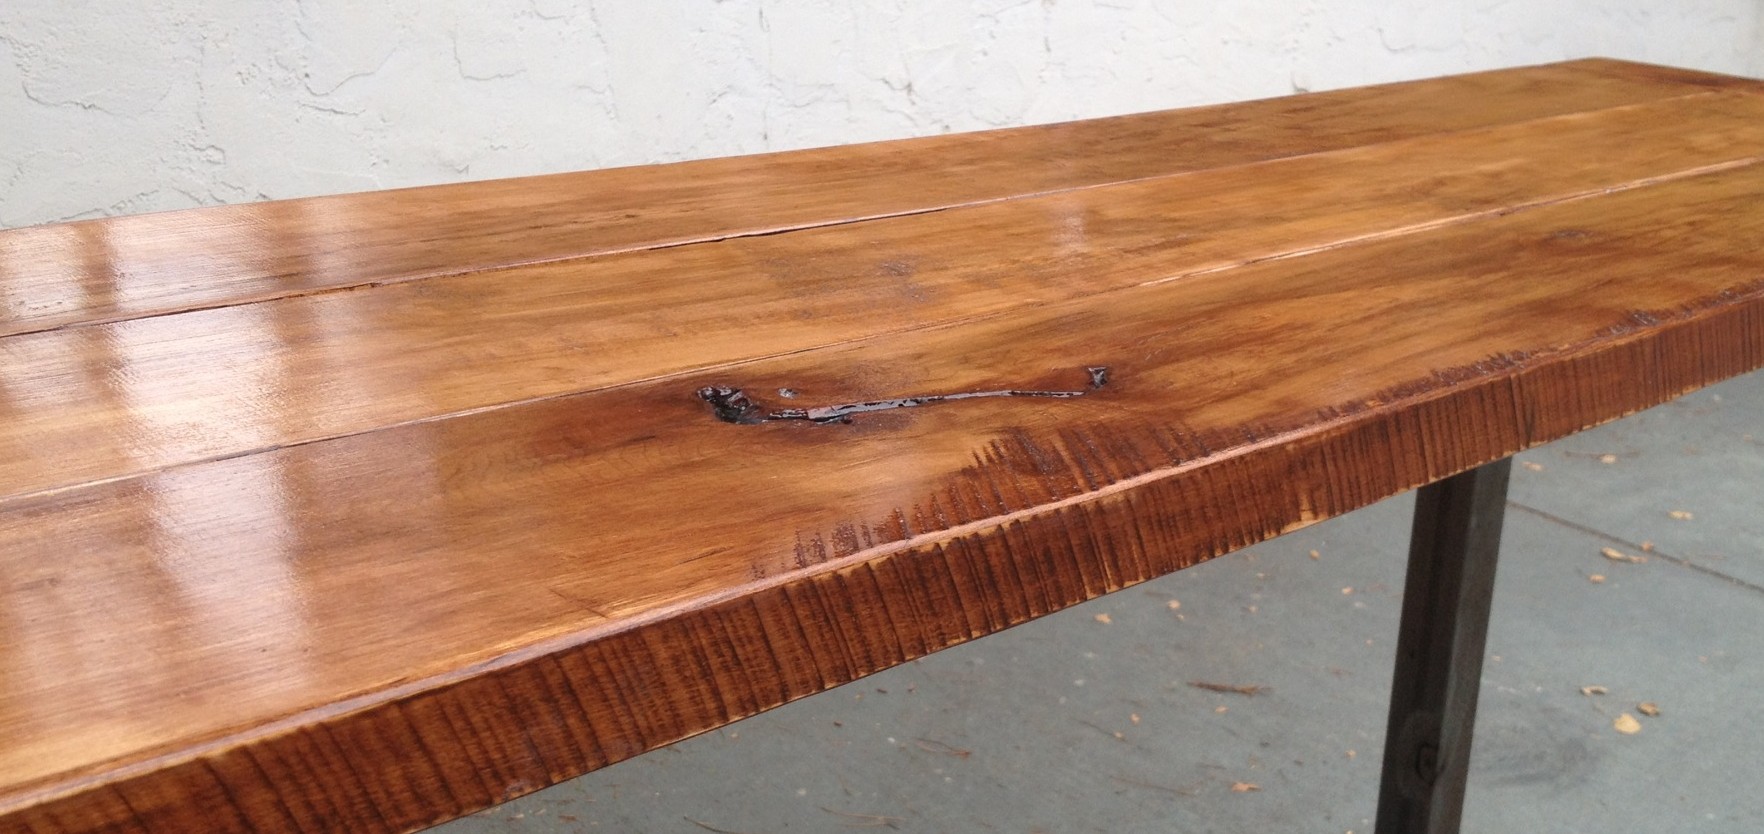
Petele din cauza absorbției diferite
Petele apar cel mai des din cauza șlefuirii necorespunzătoare. În acest caz, în anumite locuri, absorbția în lemn este mărită sau micșorată, rezultând pete mai închise sau mai deschise la culoare. Modul cum se face șlefuirea pentru a evita apariția defectelor îl găsiți aici.
Sunt însă și situații în care, oricât de bine s-a șlefuit lemnul, petele tot apar. Este cazul esențelor repede crescătoare, unde lemnul este mai afânat, moale și scămos și absoarbe mai multă culoare (plop, salcie, anin). În acest caz este bine să se folosească soluții de colorare uniformizante sau baițuri speciale cu conținut de rășină care reduc absorbția în lemn. Uniformizarea colorării se poate face și după aplicarea grundului, dar este o metodă care nu are rezultate dacă petele sunt foarte vizibile.
Un caz special de absorbție mărită sunt canturile sau zonele strujite, unde apar capetele de fibră de lemn care absorb mai ușor și mai repede. Se recomandă folosirea izolatorilor care blochează absorbția în fibra lemnului.
Chituirea sau petele de clei pot modifica absorbția ceea ce duce la apariția petelor
În cazul panourilor furniruite, petele pot apărea în zonele în care sunt pătrunderi de clei din cauza dozării greșite a adezivului sau a furnirului de calitate inferioară, cu smulgeri de fibră. În zona în care adezivul a pătruns, absorbția este blocată și apare pata deschisă la culoare.
Soluția care se folosea mult în trecut era colorarea adezivului. Era foarte restrictivă, pentru că ulterior nu puteai colora decât în culoarea pusă în adeziv sau într-o culoare foarte închisă. De aceea se recomandă folosirea unei soluții de colorare ce are ca solvent un diluant repede volatil, de tipul acetonei, iar aplicarea să se facă prin pulverizare. Astfel, culoarea ramâne la suprafață, nu intră în lemn, așezându-se și peste zona cu pătrunderi de clei. Totuși, pătrunderea de clei trebuie evitată pentru că, chiar dacă se rezolvă problema colorării, rămâne cea a aderenței la suport a straturilor următoare.
Pete apar și în zonele unde lemnul a fost reparat cu chit, iar baițul cu care se face colorarea nu este compatibil cu acel chit. Compatibilitatea dintre cele două produse trebuie testată înainte de a le folosi pentru că, dacă au fost folosite, singurul mod de a remedia defectul este să se șlefuiască totul și să se reia procesul.
Lemnul albit chimic schimbă culoarea grundului poliuretanic
Probleme de colorare a grundului apar dacă se aplică un grund poliuretanic peste un lemn albit chimic. Catalizatorul este foarte sensibil la substanțele cu care se albește lemnul și virează culoarea grundului spre un galben intens. În cazul în care lemnul a fost decolorat sau albit chimic, finisarea trebuie făcută cu produse acrilice cu întărire. Ele au și avantajul că nu modifică deloc culoarea de bază fiind recomandate pentru protejarea efectelor speciale, a finisajelor foarte deschise la culoare sau a lemnului natur de culoare deschisă.
Pete din cauza taninului lemnului
Mai pot apărea probleme de colorare atunci când se finisează cu produse hidrodiluabile lemn taninos de tipul stejarului, salcâmului sau a unor esențe exotice. Fenomenul este și mai vizibil dacă se aplică produse pigmentate albe sau deschise la culoare. De exemplu, dacă peste salcâm se aplică un grund hidrodiluabil alb, aproape imediat culoarea albă va începe să vireze spre verde. Pentru a evita acest lucru se recomandă folosirea izolatorilor.
Tot din cauza taninilor din lemn pot apărea și probleme de decolorare a soluțiilor de colorare. Și în acest caz soluția este tot folosirea izolatorilor înaintea aplicării baițului.
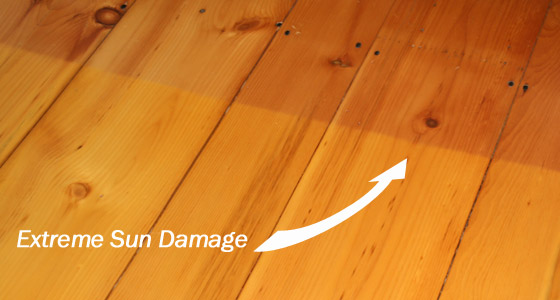
Schimbarea culorii din cauza luminii
Decolorarea poate apărea și din cauza expunerii la radiația UV. Este cazul soluțiilor de colorare folosite pentru colorarea produselor pentru exterior, al celor care stau în vitrine sau în zone foarte expuse luminii directe sau celor care vor trece pe sub lămpile UV în cazul aplicării unui astfel de finisaj. În toate aceste cazuri trebuie folosite produse reziste la acțiunea radiației UV și a luminii directe. La exterior trebuie folosite materiale special formulate. Dacă se folosesc la exterior coloranți formulați pentru interior, iar mobila astfel finisată stă în soare, în mai puțin de un an acea culoare, indiferent cum este ea, se va descompune și va deveni gri.
Pentru produsele folosite la interior dar în zone intens luminate sau în vitrine, trebuie folosiți coloranți rezistenți la acțiunea luminii directe, iar acoperirea lor să se facă cu materiale ce conțin absorberi UV.
Migrarea culorii
Uneori, când se aplică grund hidrodiluabil peste o suprafață colorată, se observă cum culoarea începe să migreze în grund. Fenomenul se mai numește și sângerare. Se întâmplă de obicei în cazul coloranților universali, care sunt solubili atât în apă cât și în solvenți organici. Când se aplică un grund hidrodiluabil peste, apa conținută solubilizează colorantul și acesta începe să migreze în grund, colorându-l. La fel se poate întâmpla și dacă se aplică peste baițul pe solvent un grund, tot pe bază de solvent, ce conține un diluant mai greu volatil. Soluția este folosirea unor baițuri insolubile în produsul ce urmează a fi aplicat. De asemenea, pot fi folosite și baițuri mai speciale care, odată fixate pe fibra lemnului, nu se mai dizolvă în nici un fel de diluant.
Recomandarea mea este ca întotdeauna să transmiteți furnizorului de produse de finisare toate informațiile referitoare la natura suportului, tratamentele la care a fost supus, tehnologia folosită pentru finisare, destinația produsului finit și alte astfel de informații care-l ajută să vă recomande cele mai potrivite produse și soluții de finisare. Astfel evitați apariția unor defecte care sunt greu, dacă nu imposibil, de îndepărtat fără costuri suplimentare.
Seria completă a defectelor de finisare o găsiți aici.
Sper să considerați utile informațiile de mai sus. Ca de obicei, completările sunt binevenite. Iar dacă aveți întrebări sau neclarități, lăsați-le mai jos, în spațiul dedicat. Sigur voi răspunde.


[…] Defecte de finisare – Pete, colorare, decolorare, migrarea culorii […]
[…] acum, legat de colorare, v-am spus cum poate fi evitată apariția defectelor de finisare. Cum ar veni, v-am spus întâi ce nu trebuie să faceți. ☺ Acum am să vă spun despre […]
Buna ziua,
Foarte interesant articolul, multumim. Pe subiect, m-ar ajuta un punct de vedere, am achizitionat o comoda din lemn de mango si pe anumite portiuni se pot distinge pete care duc usor spre verde. Sa fi fost oare lemnul tratat cu grund hidrodiluabil alb? are pe el un fel de faina si miroase intepator, vine din India.
Am de gand sa aplic un strat de ceara dar nu inainte de a finisa putin suprafetele cu glaspapir, m-as bucura daca s-ar inchide putin la culoare; in momentul de fata are o culoare destul de deschisa undeva in plaja cenusiu-alb. Este o abordare buna pentru a uniformiza culoarea si a acoperi petele respective? Va multumesc,
Buna ziua,
Lemnul exotic are taninuri multe di diverse. Nu pot sa-mi dau seama ce ar putea fi.Mirosul ar putea fi specific lemnului si atunci va persista mai mult timp, sau al finisajului si in mod normal, va disparea mai repede.
Puteti folosi ceara colorata pentru a inchide culoarea mobilierului. Ceara se poate aplica si fara slefuire, dar pentru a fi sigura ca indepartati eventuala murdarie acumulata puteti slefui inainte. Folositi hartie de slefuit fina (granulatie 280 sau 320) sau bureti abrazivi fini.
Succes!
Va multumesc frumos pentru raspuns. Cele bune,
Uau, foarte multe informatii folositoare. Multumesc mult pentru site, faceti o treaba extraordinara! 🙂
Am si eu cateva intrebari, pentru inceput, imi puteti recomanda un lac bun, modul de aplicare pentru el pentru niste usi vopsite de curand?
Vopseaua este alba, alchidica, am dat mai multe straturi si as vrea sa le protejez de ingalbenire si sa fie mai rezistente in timp. Cam cate straturi de lac ar trebui sa dau? Ma gandisem la un lac mat sau semi mat dar nu stiu daca e o idee buna. Mentionez ca nu au fost slefuite inainte din lipsa de timp, nici pregatite in vreun fel, am dat doar vopseaua.
Imi puteti recomanda cateva articole pentru ce as putea face acum pentru a le proteja? Multumesc frumos, astept raspuns.
Alexandra
Buna ziua!
Multumim si noi pentru aprecieri!
Lacul pe care il veti aplica, indiferent de natura lui, va ingalbeni putin suprafata. Acest lucru se va intampla chiar la aplicare pentru ca rasinile din lac au o tenta galbena, mai inchisa sau mai deschisa, in functie de natura lacului. Daca doriti acel alb imaculat, il veti pierde daca lacuiti. Vopselele au pigmenti care dau albul, in lac sunt doar rasini, ele dau tenta de galben.
Vopselele alchidice sunt rezistente la lumina, cea care schimba culoarea. Din pacate, cea mai putin rezistenta este vopseaua alba. Pentru o buna rezistenta ar trebui sa contina o cantitate mare de bioxid de titan, care este scump.
Daca totusi vreti sa lacuiti, va trebui sa folositi tot un lac alchidic sau unul pe baza de apa (pe acesta trebuie sa-l testati inainte pe o parte mai ascunsa). Lacurile pe baza de solvent, care nu sunt alchidice, nu sunt compatibile si nu vor forma o pelicula continua (se separa, se resping). Cea mai buna rezistenta la lumina o au lacurile pentru axterior. Au absorberi UV si cantitati mici de pigmenti, ce aceea nu sunt total incolore). Folositi un lac mat, sau semimat, se vor vedea mai putin defectele, zgarieturile sau urmele mainilor. Protectia cu lac este buna si in cazul zgarieturilor. Pe lac nu se vad, spre deosebire de cele de pe vopsea.
Am sa las mai jos cateva link-uri. Nu stiu cat va pot ajuta in acest caz, mai special. Exista insa multe articole, cred eu, utile in sectiunile Finisare si Bricolaj ale site-ului. Gasiti informatii si pe canalul de youTube Revista din Lemn.
Toate cele bune!
https://revistadinlemn.ro/2020/04/23/vopsirea-si-lacuirea-sfaturi-pentru-incepatori/
https://revistadinlemn.ro/2017/08/16/sfaturi-pentru-finisarea-usilor/
https://revistadinlemn.ro/2020/03/25/7-defecte-de-lacuire-sau-vopsire/
https://revistadinlemn.ro/2019/05/16/5-sfaturi-de-finisare-pentru-a-evita-obtinerea-suprafetelor-aspre-si-rugoase/
https://revistadinlemn.ro/2017/02/13/combinarea-corecta-a-materialelor-de-finisare/