


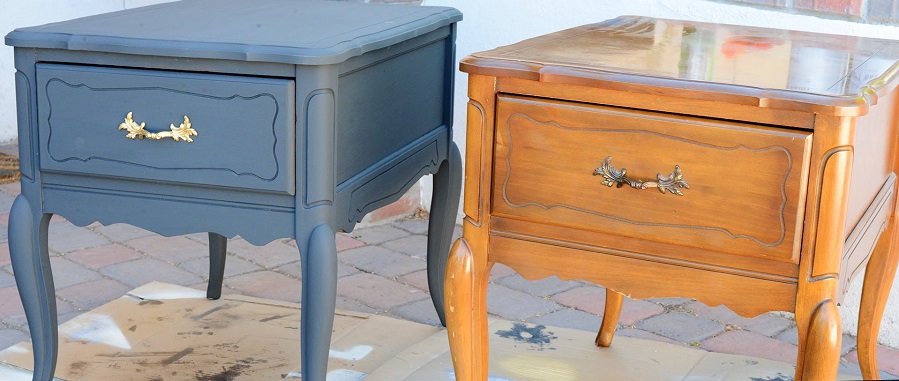
For repainting older pieces of furniture, chalk paints are a great solution Annie Sloan. I think chalky paints is a translation, better than chalk paintsfor the English name of the paint chalk paint. The paints - trademarked Annie Sloan - are chalk-like in appearance, but much more complex in properties. And their main strength is their ease of use. But like any beginning, however simple, it needs some guidance, and the best way to convey this is by outlining a beginner's guide.
The simple way these paints are used was a surprise to me too. I used to say, when someone asked me how to change the color of an old piece of furniture, that it must first be well sanded so that the new coat of paint would have adhesion. Also, when the painted piece was made of chipboard, I would recommend a special initial coat to ensure adhesion to the backing. With chalky paints there are no such problems. There is adhesion to any substrate without special preparation. And by any substrate I mean wood, metal, glass, glass, leather, ceramics, textiles, plastics.
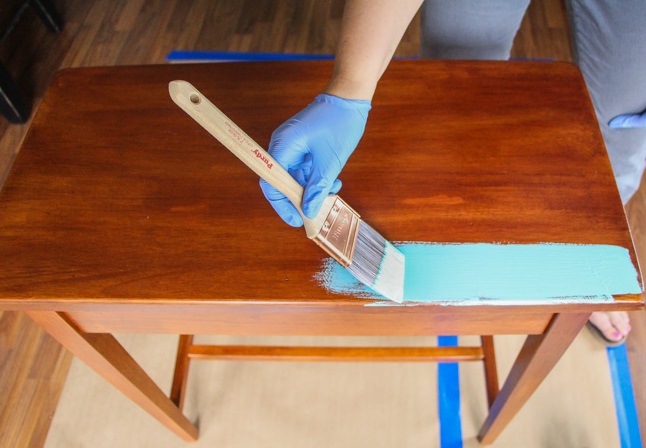
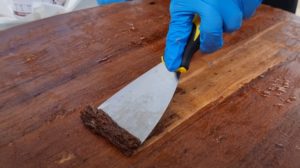
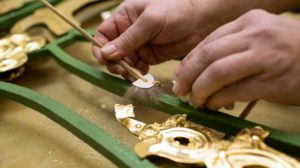
photo source: tammydamore.com
But let's see what it takes to transform an old piece of furniture into a new, reinvented look:
1. Entuziasm.
That's the first thing a distributor has said Annie Sloan when I asked what it takes to start working with chalky paints. That's right, it takes enthusiasm first and foremost, and above all, lasting enthusiasm. As simple as it may be, painting at home is messy and transformation doesn't just happen by wiggling your nose, like in the Samantha movies. It takes an enthusiasm that lasts even when things get less pleasant - washing brushes, mopping up spilled paint. Besides, everything is done in stages and it takes patience to get to the end. If you lose your enthusiasm after the first coat of paint, the project is a failure.
2. Gather the materials you need.
During the transformation you will need a number of materials that you need to gather ahead of time. Nothing is more unpleasant than having to stop painting to go out and buy something you're missing. So, make sure you have:
- Brushes. Both wide brush for paint application and round brush for wax application. Find more information about Annie Sloan brushes here. If they are more lenient when it comes to paint application and tell you that you can buy any wide brush as long as it's a good one, when it comes to the round brush, make an effort and buy the special Annie Sloan brush. You will see the difference especially if the object you choose to paint doesn't have perfectly straight surfaces (raised parts, carving or grooves).
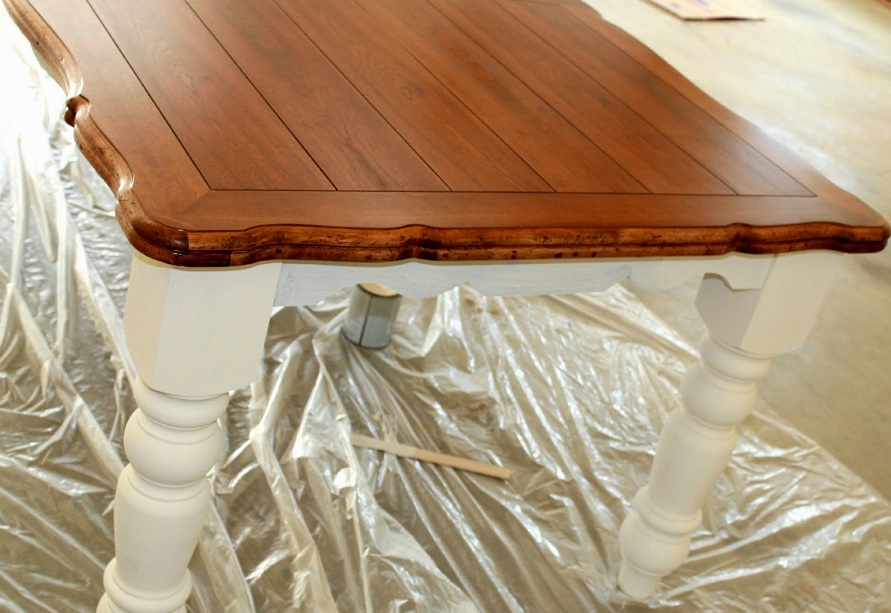
- Annie Sloan Cream Paints. Start with only one color, maximum 2. Calculate the area to be painted and think that you need 70-75 ml/sq.m/coat. If the difference between the old and the new color is not big, one coat will be enough. But if there is a big difference between the old and the new, or if you need to cover a very dark color with a light one, consider 2 coats of paint for good coverage.
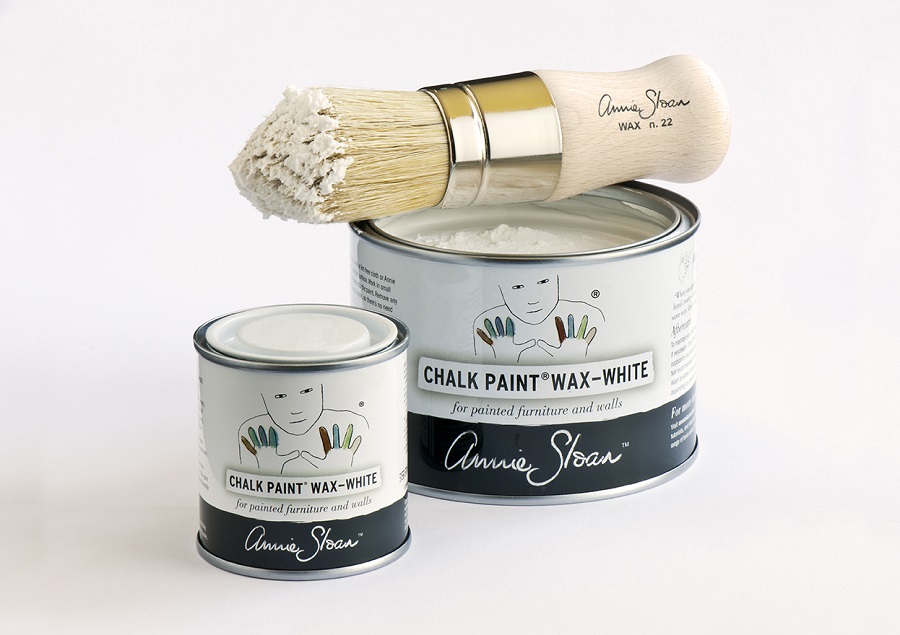
- Annie Sloan transparent wax. The finish is protected with clear wax so it is absolutely necessary at the end. Take a small can to start with as you won't be using a lot. Don't try the colored wax used for skating. Get your hand with clear wax and then go to the next level.
- Lint-free cotton rags. From my own experience I can tell you that the best ones for such operations are the old (good quality) cotton T-shirts that you have out of use. White t-shirts are ideal, but colored ones are fine if you know the color won't come out. The cloths will be used to remove excess wax and to polish the wax. You'll also need them for spot wiping, hand wiping, brush cleaning.
- Abrasive sponges. Contrary to what you may have known, you don't need them to sand the surface before painting, nor to sand between coats. You need them if you want the effect called distressedso purchase is optional.
- Wooden sticks for mixing the paint, a short-bladed knife, a penknife for opening the boxes.
- Rolls of adhesive paper to mark out the parts you don't want to paint. They are available in any DIY store and are very easy to use.
- Cup for holding brushes in water (if you do not wash them immediately). After you have finished applying the paint, wash the brushes with water. This will prolong their life.
- Protective gloves. You can paint just as well without it, because paint is not dangerous at all and washes off with water. But gloves are a good idea.
3. Prepare the place where you'll make the transformation.
You'll need a place to work and when choosing a place to work, keep the following recommendations in mind:
- Choose the place inside. Chalk paints are totally non-toxic and with very low emission of volatile organic compounds (VOCs) and there is no problem to use them indoors. Indoor use keeps the surface free from possible sticking and dusting.
- Choose a brightly lit place. Natural light is ideal, but if your windows aren't big enough, make sure you have lamps to give you the light you need.
- Make sure the place is ventilated (and create draughts), and if you don't have to, help with a fan. Ventilation is very important for drying water-based paints.
- Protects the floor. Even if you don't have much of a problem with spills using Annie Sloan's creamy Annie Sloan paints, you never know when an accident might happen. Protective films (also good if you're painting) are available in stores.
4. Choose the object you want to transform, but don't dive for the heaviest and most complicated one.
When choosing your transformation piece, don't go for the most complicated option right from the start. Even if they're easy to use, it's good to convince yourself first and make sure you like what you're doing. The length of the process, the steps, the hassle, may let you down and stop. Find out what a makeover is first and do it in the simplest way possible, starting with simple, smaller, easy to handle objects with the smoothest possible surfaces.
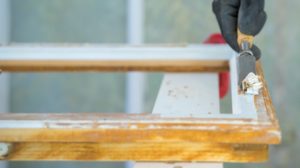
5. Clean the object you want to paint first.
I stand by what I said initially, that painting with Annie Sloan's chalk paints is done without first sanding the object. But any used object has a layer of dirt deposited on the surface. If the object has been used in the kitchen that layer is also combined with grease. Before you start painting, wash the surface with detergent (soap and water) and then wipe with a cloth.
6. Do your research!
All those who sell cream paints, Annie Sloan products in general - stockists how to find them on the Annie Sloan website - are ready to give you all the information you need. Don't hesitate to ask, even when you buy online. Annie Sloan distributors will be happy to answer your questions about the products and how to use them. You can also find information on their websites. For example, on allmycrafts.ro, the website of the first Annie Sloan distributor in Romania, you can find references to most frequently asked questions received from people who want to paint with Annie Sloan paints. A great source of information and inspiration are the books written by Annie. If you have the opportunity, don't hesitate to buy one, you will learn many interesting things.
7. Don't skip steps, take one step at a time.
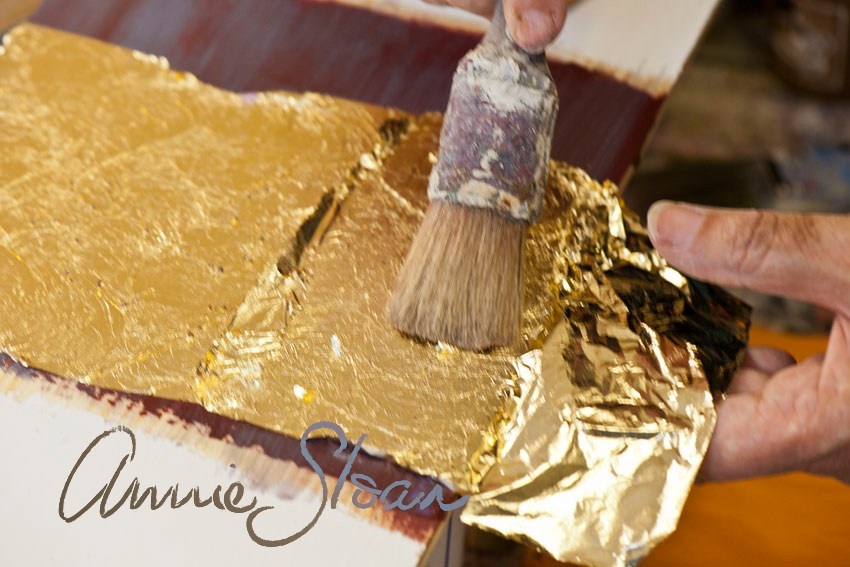
The transformations with Annie Sloan products can be spectacular. There are colored waxes, patina waxes that give furniture a precious look, metallic foils and techniques to achieve great effects. Don't go straight to them. Learn to use paints and waxes first. Once you know what you're talking about, get the hang of it and get your courage up, you can move on to the next steps. If you skip steps, things may not turn out the way you wanted and you may be disappointed.
This is what I call the beginner's guide when talking about Annie Sloan paints. For those of you who need more than that to get up the courage, I'll be back soon with a transformation of a simple piece of furniture made with the help of the cream paints and clear wax and following the steps in the guide.
Good luck and good luck!


Isn't it easier and cheaper to make this paint yourself...and even wax??
Yeah, the promotional codes in the article don't exist. Is the rest of it just a lie?
Good morning.
In what sense does it not exist? Did you order on the website almycrafts.ro or to the contact phone number mentioned on the website, mentioning the codes in the last paragraph of the article and you did not receive the discount?
I AM INTERESTED IN GREY CHALK PAINT A PRICE IF POSSIBLE THANKS!
Hello. You can only receive the price offer from Annie Sloan distributors. Find here the list of all distributors in Romania.
All the best!
Could laminate flooring be painted with such paints?
Hello!
Can be painted with Annie Sloan paints. It is mandatory that the paint coat is protected with 2-3 coats of varnish. Otherwise, it will not last.
All the best!
Hello!
Can solid wood, oak, veneered furniture be painted? Does it need to be varnished?
Hello!
If you use Annie Sloan paints, no. You just need to degrease it thoroughly beforehand (wiped with a water and detergent or soap and water rag, then with a clean water rag and finally with a dry rag. Use soft bunbac rags).
If the furniture is shiny you need to be patient. Apply a thin coat first, let it dry, then apply another coat.
All the best!
Thank you for posting, dear lady. You have clarified for me in a very precise way some things I knew nothing about. When I have enough courage ( and some money ) I will buy chalk paint and repaint the old kitchen furniture. I wish you good health, good luck and success in your work!
Thank you too!
Hello. I recently discovered chalky paint. I have a question. Can you paint veneered furniture? Does it have to be sanded?
Thank you.
Hello!
Yes, it can. But it's not the veneer that's important, it's the lake above it. In principle, any kind of varnish can be covered with chalky paint without sanding. But the surface must be very well degreased. To do this, wash with water and dishwashing detergent, then wipe thoroughly and leave to soak. Then apply the chalky paint. More patience is needed if the varnish is glossy because the first coat adheres more slowly.
A coat of wax must be applied over the chalky paints to fix them and make the finish resistant.
Hello, I have a question to d vs I have a grey staircase and I want to make it wenghe, what paint should I use?
Hello!
You have here a palette of colours. For more details you should call an Annie Sloan distributor.