


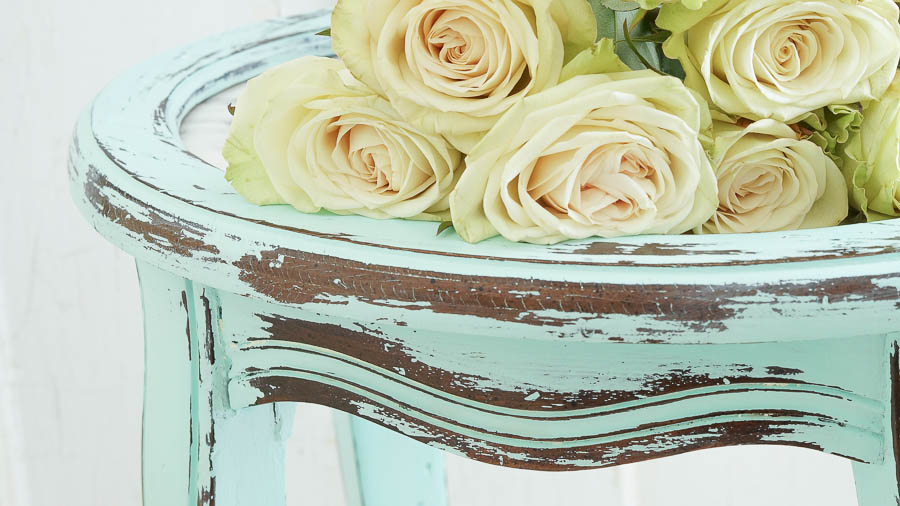
When we presented wood ageing techniques, we also mentioned distressed, one of the most used methods of antique furniture finishing. Distressed is the term adopted from English, but in factories it is commonly said consumption or burning of the mucous membranes. The method is mostly used for furniture, on a simple, flat piece of wood the effect is greatly diminished. It consists of sanding the edges or other parts of the furniture until the bottom layer or wood is reached, the aim being to make the furniture look long used.
Achieving distressed finish by sanding
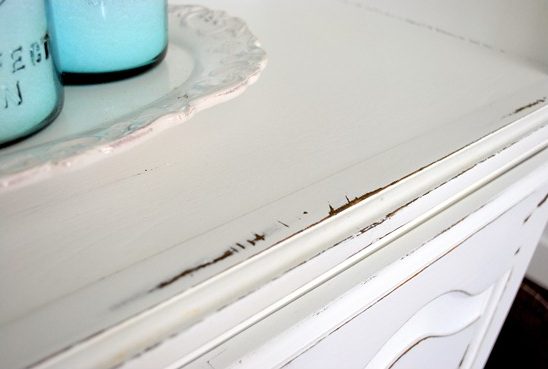
One of the ways to achieve the effect is to sand the finish coat down to the wood. This suggests that the furniture is so old that it has been tocit in certain places. In this case, sand the edges, corners and places where wear is supposed to be greater, until the wood is sanded. For the effect to be as visible as possible, the wood should be painted, fully coated. On a clear finish the effect is only visible if the stain used to stain the wood is dark.
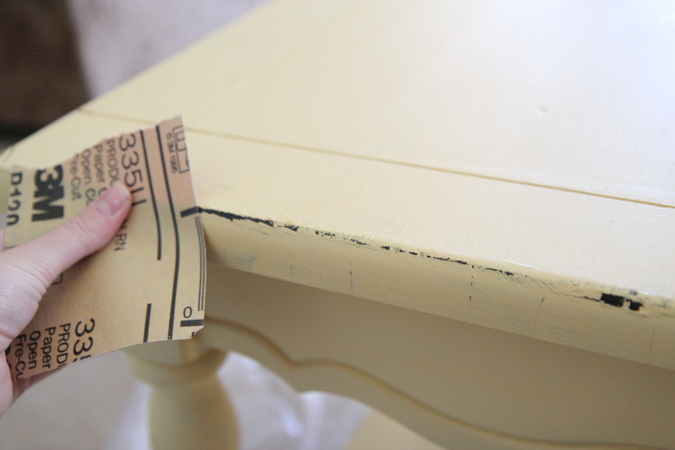
You can see how to sand the edges in the material below:
Application of successive coats of paint
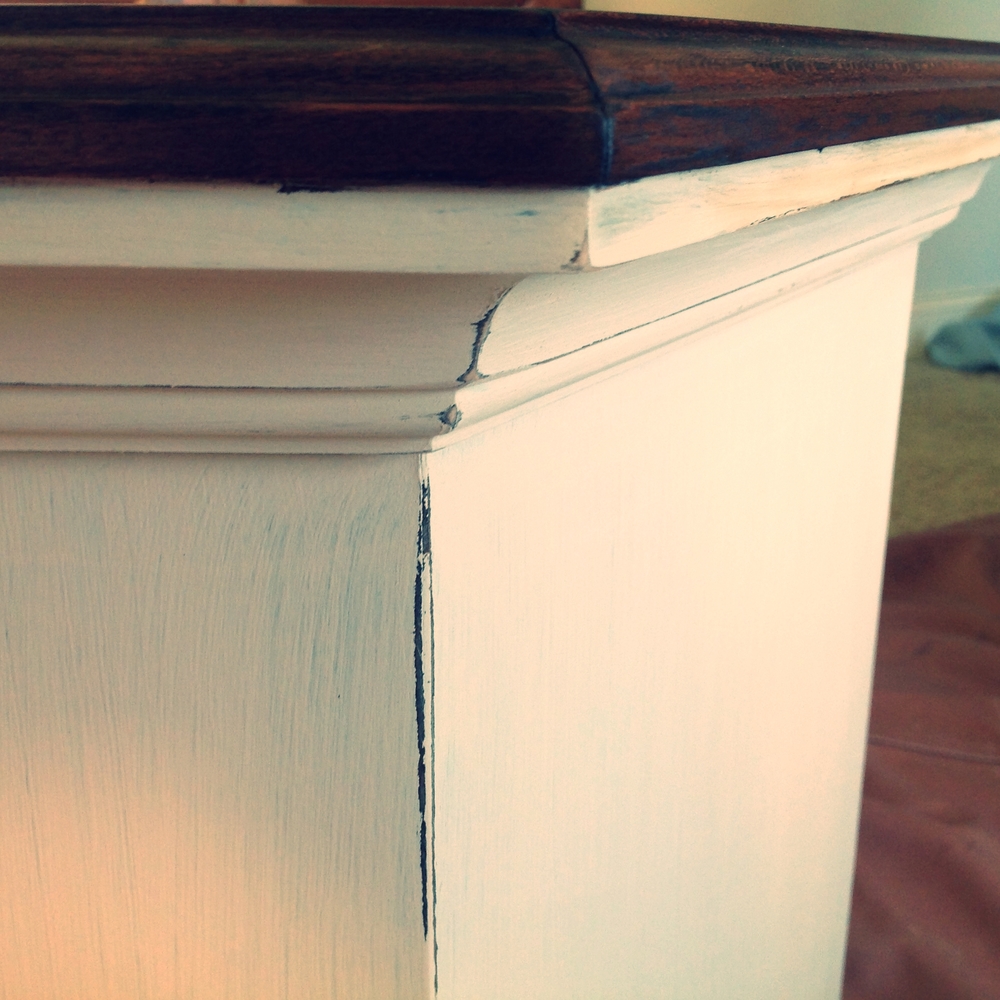
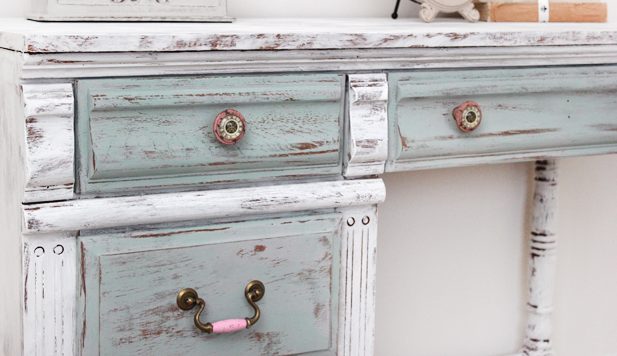
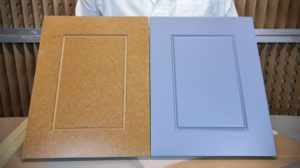
Another way to achieve the effect is by applying several successive coats of paint before sanding. After they are completely dry, sand the edges and also the sides of doors, drawers and sides of the furniture until the bottom coat is a different colour. Sanding is also done in places where it is assumed that the paint has faded over time: the wooden handles and around them, the edges of doors or drawers, the corners and edges of furniture.
For the effect to be visible, there must be a noticeable difference between the two layers of colour. The effect can be achieved by overlapping a coat of one colour of paint and a coat of another colour or two coats of paint of different colours. The difference between the two is the thickness of the film. If a thinner film is desired, it is advisable to apply both paint and varnish. For economy, the paint can only be applied to the places where it is to be sanded for effect - edges, borders, handles. To prevent the bath from migrating into the paint, it is best to protect it with a thin layer of colourless primer. The paint is then applied in a not too thick layer so that it is not difficult to remove. Finally, the effect is protected with a coat of clear varnish.
Recommendations for paint consumption
Sanding is done with sandpaper or abrasive sponges. Steel wool is not recommended because it is too fine to remove the paint layer. The grit used is the usual one for sanding between layers (240-320). If the thick paint coat requires the use of smaller grit sizes, such as the one for white sanding of woodIt is recommended to then smooth everything with finer sandpaper so that the surface does not remain rough.
For more advanced damage to the surface layer, another method can be used. The paint layer can be attacked with a 1:1 mixture of water and concentrated vinegar. Paints that can be used with this method and that yield to mixing are those with a lot of calcium carbonate filler (chalk) or water-thinnable acrylics (decorative wall paints). Pour the mixture over the furniture, then wipe with a soft cotton cloth. Do not insist, the paint takes off easily. Once dry, a coat of wax or clear varnish can be applied.
Sometimes, for a more pronounced aged look, a antiquing patina or use a dark brown coloured wax as a final coat.
Distressed is a widely used way of ageing wood. It's not difficult to achieve but, as with any distressed finish, the most important thing is that the result is believable, natural. This means that, as well as technique, the process also requires a certain flair, a special talent for such work.
I hope you find the above information useful. As usual, additions are welcome. And if you have any questions or queries, please leave them in the space below. I will certainly answer


Hello! can I use decorative wall paint on wood and get this effect? Interesting, I had not thought of such a thing... and for protection I can give with wax or matt varnish, colorless?
You can also use decorative wall paints. Check beforehand the compatibility with wax or varnish.
You really gave me an idea... I have a table that I want to change the color of, it's too dark, to paint it with the same paint I just painted the walls of the room with. It's a decorative paint that's quite muddy, more muddy than a normal washable paint... and on top of that I want to try a cracking effect...
If you give a thicker amount it may crack when drying. But check that it does not lose adhesion to the substrate. Good luck!
Excuse me, I'm driving you crazy with the questions... but before I should put a primer, otherwise it's possible that the glass will peel in time...
Thank you and have a wonderful day!
If the furniture is old, already finished, it should not be primed. It should be cleaned (washed) with water and detergent, dried well and sanded so that the paint adheres. The primer is recommended to be applied directly to the wood. It is basically the bond between wood and varnish.
Thank you very much for all the guidance!
Have a nice day!