


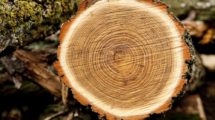


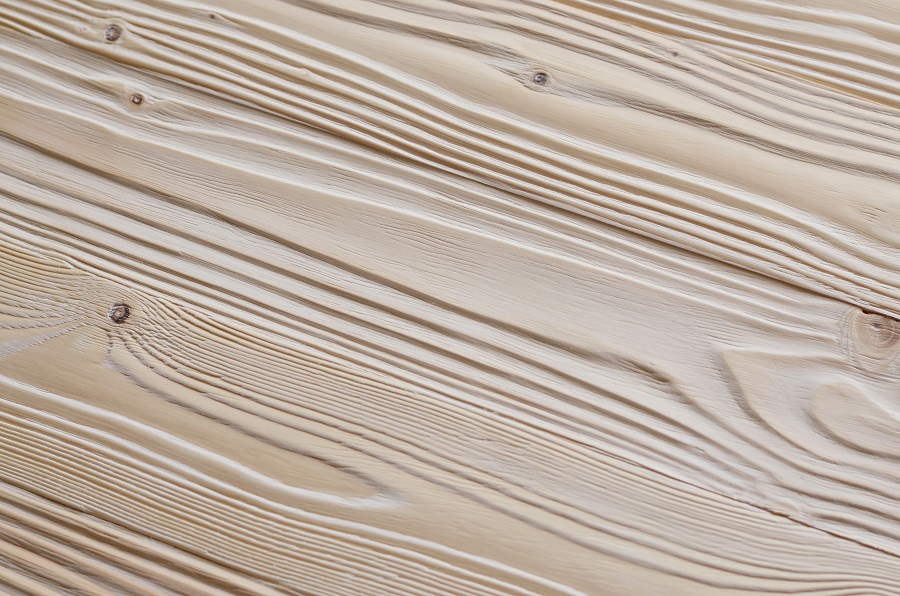
The patterns we see on the wood are the result of the different sectioning of the annual rings of the trunk. The annual rings represent the annual wood mass deposited by the tree. Between the one deposited in the first period of the growing season (spring, early summer), called early wood and the second half (summer, early autumn), late wood, there are differences in density, hardness, strength, colour, pore number and placement. The processing required to make lumber or veneer causes these differences to produce patterns.
There are several ways to cut the trunk to obtain timber. Relative to the central axis, the timber can be cut perpendicular to the axis or along it. Perpendicular cutting results in rounds in which the annual rings are seen as concentric circles. Cutting along the trunk can be done in three ways: parallel to the central axis (longitudinal cut), parallel to the radius of the circle represented by the trunk (radial or quarter cut) or tangential to the annual ring (tangential cut). Longitudinal and radial cuts result in parallel line drawings, while tangential cuts result in a wavy line drawing called a cathedral or flader. About the ways of cutting to obtain veneers you can find information here.
In some species, there is no significant difference in colour between latewood and earlywood and the pores are small and inconspicuous. Cutting these species results in a uniform surface with a dull pattern, with no identifying features. There are, however, methods by which the pattern can be revealed, starting from the difference in density and hardness.
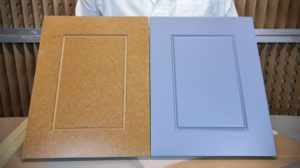
Staining, the easiest way to highlight wood design.
Highlighting is possible due to the different density of the wood. The colour will be absorbed differently in early wood compared to late wood and so the design will be more visible. This is the case with lime or poplar wood, which, uncoloured, is very uniform. Staining, even with very light colours, will add aesthetically.
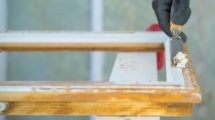
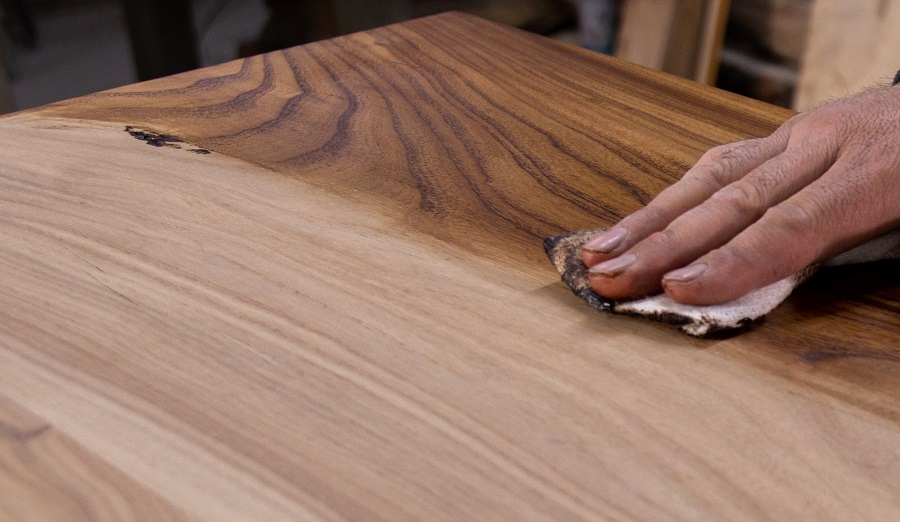
The method of application is also important. If the wood stain is applied with a cloth, sponge, roller or if it is wiped off after being applied with a spray gun, the wood design will become more visible. Wiping will push the colour into areas where the wood absorbs, but will remove it more quickly where absorption is slower. This will increase the difference in colour between the two types of wood, highlighting the pattern.
Dye-based solutions, not pigments, are best suited to achieve this effect. The latter are usually called uniforming baths. Pigments do not dissolve in water or organic solvents and are therefore not absorbed into the wood. They remain on the surface and cover differences, making the wood look uniform. The dyes dissolve, the resulting solution is absorbed into the wood differently and the design comes to life. The disadvantage is that it will also bring out defects in the wood so the wood needs to be very well prepared beforehand. Recommendations for stain-free staining are here.
The range of staining solutions is wide and it is often difficult to identify the one that does not contain pigments. The most useful criterion is price. Pigments are generally more expensive, so solutions containing them will also be more expensive. Also avoid baths with the word standardising.
Marking pores or patinating wood with a large density difference will make the design more visible
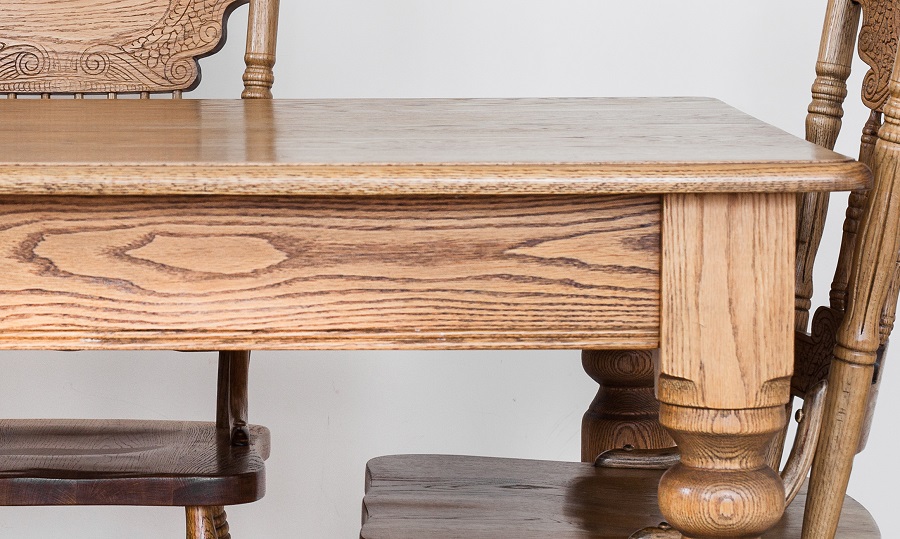
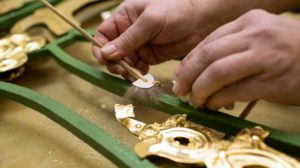
There are also species with large pores where, due to the uniform colour, the design is not very evident. This is the case with ash, which is very similar to oak, but lighter in colour and more uniform. In this case, a very good solution is pore staining. Special baths or staining solutions, sometimes called skatesThe process is also known as skating. The principle of the method is that these solutions bathtub or be pushed into pores (by wiping), which become more visible.
Skates can also be used on softwood, even if it has no pores. The large difference in density between latewood and earlywood will result in a reverse stain after the patina is removed. The darker and denser latewood will not be able to be stained, whereas earlywood will stain intensely, being more tannic. The result will be a more vivid, more visible drawing, a "negative" of the original drawing.
Structuring the surface of wood by sanding, brushing or sandblasting
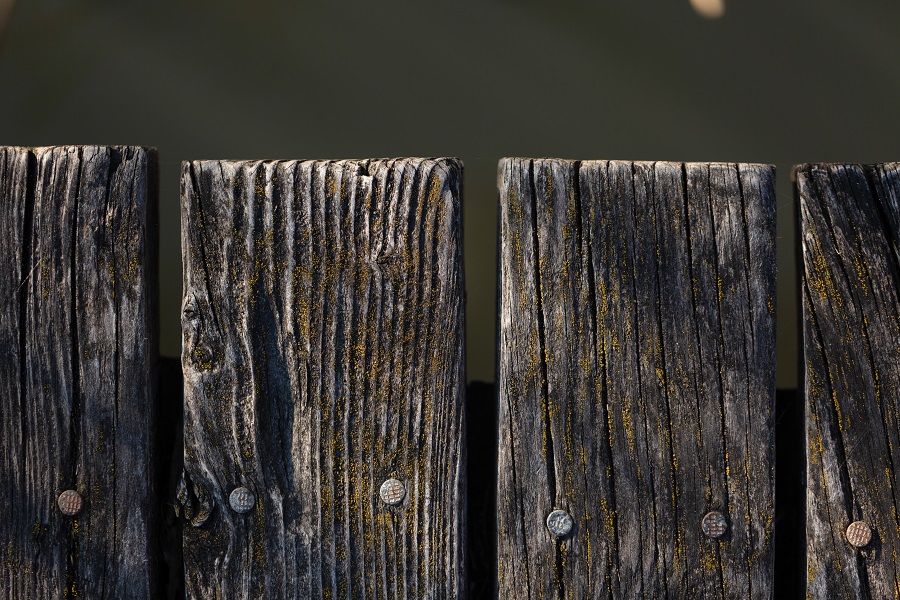
The difference in hardness between early and late wood is what makes the design visible in this case, becoming three-dimensional (3D). By various abrasive sanding methods, the softer and looser early wood will be easily removed, while the later wood will remain in relief due to its higher hardness. The method is commonly referred to as structuring. The effect mimics the look of old, weathered wood often found in old village fences. Softwood is often subjected to structuring because it does not require much effort, but the method is also used on oak and other hard species.
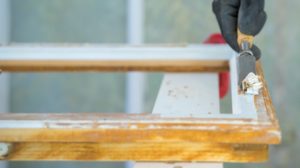
Structuring can be made by sanding, brushing or sandblasting. When sanding, coarse sandpaper (60-80) is used initially to remove the wood, then finer sandpaper (120-180) to smooth the grain. Brushing is done with wire brushes, by hand or mechanical. When brushing by hand, it is recommended to use brushes with thicker bristles to avoid scratching the wood. For sandblast special guns are used that spray sand or other abrasive materials onto the surface of the wood under pressure. The resulting surface is contoured and very smooth, with fine sand best reproducing the natural structure caused by dust in the atmosphere.
Structuring is also used by artists. By sanding thin pieces of wood (veneer) they manage to completely remove the early wood, the resulting effect is transparent wood.
Burning dyeing
Burning, on which a well-known method of protection against weather, fungi and insects (Shou Sugi Ban), can highlight the wood design. The method is based on the different burning resistance of the two types of wood. Early wood burns faster, while late wood is more resistant. Mild surface burning will highlight the design of the wood, and the deeper one, followed by brushing, will structure it. A special effect is achieved if the wood is lightly brushed, without removing all the blackened parts, and then stained in pastel colours.
I hope you find the above information useful. As usual, additions are welcome. And if you have any questions or queries, please leave them in the space below. I'm sure I'll reply.


BZIUA,How is it possible that the color of the oak door painted in light tan, and overnight made the aisle darker,as they are burned,I mention that the doors are 8 years old.Thank you.
Hello!
Oak blackens if it comes into contact with iron or iron-containing metals. The tannin in oak reacts with iron in an aqueous environment, resulting in a bluish blackish grey colour. It is possible that brownish paint containing iron oxide pigments also contains iron. And the age of the doors does not matter because the tannin does not disappear from the wood.
More information can be found in the article below.
All the best!
https://revistadinlemn.ro/2022/06/30/s-a-innegrit-scandura-de-stejar-au-aparut-pete-brune-sunt-reactii-ale-taninului-din-lemn/