


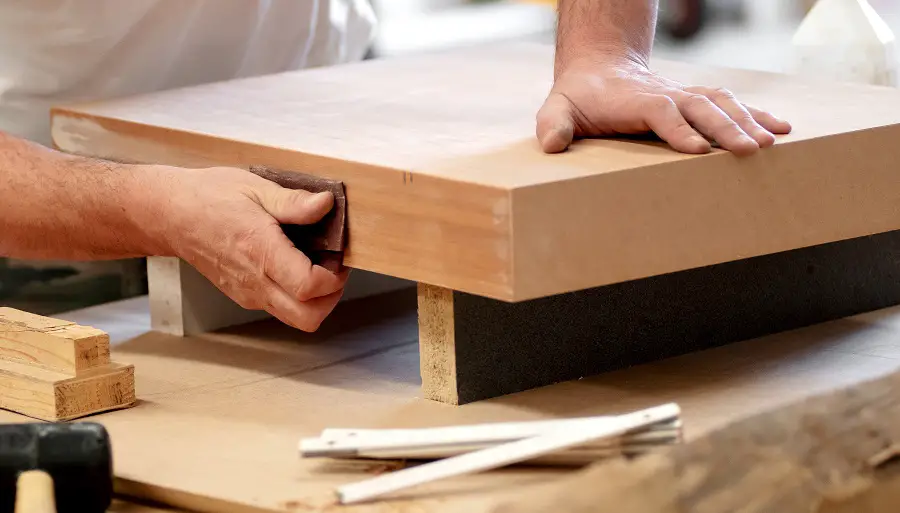
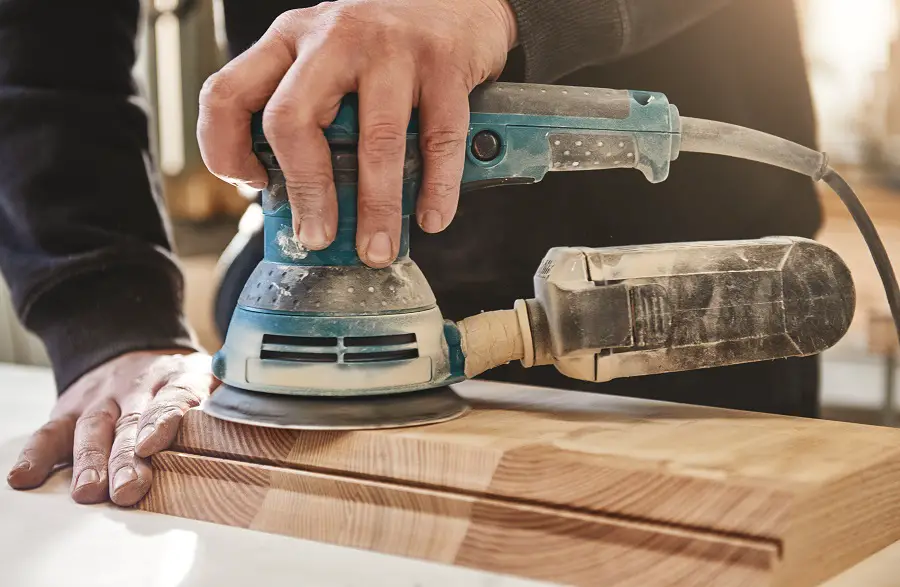
Sanding the wood before planing and/or priming and varnishing is necessary to remove defects and traces left over from mechanical processing with milling cutters or other machinery. Either hand sanding or mechanical, it should be started with a paper coarse enough to be able to effectively remove the defects without leaving behind other scratches, this time due to the abrasive material. In general, the most suitable grits to start sanding the machined wood to be planed and finished are between 80 and 120. Once the defects that have occurred during machining have disappeared, continue with 150 or 180 grit. The aim is that the surface is smooth enough so that no scratches occur when the bath or finishing material is applied. For more information on the materials used for sanding here.
Although it all seems clear and simple, there are rumours that if you sand with very fine grain - 400 or 600, for example - the wood will not stain when stained or waxed. This is just a myth, as the appearance of stains depends on many factors. What are the most common misconceptions about sanding, find out below.
1. Very fine grit sanding removes staining when staining
Wood staining is primarily related to the type of wood, its uneven structure and density. Indeed, a totally unsanded wood will stain much more than a properly sanded one, but a 400 sanding will not eliminate staining if the wood is loose, with twisted grain or other growth defects. Instead, fine sanding will result in a much lighter colour, even if is coloured by erasing.
The solution for wood prone to staining is to use insulators and/or levelling woods. They regulate the absorption of the stain into the wood and allow a uniform stain to be achieved. A compromise solution may be to apply a very thin coat of primer before the stain. The primer should be diluted (generally 1:1 with solvent) to avoid filming. Apply, allow to soak into the wood and dry and then sand the surface as above. Then apply the staining solution. Be careful to check the compatibility between primer and wood beforehand.
You can test for yourself whether advanced sanding prevents stains. Take a piece of stain-prone wood (poplar, wood with growth defects, etc.) and sand half at 180 maximum and the other half at 400. Apply the wood stain to the entire surface. You will see that the two sides will stain the same, the difference being the lighter colouring of the finely sanded area.
2. Very fine sanding makes the final look deeper and the finish finer
Sanding very fine-grained wood has no impact on the final appearance or grain if a multi-layer film is applied. The statement is only true if finishing is done with a single coat of wax, oil or other non-sanding product. As no further coats and film treatments follow, the wood will feel as it remains from the last sanding. This is why a finer sanded wood (400, 600) will feel nicer than a waxed or oiled wood after sanding with 180.
The depth and clarity of a film depends on the quality of the products used and the number of coats applied, and the tinting on how well and correctly it has been sanding between layers. A smooth and pleasant oiled or varnished surface cannot be achieved without intermediate sanding of the applied coats. Fine sanding of wood not only does not help, but can lead to decrease in the adhesion of varnish film to wood. The signs of poor adhesion are peeling of the film on light impacts or the appearance of whitish streaks even on very light scratching.
3. Very fine sanding closes the pores of the wood and prevents very dark staining
The fine dust resulting from fine sanding makes absorption more difficult, but does not hinder it. The result is a surface with lighter coloured spots, not a uniform lighter coloured surface. Very fine-grained sandpaper finely cuts the grain of the wood and leaves an almost polished-looking surface, but it does not behave uniformly and will not help achieve a pleasing appearance.
Closing the pores to limit absorption is not done with wood dust, by sanding. There are special products for this: insulators, pore-filling primers, various resins contained in staining solutions, etc. They lay evenly on the wood and limit absorption, and the appearance will be uniform and lighter in colour.
4. Very fine sanding leads to insensitive fibre lift when finishing with water-based products
No matter how finely sanded, wood is water-loving and will absorb water as soon as it appears. Water enters the wood fibres, swells them and their ends severed by machining or sanding rise. These fiber heads may be less coarse when fine sanding, but they exist and will feel the same if coated with varnish. "Taming" them can be done with special products added to the composition of the stains and varnishes, but to get a nice tufted film you will still have to sand between coats.
To test this theory you can do the same as in point 1. Sand a piece of wood, half with 180 as the final grit and the other half with 400 or 600. Then apply a water-based varnish. You will also feel the roughness of the surface after the varnish has dried. Very fine sanding will reduce the roughness of the wood which will feel much smoother, but will not reduce its affinity for water.
I hope you find the above information useful. As usual, additions are welcome. And if you have any questions or queries, please leave them in the space below. I'm sure I'll reply.


Many thanks for the advice DVS.!
What do we do with the little grouted cracks?
I left them 24 hours to dry, sanded them and then gave them with Lomlux countertop varnish.
After about 3 months, in the heated room, the grout has risen 1-2 mm with varnish.
You're welcome! Glad if I can be of any help.
The link between wood moisture and environmental moisture is permanent. This means that solid wood will vary dimensionally with the variation of humidity in the room even if it has been properly dried. The humidity inside can vary with the season, which can result in small cracks. They disappear when the humidity returns to its original level. This play in the wood has led to cracking or swelling of the grout.
I'd leave it until after the heat is off. The swelling may go down. If it doesn't, you should let another winter go by to make sure no other changes occur, then redo the whole thing using wood shims to hide the cracks that have appeared or a more elastic putty.