


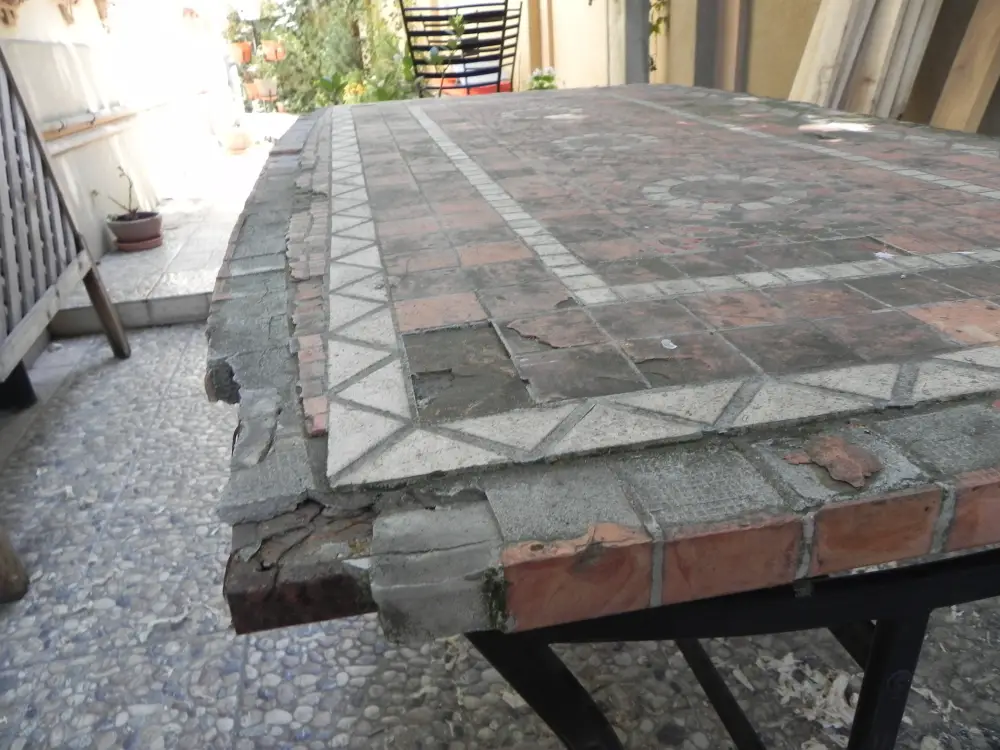
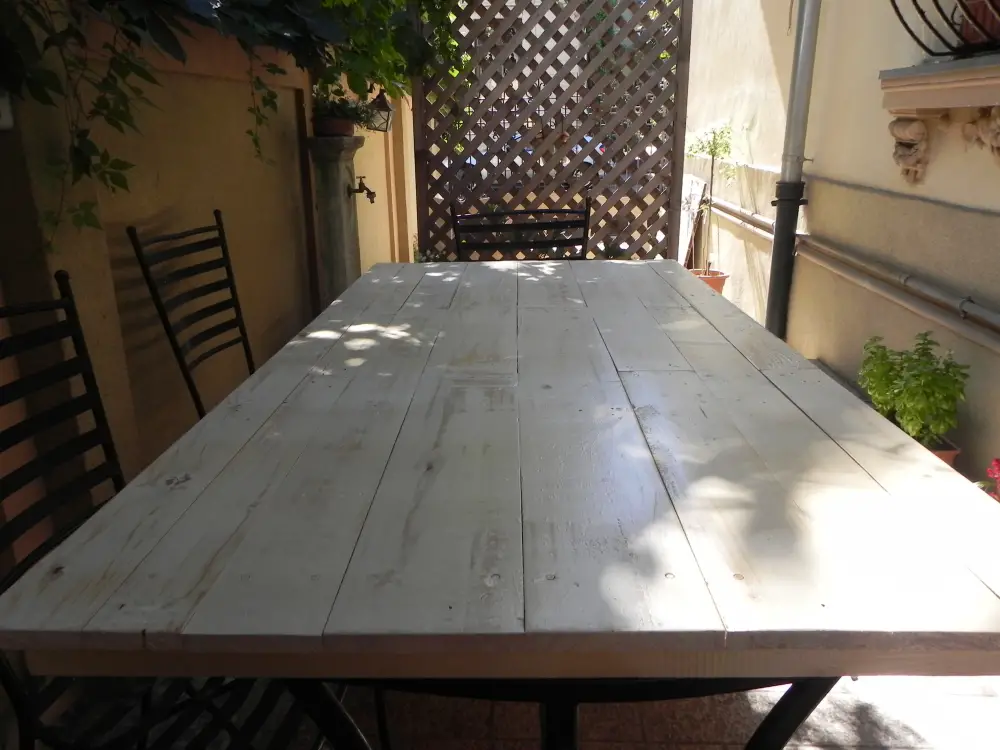
The subject of reclaimed wood has been covered several times in the pages of the magazine. This time we have chosen to present a project we have made from reclaimed wood from pallets. It is a garden table top. Freight transportation involves a lot of pallets which are often used as firewood. But they can be a great source of reclaimed wood. The garden table pictured below, with metal legs and a metal framed top, was in need of repair. The cement and polystyrene filled top, topped with ceramic pieces, had deteriorated with each passing winter. Thus the idea to replace it with a wooden one.
Project and materials needed
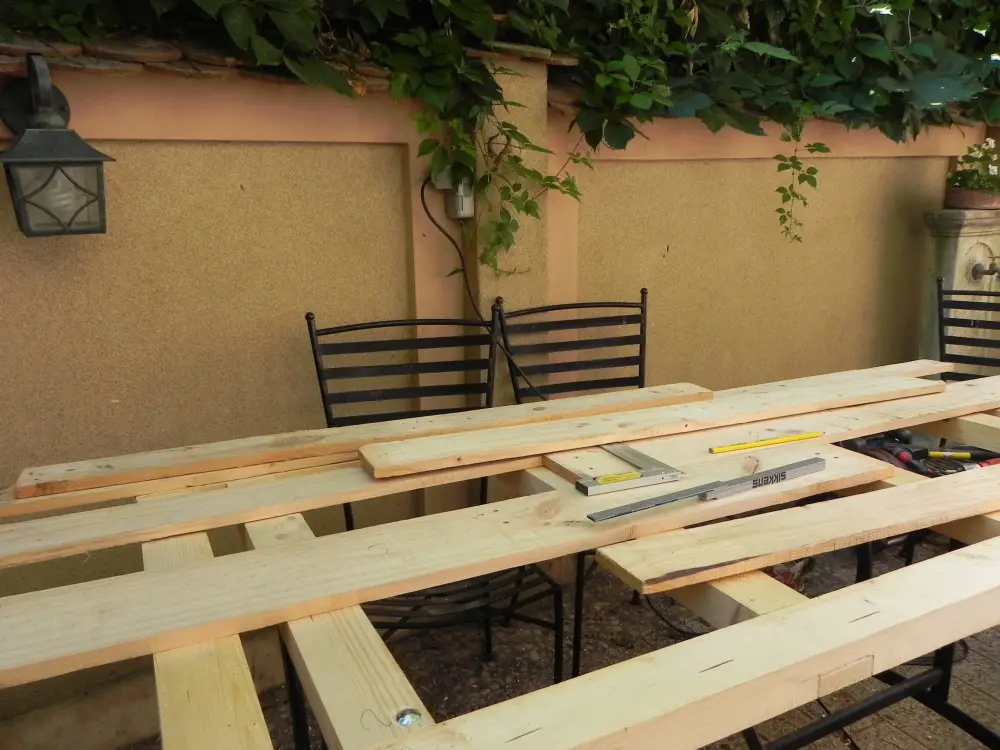
We started by doing the project to see what materials we needed. The table top being removable, it was not a problem to replace it. Being quite long - 1.8 m long and 0.8 m wide - a simple top with the planks butted on top of two other planks laid perpendicular would not withstand the pressure and would buckle. So we decided to make a support for the countertop first, a frame out of wooden cabinets left over from another job.
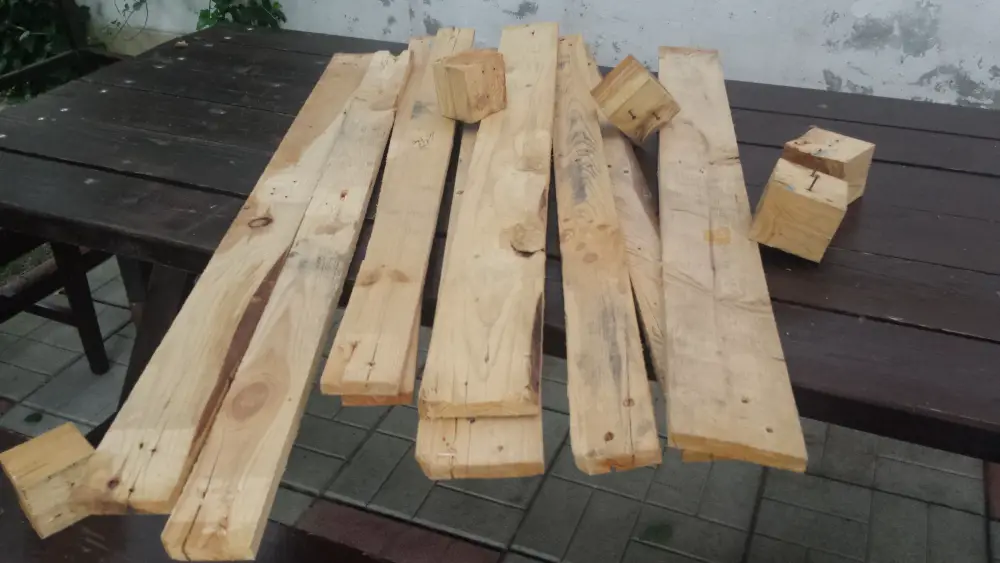
Initially, we wanted to take the pallets apart to recover the wood. But being class 1 europallets, taking them apart proved very difficult. So the planks for the table were cut from the pallet using the wood between the side strength points.
In addition to the wood, we also needed 4 screws (8 mm) to fasten the countertop to the metal legs, glue (exterior grade spackle), dowels (8 mm) and exterior grade finishing materials.
Execution of the countertop
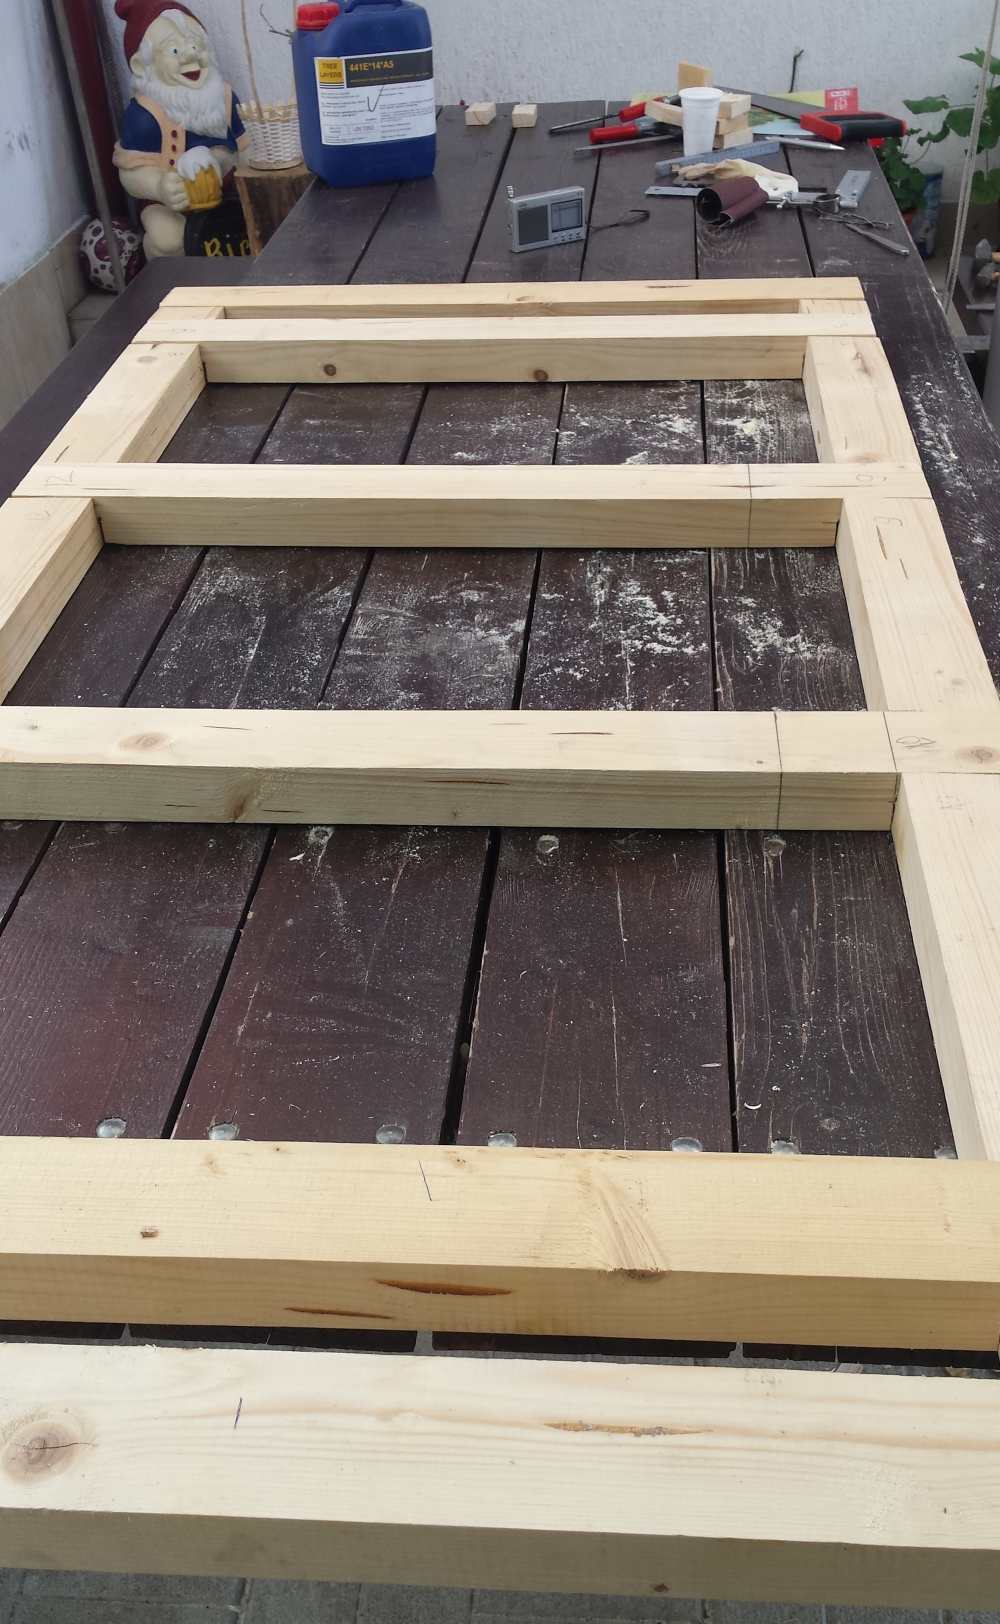
The table frame used 2 pieces of wood 1.7 m long and 4 pieces of wood 0.7 m long, placed perpendicular. We placed 4 perpendicular pieces of wood for added strength of the table top in the middle of the table. The frame was nailed from the 2 long and 2 short pieces, and the other 2 short pieces were laid parallel to the short sides of the frame, 0.4 m apart, in hand chisel-cut recesses.
I drilled holes for the clamping screws and because I didn't have any recessed head screws, I made small recesses in the wood to "bury" the screw head.
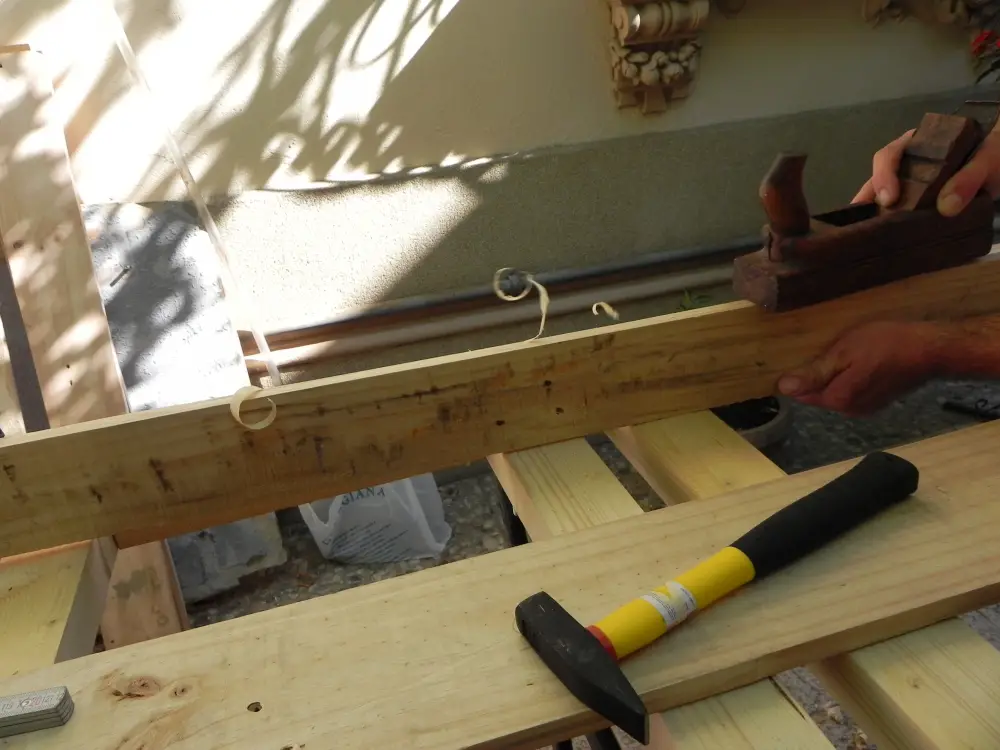
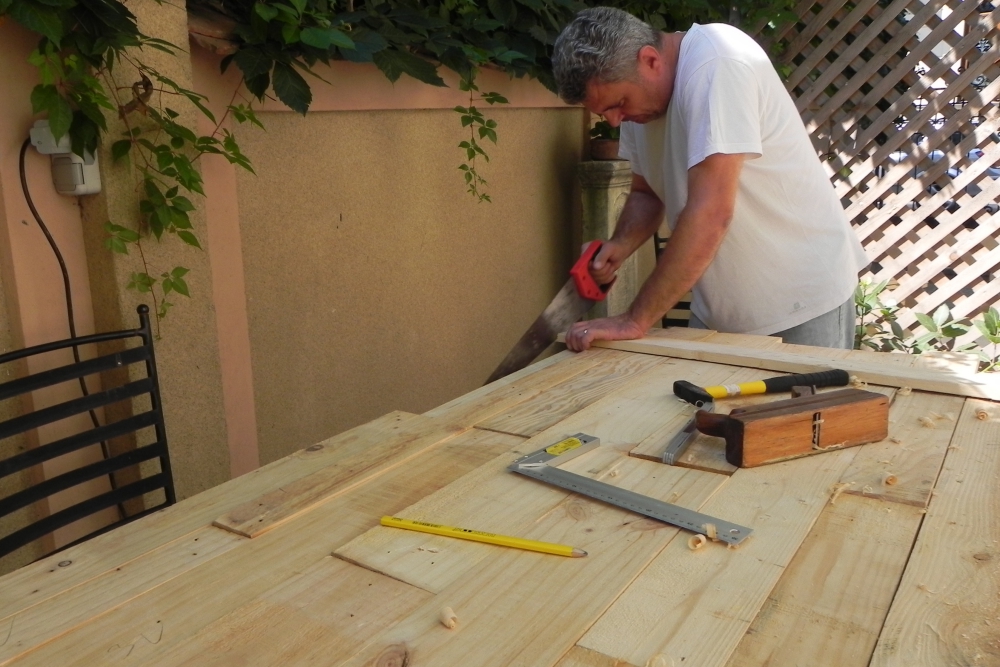
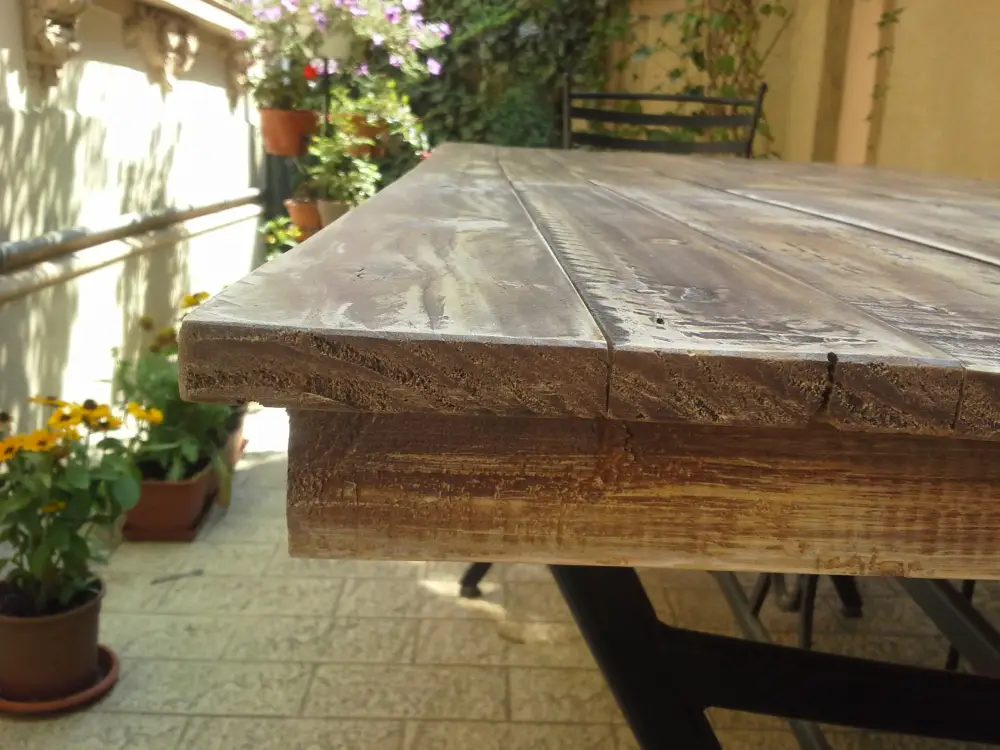
On top of this frame lay planks salvaged from pallets, chosen to have the same thickness and width. The sides were planed to fit snugly side by side, without insisting on a rustic look. The planks being shorter than the table, they had to be joined together.
The joint was not made for all the planks at the center of the table, but alternately, following the pattern of the floor joints. The fastening of the planks to the frame was done with dowels and dowels. First, we drilled the holes with the drill, then the dowels were hammered in. Finally, the countertop was straightened to size with the saw.
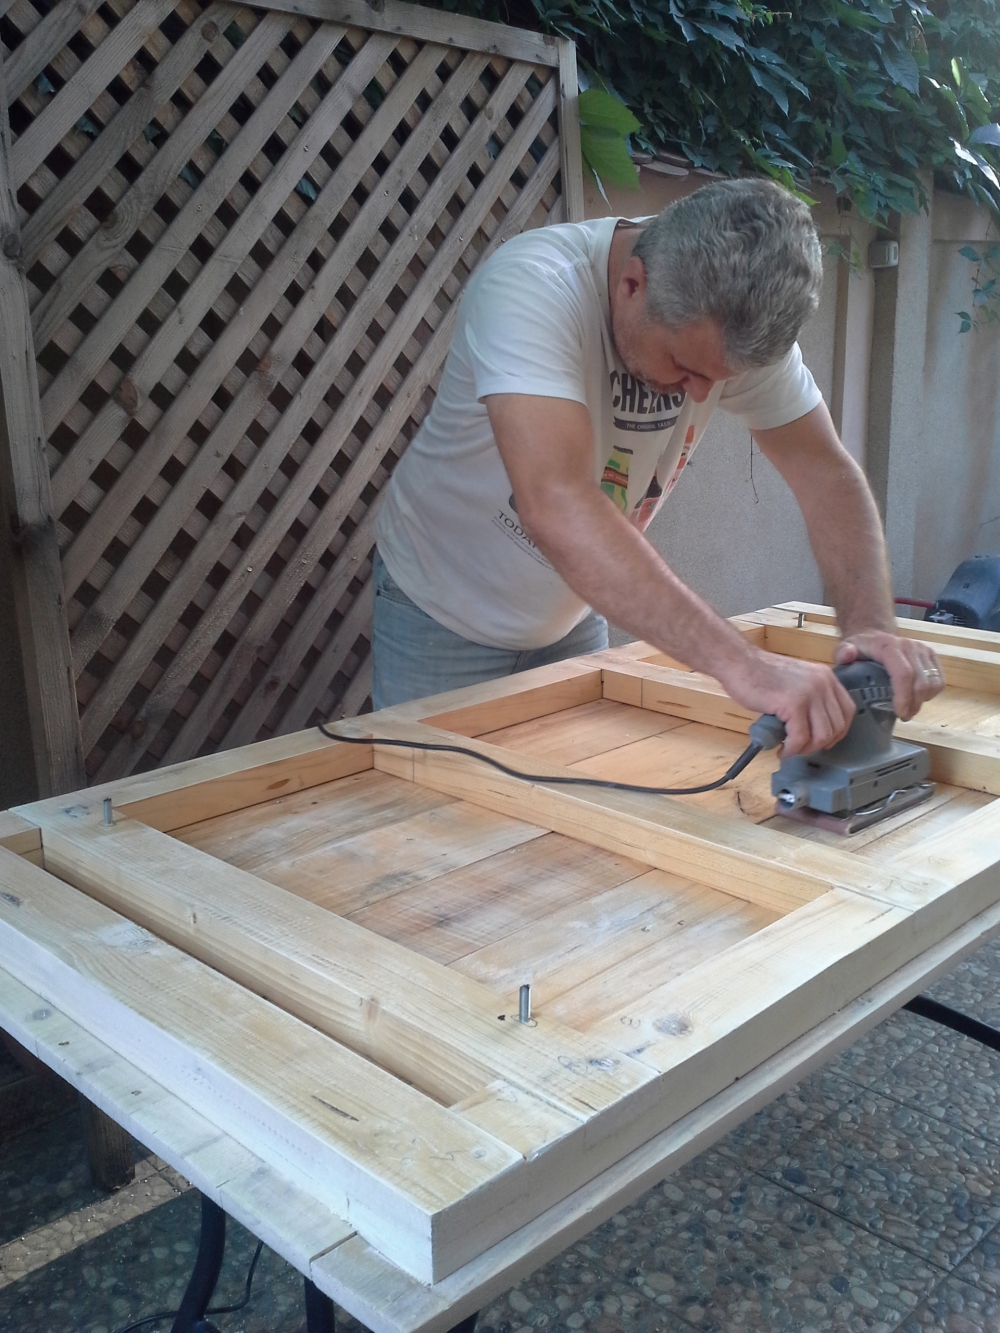
Antique sanding and finishing
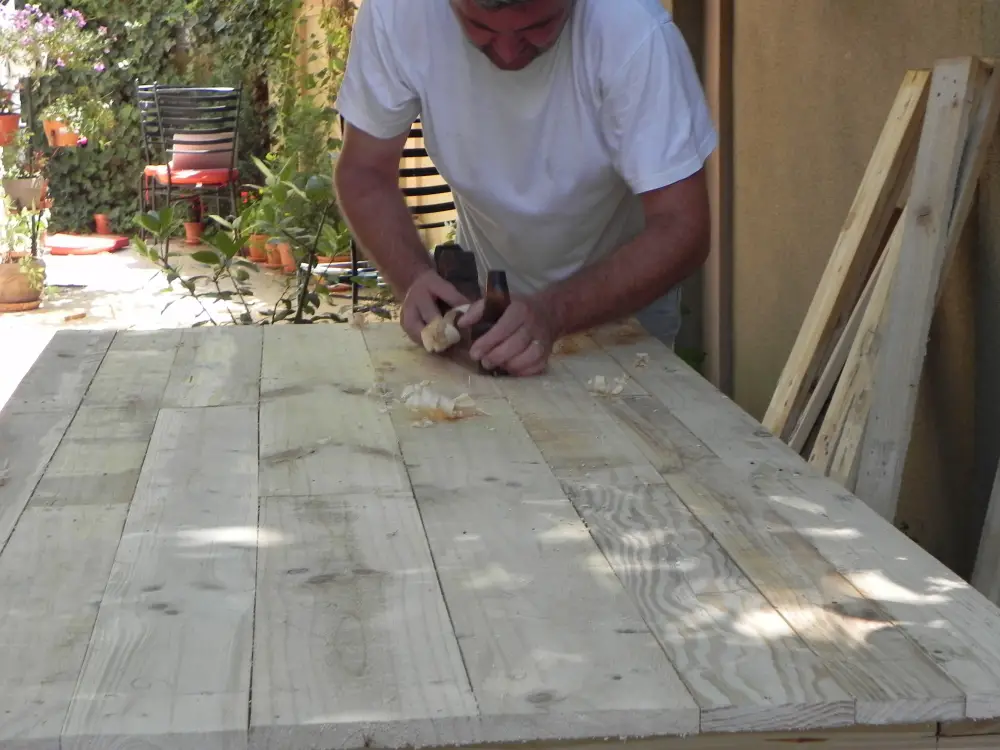
After making the countertop we started the white preparation. For the antique look I was aiming for there were already dents, nail holes, scratches. I smoothed the edges a little more and then planed the entire surface, without insisting. White sanding was done with 150 and then 180 grit sandpaper.
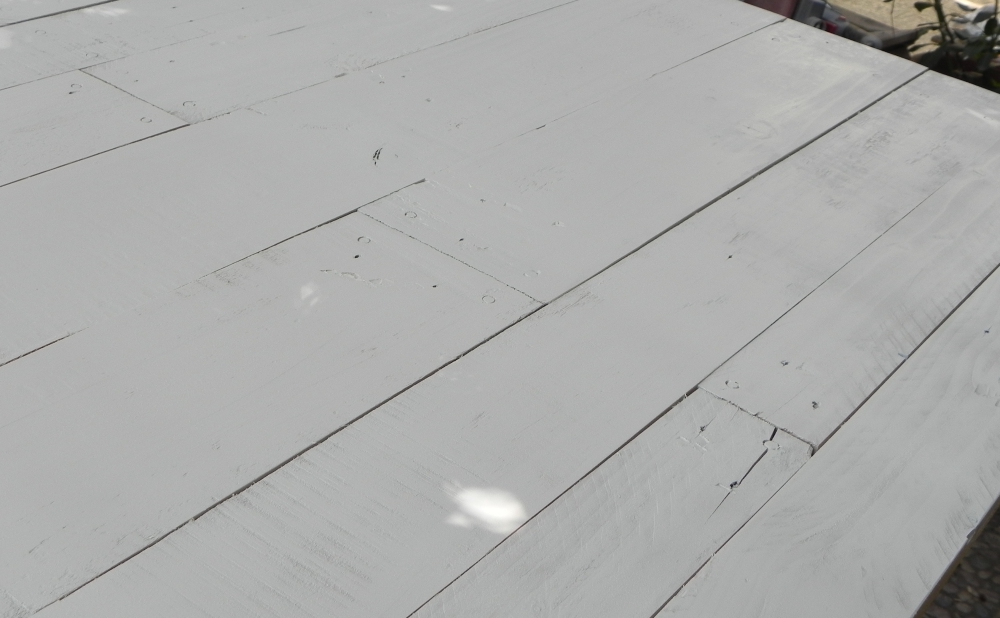
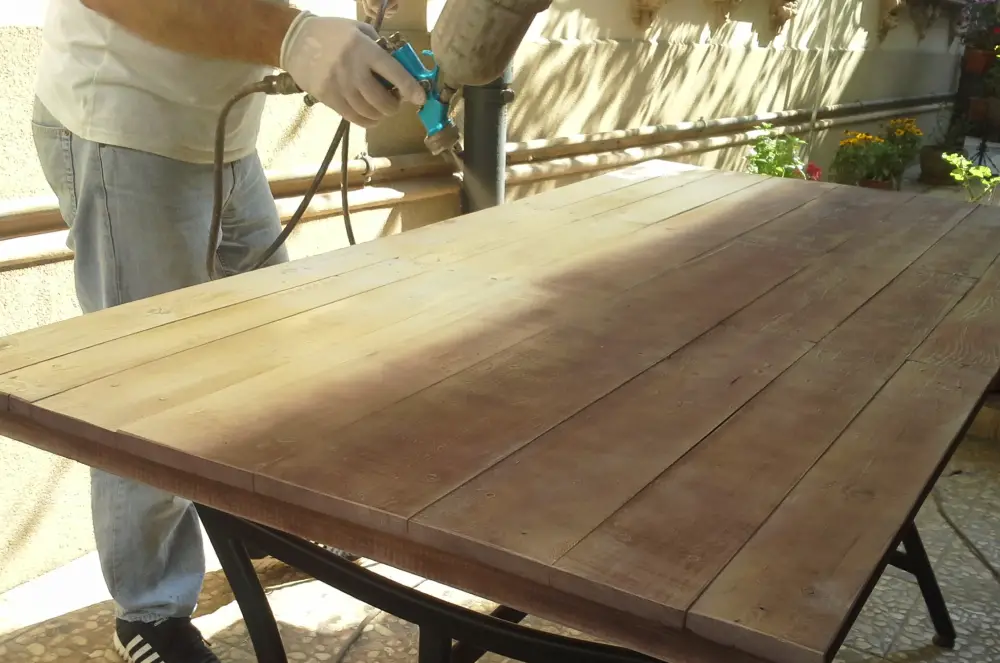
The finishing was done in 2 stages as some ideas changed along the way. Initially we thought it would be white washed and light antiqued. We started with a coat of impregnating white for outside.
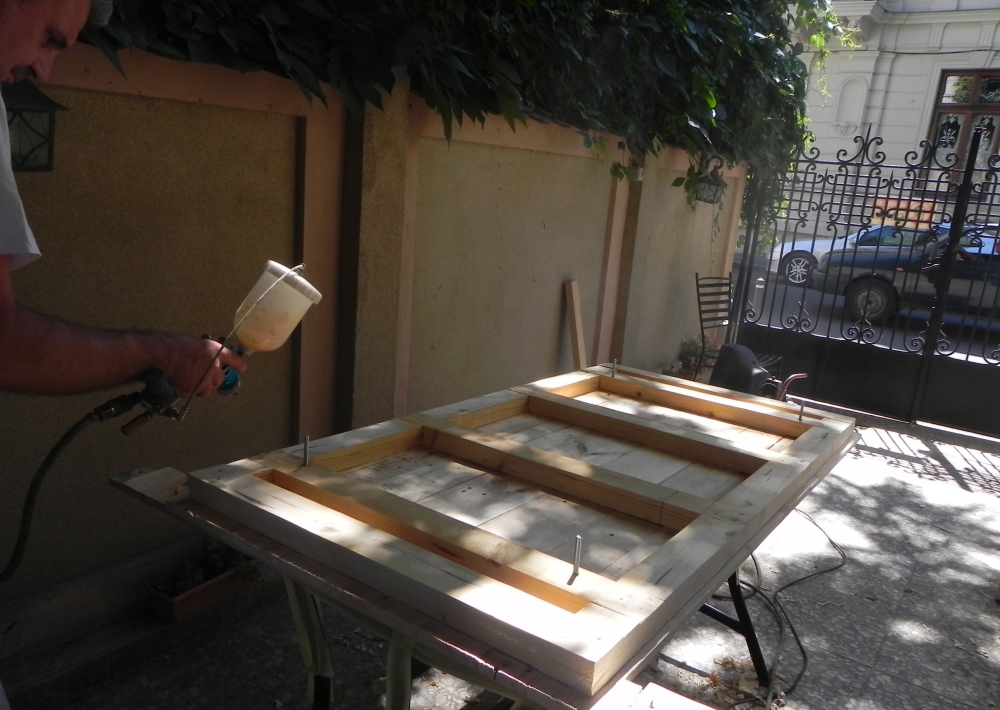
After the impregnant had been wiped off, I turned the countertop upside down and applied a full coat of clear exterior varnish in a cross.
I went back to the countertop face and sanded the white impregnant to remove it on some areas. Then applied 2 coats of clear exterior clear lacquer, sprayed with sanding between layers.
We came back to the project after two weeks
After applying 2 coats of varnish we considered the project finished. But we were going to continue it after 2 weeks for two reasons. One because we all came to the conclusion that the back of the countertop needed sanding and another coat of varnish and the second reason, because we wanted to apply a patina darker to further highlight the planks' defects.
So, blatul it was taken apart again and sanded very well on the reverse side, insisting on the frame and in the areas with fiber ends, where the surface is rougher. I then applied a further coat of clear clear varnish to the exterior.
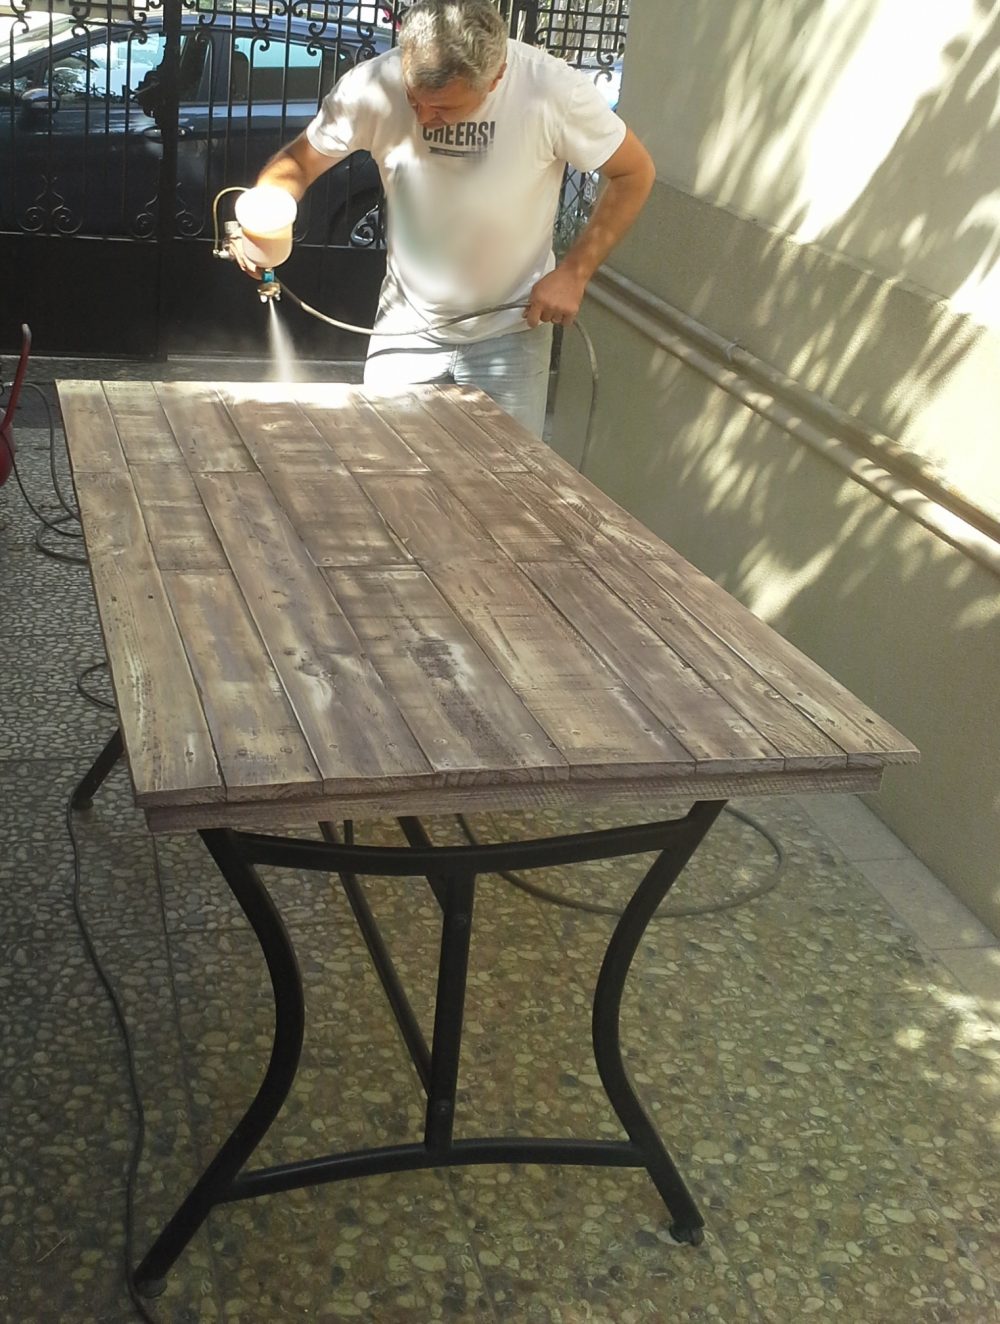
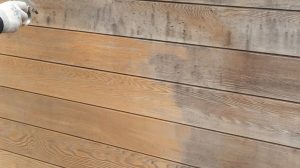
After sanding, I applied a coat of dark walnut patina diluted with industrial alcohol on the front of the countertop.
Being right after sanding, the patina caught quite well and had to be machine sanded which was a win in the end.
The table took on a rustic look interesting, a mixture of all the intermediate layers - wood, white sanding and patina with varying degrees of sanding. Over the sanded patina was applied the exterior clear lacquer.
The finishing materials I used are for industrial use, but you can find similar products in DIY stores.

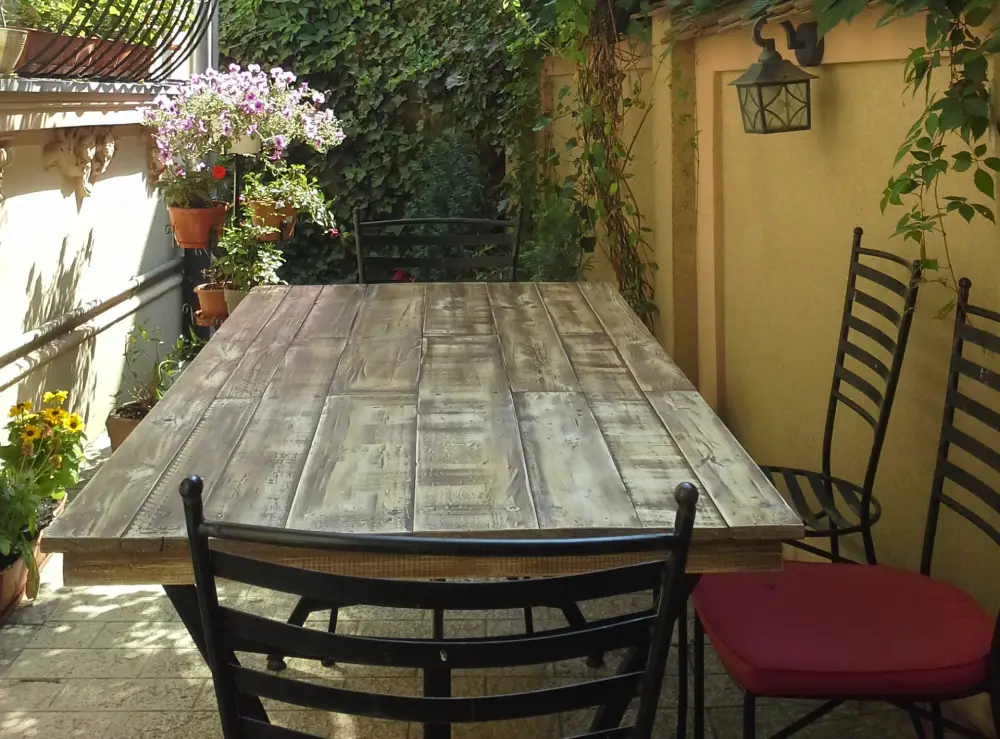
In the end we made a rustic table using reclaimed wood, which we can place next to the rebuilt bank a long time ago.


Interesting article, and have I in the works for a europallet wood table.
,,yes nice work ,,there's a lot to learn ,,
look what two skilled hands (minds) can do.. very nicely done..congratulations
Very nice! Congratulations! We are waiting for other ideas, solutions.
Yes, I loved it! Every house needs a Florin, but ....! Congratulations !
Very nice and useful... CONGRATULATIONS!
HELLO.MR.FLORIN
HOW.YOU.FIXED.THE.BINDINGS.AND-WHAT-GUARANTEE.YOU.DIDN'T.CRACK.AFTER.THAT.
MUTIMIM...