


Furnizorii de produse de finisare pentru lemn spun continuu colaboratorilor lor că o condiție pentru a obține un finisaj de calitate este și șlefuirea între straturi. Eu chiar obișnuiesc să spun că produsele sunt foarte bune, dar ele nu pot face minuni. Dar ce este, de ce și cum se face această șlefuire si, mai ales, de ce este atât de importantă?
Șlefuirea între straturile de lac nu este total diferită de șlefuirea în alb, adică cea care se face înainte de acoperirea lui cu materiale de finisare, dar are propriile particularități. Ea se face pentru a obține o calitate cât mai bună a suprafeței și pentru a asigura aderența între straturile de finisaj.
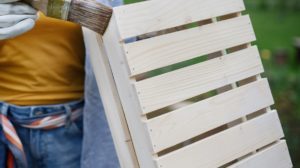
sursa foto: petripaint.com
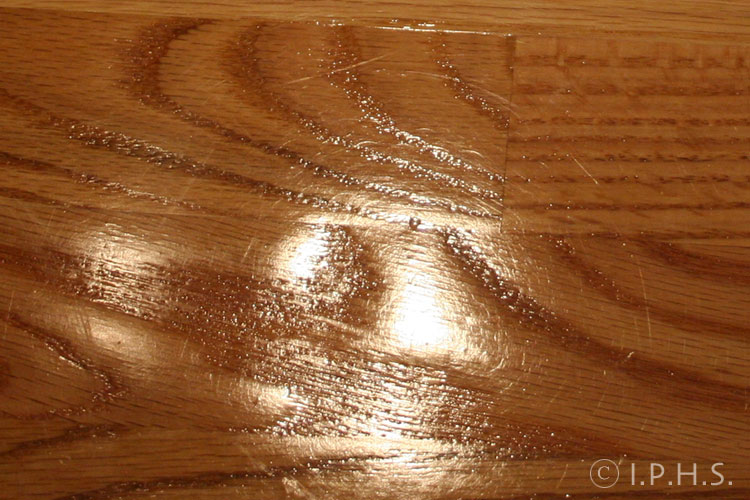
Să luăm mai întâi calitatea. Atunci când se aplică primul strat de material de finisare, lemnul absoarbe acest material iar fibra lemnului se ridică, mai puțin dacă materialele sunt pe bază de solvent și mai mult dacă sunt hidrodiluabile. Atunci când materialul aplicat se usucă, această fibră ridicată devine foarte rigidă, senzația fiind că te zgârie atunci când treci cu mâna peste ea. Pentru ca suprafața să devină fină trebuie îndepărtată această rugozitate, iar indepărtarea se face prin șlefuire.
Dar nu numai fibra ridicată crează probleme ci și praful din atmosferă sau gazarea peliculei care poate apărea la pulverizare. Gazarea apare atunci când particule de lac uscat din atmosferă cad pe pelicula udă și rămân prinse în ea, comportându-se ca un abraziv (te poți zgâria în ele). La pulverizare lacul este transformat în particule foarte fine. Un diluant foarte volatil (foarte rapid), combinat cu un mediu de lucru unde este foarte cald, face ca o parte din lac să se usuce încă din aer și să cadă peste piesa udă și … gata gazarea. Atât aceste particule de lac cât și cele de praf prinse în filmul de lac se îndepărtează prin șlefuire.
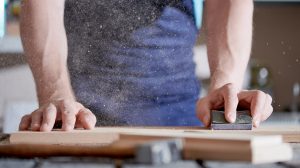
sursa foto: woodflooringedu.org
Dacă se dau mai mult de 2 straturi de material este bine să se facă șlefuirea după fiecare strat. Sunt tehnologii care recomandă aplicarea straturilor prin metoda “ud pe ud”. Adică dacă trebuie date 2-3 straturi de grund, ele se aplica fără să se aștepte uscarea totala ci imediat ce o parte din diluant s-a evaporat, adica între 15 și 30 minute de la aplicare (nu mai mult de 45 de minute în cazul produselor poliuretanice). Bineînțeles că în acest caz nu se face șlefuire straturilor, dar se face obligatoriu șlefuirea acestui multistrat după uscarea lui totală, inaintea aplicării stratului de lac final. Același lucru este valabil și în cazul straturilor intermediare de produse UV care nu se întăresc total ci numai se gelifică.
O altă proprietate influențată de șlefuirea între straturi este aderența straturilor de material unul la celălalt, când este foarte importantă natura materialelor folosite. Dacă se folosesc produse nitrocelulozice, straturile de material vor avea aderență chiar dacă nu se face șlefuire. În acest caz diluantul din stratul superior pătrunde în cel inferior, îl înmoaie și se unește cu el formând un tot. Nu același lucru se întâmplă în cazul materialelor cu întărire chimică. În acest caz, pentru că diluantul nu mai atacă stratul inferior, trebuie creat un mod ca stratul superior să se “agațe” de cel inferior. Și acest lucru se face prin șlefuirea între straturi, când se formează mici rizuri în peliculă, de care stratul superior se prinde. În plus, prin șlefuire se îndepărtează partea total întărită de la suprafața stratului depus și se ajunge în interiorul lui, unde materialul este mai moale, reacția nefiind încheiată. De aceea este bine ca șlefuirea să se facă înainte de a se aplica stratul următor. Nu este bine să se lase un timp îndelungat între șlefuire și aplicare (de ex.de pe o zi pe alta) pentru că în acest timp stratul “descoperit” vine în contact cu aerul, se întărește total și ajungem exact acolo de unde am plecat.
sursa foto: diynetwork.com
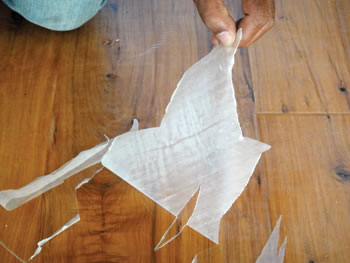
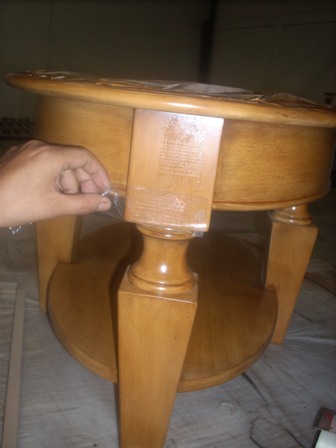
Aderența între straturi se poate controla simplu, cu materiale pe care le avem la îndemână. Una dintre metode este cu o moneda care este trecută cu marginea peste stratul de lac. Dacă rămâne o urmă albă, lată, atunci straturile nu au aderență între ele. Alt mod de testare este făcând cu un cater fin o grilă de tip x și 0 pe o parte ascunsă a finisajului. Peste grilă se pune o bandă adezivă (scotch) și se trage. Dacă sunt scoase mai mult de 15% din pătratele formate atunci lacul nu are aderență.
sursa foto: wisnofurniturefinishing.com
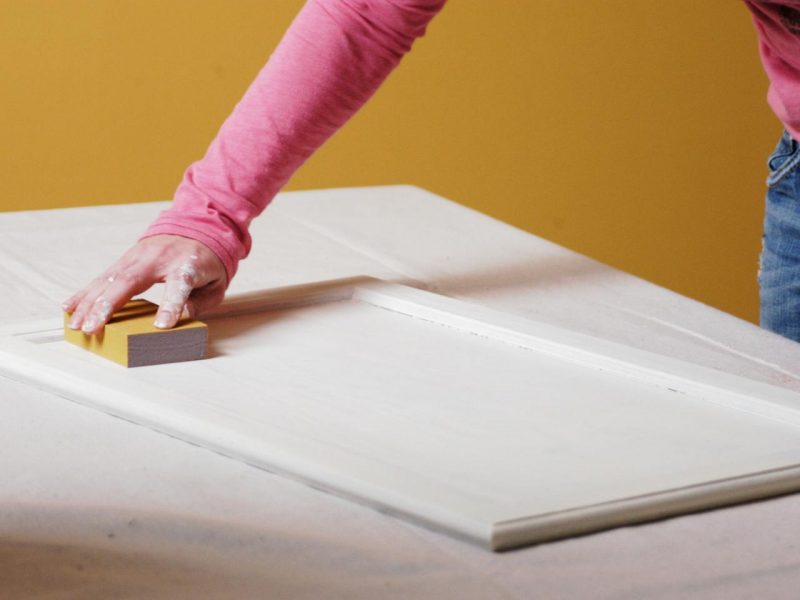
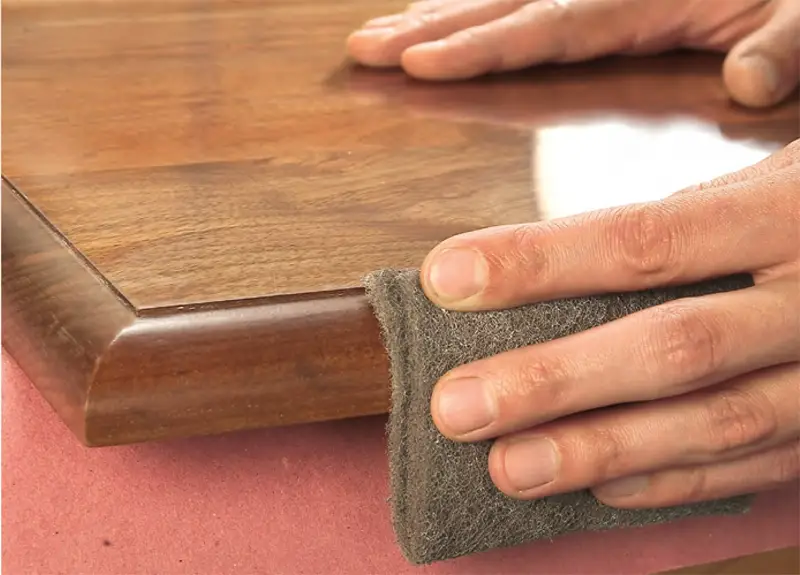
Spre deosebire de șlefuirea în alb, șlefuirea între straturi se face cu bureți abrazivi fini sau cu hârtie abrazivă cu granulația 280-320, pentru lacurile mate și 400 și mai mult pentru cele lucioase. Folosirea unei hârtii de șlefuit mai grosieră (ex. 100-150) este total nerecomandată pentru că rizurile formate sunt foarte mari și devin foarte vizibile după aplicarea stratului următor. De asemenea, șlefuind cu o hârtie grosieră se îndepărtează o cantitate mult mai mare de grund, existând riscul să se ajungă la lemn. Am văzut în unele fabrici cum, din dorința de a face mai repede șlefuirea, se folosea hârtie grosieră, ajungând să indepărteze total stratul de grund aplicat. Era un fel de “munca în zadar” pentru că se ajungea din nou la lemn iar când se aplica stratul următor fibra lemnului se ridica din nou.
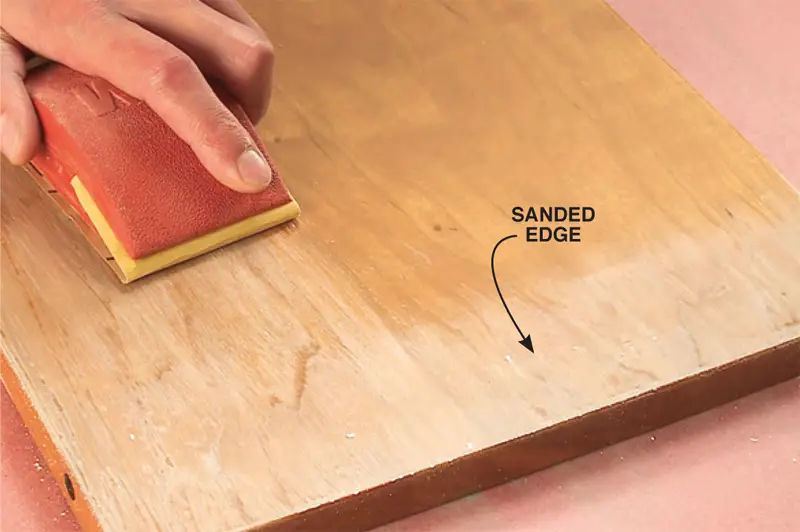
Pentru a nu risca să ajungeți la lemn chiar dacă folosiți materialele potrivite este bine să șlefuiți întâi cu grijă pe langă marginile panourilor după care să treceți la șlefuirea părții lui centrale.
sursa foto: popularwoodworking.com
De asemenea, este bine ca pentru părțile profilate, picioarele meselor sau ale scaunelor sau alte astfel de zone, să nu folosiți hârtie abraziva, care este mai rigida, ci bureți sau alte materiale care se mulează pe profil. Evitați astfel “arderea” unor zone, adică îndepărtarea până la lemn a materialelor de finisare din acele zone.
sursa foto: popularwoodworking.com
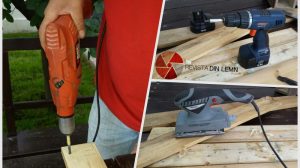
Șlefuirea între straturi poate fi făcuta atât manual căt și mecanic, cu mașinuțe speciale cu mișcare de rotație sau în plan, important este ca hârtia abrazivă folosită să fie cea potrivită.
sursa foto: biggerthanthe threeofus.com
Sper ca ați reușit să vă faceți o idee despre ceea ce înseamnă șlefuirea între straturi și de ce este bine să o faceti. Mai sunt multe de spus despre acest subiect, dar cred ca deja este prea mult pentru un singur articol.


Super! Mersi!
Ma bucur ca informatiile va sunt de folos.
Toate cele bune!
Felicitări! articol bine scris, atăt de un teoretician, căt mai ales de un PRACTICIAN. SE VEDE CĂ AVEŢI EXPERIENŢĂ. MULŢUMESC, URMĂRESC MEREU SITE-UL DV. CU STIMĂ, JM
Si eu va multumesc!
Buna seara,
De curand am facut o masa de lemn pe care am vopsit-o cu lazura pe baza de apa. Din pacate aplicarea prin pensulare mi-a dat mari batai de cap iar rezultatul nu este cel asteptat. Blatul acesteia este vopsit “in valuri”, existand mai multe zone in care se vede un exces destul de mare de lazura.
Credeti ca slefuirea blatului m-ar ajuta in obtinerea unui rezultat mai bun?
Multumesc mult!
Buna ziua!
Slefuirea poate rezolva pelicula inegala si darele lasate de pensula. Va trebui sa fie energica pentru a ajunge la o suprafata plana pe care o simtiti trecand cu mana peste intreaga suprafata. Petele de culoare s-ar putea sa nu poata fi rezolvate prin slefuirea aceasta si sa fie nevoie sa indepartati fintreg strarul de inisaj. O puteti face tot prin slefuire sau cu ajutorul unui decanpant.
Lacurile pe baza de apa au tixotropie, proprietate care le impiedica sa se scurga atunci cand sunt aplicate in verticala, dar care da probleme la aplicarea cu pensula pentru ca pelicula nu se intinde bine. Pentru a imbunatati aplicarea, mai ales daca este pe o suprafata orizontala, puteti dilua cu apa pana la max.10%. Lazura se va intinde mult mai bine. Nu adaugati mai multa pentru ca apa va fi absorbita de lemn si veti avea probleme cu ridicarea fibrei lemnului si veti obtine o suprafata rugoasa daca nu veti slefui intre straturi.
Toate cele bune!
Buna ziua! Ce granulatie trebuie sa aiba hartia abraziva a unui aparat slefuitor pentru slefuirea lacului intre straturi?
Bună ziua!
Dacă lacul folosit este mat, granulațiile recomandate sunt 280 sau 320. Pentru lacurile lucioase este recomandată granulația 400 sau chiar mai fină de atât. Luciul amplifică defectele, iar rizurile fine apărute în urma șlefuirii între straturi pot fi văzute, stricând aspectul final.
Toate cele bune!