


Hand-furnishing is a way in which a piece of furniture can be repaired or the value of one made from wood-derived panels or even wood, but of a less valuable species, can be increased. The subject also came from you, those of you interested in the topics featured in the magazine. This time the question was about hand veneering and the adhesives that can be used. I promised that I would develop the topic and so the article below is the result.
Furnishing, the relatively simple solution to increase the value of furniture
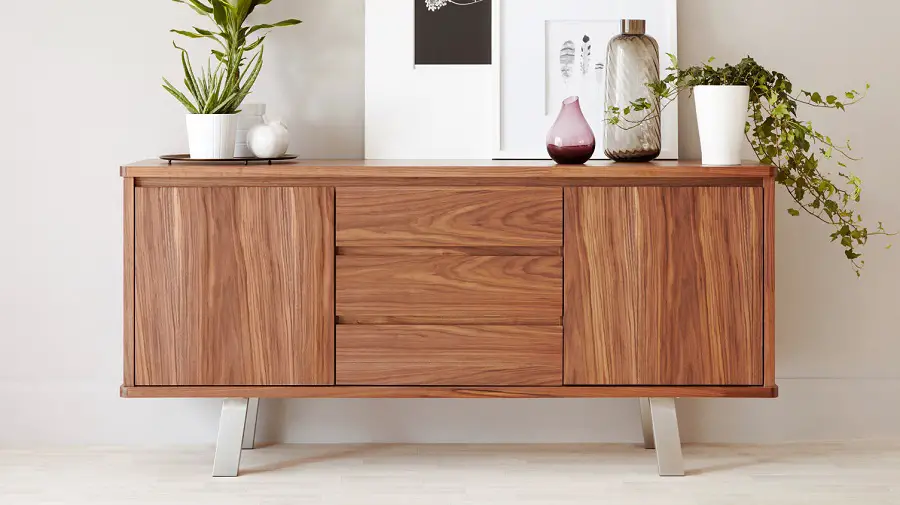
Veneer, like finish, can be used to increase the value of a piece of furniture. It's not hard to see how a piece of furniture from Chipboard, MDF or plywood that has veneer applied. The vast majority of furniture buyers cannot tell the difference between solid and veneered furniture. And if the furniture, instead of being upholstered, is edged, very few will be able to tell the difference between the veneer and the solid wood edging design, being convinced that the furniture is solid wood. I say this precisely to understand how important a well-made veneer is.
Surprising, at first sight, is the veneering of solid wood. Why veneer solid wood furniture that is by definition more valuable than veneered? To increase its value. By using veneer of a superior veneer (nuc, mahon, oak) or with certain effects (rose rose, walnut root, inlay) the furniture will be ennobled. But that's not the only reason. Solid wood has different weights depending on how dense it is. Walnut and oak are much heavier woods than lime or poplar, for example. Furniture made of lime or poplar veneered with walnut will look like walnut furniture, but it is much lighter. While the weight of a bedside table or a chest of drawers may not be that important for a bedside table or a chest of drawers, the difference will be significant for a 4 meter long table or a 5-door wardrobe.
Solid wood is also veneered to make it easier to finish. A honed wood such as poplar, it stains more easily. Veneered with oak or cherry will be much easier to finish and the result will be better.
Furnishing as a DIY project
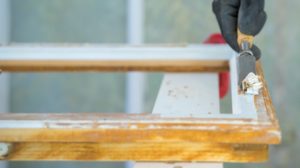
Manual supply is done, for example, to repair an old piece of furniture. Over time, the glue with which the veneer has been bonded ages and peeling occurs. It can be glued back in place or, if it breaks, it can be repaired using a small piece of veneer. Sometimes, however, the surface is so damaged that the veneer has to be replaced altogether.
Using hand veneering can beautify some objects. One material used a lot in DIY projects is plywood. It can be used to make small jewelry boxes, as well as small poles, shelves or even cabinets. All these objects can be veneered for a more attractive look.
But how to do this to get beautiful surfaces without bumps or defects? Industrial veneering is done in special presses and no air bubbles are left under the veneer to spoil the appearance. Veneer sheets are fastened with special thread (fusible thread) which holds them together and thus prevents defects (leaks - the sheets of veneer being pressed apart, leaving the backing partially uncovered).
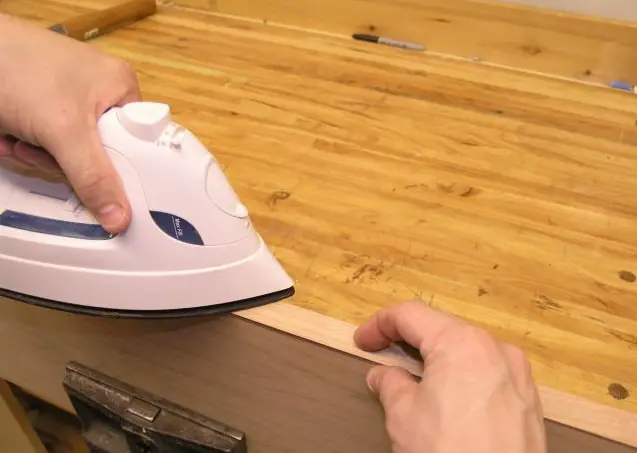
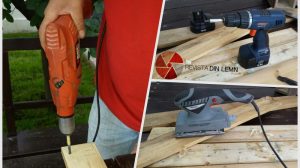
When you work at home or in the workshop, you don't have the facilities available in factories and simple solutions have to be found. The simplest 'hot press' used for DIY projects is the iron. It's used for applying edges, but also to repair broken veneer on a table corner.
When the parts you want to veneer are larger or more complicated and the furniing is "cold" (the adhesive doesn't need a high temperature to cure) then you need :
- drill to apply the adhesive and to press the veneer onto the substrate (removing air bubbles);
- wood glue (aracet type), D1 or D2 if the object will be kept indoors in moisture-free environments, D3 or D4 for objects in damp environments (bathroom, kitchen) or those used outdoors;
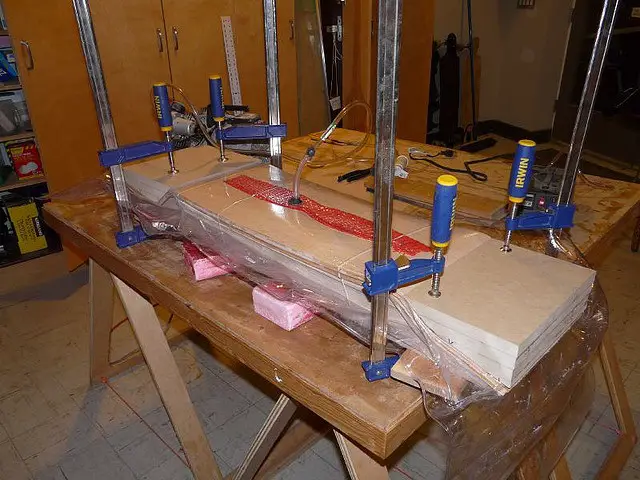
- clamps for fastening the veneer until the adhesive cures;
- cutter for cutting veneer and smoothing edges.
Recommendations for successful panel veneering
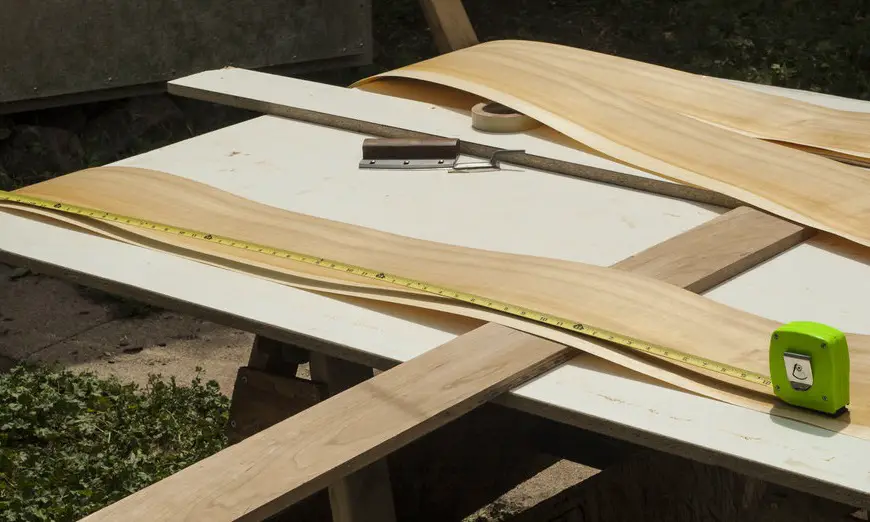
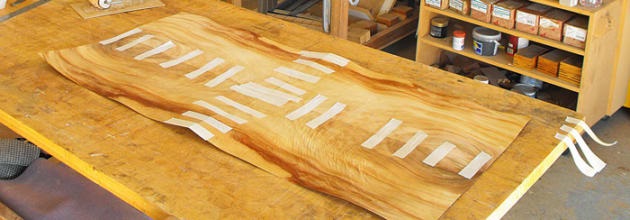
The veneer sheets you will buy in specialized stores are not very wide and are sold in bundles. When veneering a large piece you will first need to 'build' a veneer sheet the size of the panel. The sheets in the bundle are in the order in which they were cut in the factory, i.e. they come from the same piece of wood. Putting them one after the other will create a sequential design. If you put them one after the other, but one on the front and one on the back, each sheet will be followed by its mirror image.
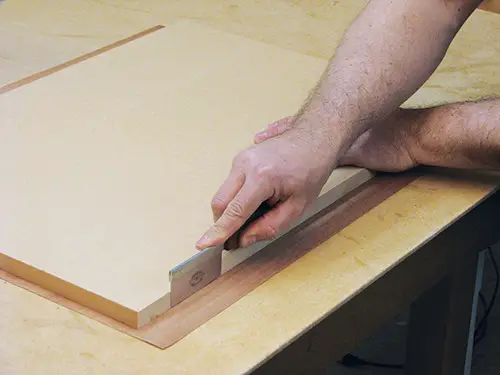
To construct the panel size sheet the veneer is cut to size, laid sheet next to sheet and taped with paper tape. After veneering it can be easily removed. If the sheets do not fit perfectly lengthwise and gaps remain between them, they must be straightened with a cutter.
In order to follow the veneer drawing it is very important not to mix up the sheets. It is therefore recommended that they are numbered before cutting. The numbers should be written in 3 places on the same sheet (top, bottom and middle). This way, if any pieces remain after cutting, they can be used for other projects.
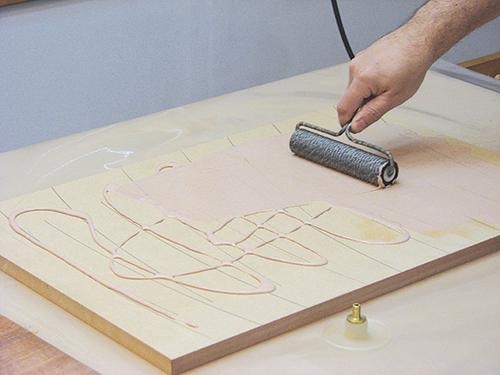

After the veneer sheet has been built up the adhesive is applied. The recommended adhesive is the aracite type, but others (polyurethane, epoxy) can also be used. In the case of polyvinyl acetate dispersions (aracite type), however, the setting time is longer and allows time for the veneer to be perfectly laid on the panel. The prenadez type adhesive is not recommended because it requires time for the solvent to evaporate (open phase), after which the reaction is quite fast and defects may occur. In addition, prenadez is an adhesive based on chlorine compounds which have been banned for some time in the EC.
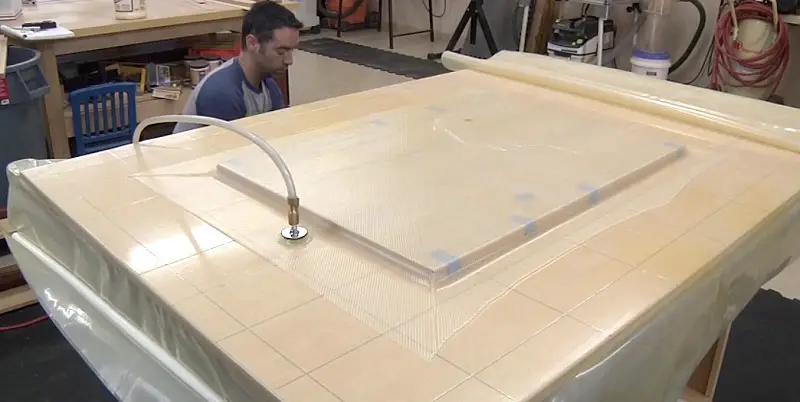
The adhesive is applied evenly to the untaped side of the paper tape with a mop. It is then placed on the panel and the air bubbles are removed using a trafalotte, clean this time, which is walked over the entire surface. A straight panel is then placed on top as a press and the whole thing is clamped until the adhesive hardens (min. one hour or as recommended by the manufacturer). In countries like USA, Canada, I have seen vacuum bags to perfectly stick the veneer to the panel and eliminate bubbles. They are just like the ones used for food or to store clothes. I've looked for them here but couldn't find any.
Before using the adhesive make sure that it reacts cold. There are also adhesives that react hot. In the case of recommended adhesives (the aracite type), the increase in temperature decreases the time needed for curing. Therefore in some cases an iron is used for bonding. The iron should not be hot but only warm. If hot melt adhesives are used then a higher temperature is required. In this case it is better to protect the wood with a cloth.
After the adhesive has cured, remove the clips, remove the panel used as a press and the paper tape. The surface is sanded white and ready for finishing. The panel can be veneered in the same way on both sides.
Hand-furnishing is not a simple operation and takes a lot of patience. But if you manage to make a panel yourself and then finish it, the satisfaction will be very high. I tell you from experience. Good luck!


Good evening. Can I put veneer on the edge? So as to obtain a continuous finish between the front and the edge of the board. For example on a door. Thank you
Hello.
Yes, it can. There's the veneer cant. Even blind - a thicker veneer that sticks on when it's glued and gives the impression that the door is made of solid wood.
Very important is the blending of the front and the edge to get a continuous finish.You need perfect blending at 45 grd and grouting to make sure it will come out perfect. After grouting, the excess grout is sanded well to get flush with the surface and smooth. Sand and apply the finish.
All the best!
Don't forget to subscribe to the printed Wood Magazine! For only 58 lei/year you can find out news in the field, discover craft ideas or trade secrets. We remind you that the content in the printed magazine is different from the one on the website. Details in the link below.
Thank you!
https://revistadinlemn.ro/product/abonament-revista-din-lemn/
Hello,
My name is Marcel and please tell me how to repair the kitchen countertop in the photo. I tried with the iron, but the edges of the veneer remained hard and did not settle to stick.
The adhesive does not penetrate through the cracks under the thread. I also put weights on top, but now it looks as shown in the photo att.
Please let me know what adhesive to use and how to proceed next. Thank you very much.
PS I don't know how to insert photo.
It should be sent to the following e-mail address
Good evening.
Please send the photo to mihaela.radu@cesbrands.ro. I'll get back to you after I see what this is about.
All the best!
Dear Madam,
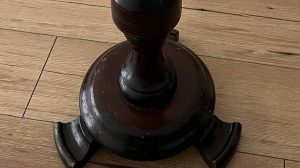
The item is ugly but I would like to remove the veneer from the legs of a table.
Is there a chemical removal solution?
Thank you
Hello!
Modern adhesives are quite hard to attack and the easiest method of removing old veneer is still water and steam. Unless it succumbs to thinners or acetone, it is very difficult to find a chemical that will attack the adhesive that is safe to work with.
Moisture and heat attack old or ordinary adhesives without catalyst. Considering that this is a table, not bathroom or kitchen furniture, I believe that no special products were used for sealing.
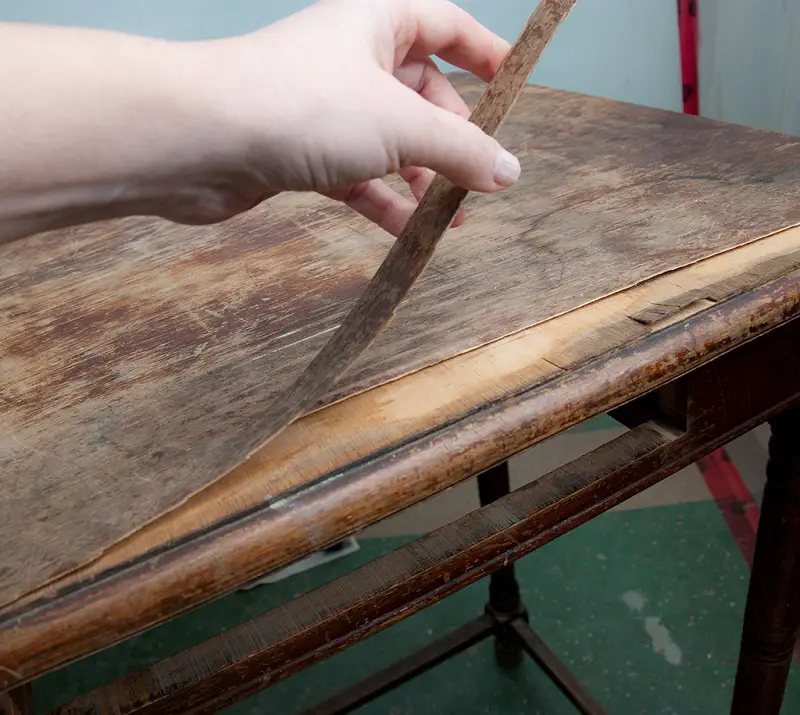
You should place a damp towel on the veneered surface and iron it with a steam iron. Insist on the iron so that the steam penetrates under the veneer. If there is an area where the veneer is loose, start there. The steam will get inside faster and soften the adhesive. If there is no such area, look for an edge or a seam.
If the veneer has swelled a little, put a thin split or a thin, wide knife blade under it. Gently advance by continuing to steam and pulling on the loose side.
If the veneer is already loose in one area, you can try spraying a 1:1 mixture of water and vinegar or acetone/diluent in that area under the loose part. This method is valid for stronger adhesives that do not yield to water and steam.
Sometimes, especially with furniture from international retailers such as IKEA or KIKA, the adhesives used are very difficult to attack. In this case it may be simpler to remove the top coat and apply the new veneer over the old one, previously repaired where there are tears.
All the best!
You can also find out more about your favourite topics in printed magazines. You can still subscribe to receive magazines published in 2019 by clicking on the link below.
Thank you!
https://revistadinlemn.ro/product/abonament-2019/