


From the beginning we have constantly presented topics related to finishing. About finishing defects and how they can be avoided, how finishing materials can be applied for the best results, how to do white sanding to avoid defects during finishing, drying, storage, storage and packaging. All of them had recommendations so that the operation in question could be done as well as possible and thus achieve a quality finish. I thought I would put all these recommendations together. They are equally for those who work in the factory, but also for woodworking enthusiasts.
Preparation for finishing
You have a few things to do before you start work:
- You need to know the characteristics and how to work with finishing materials. Make sure you have the products' technical and safety data sheets, work instructions and technologies.
- Check that they are exactly what it says on the label and what you ordered.
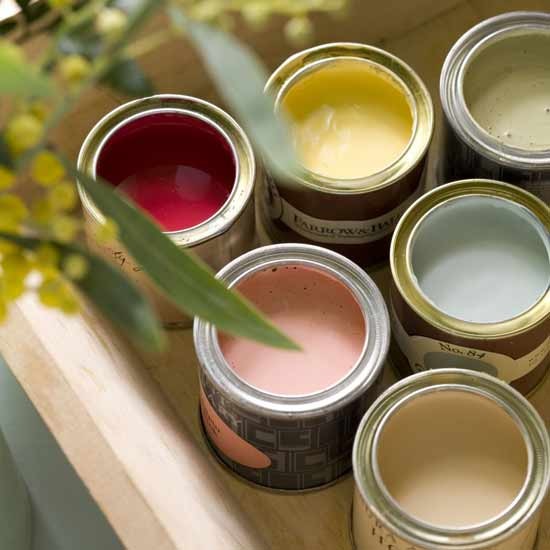
- Check the colour, if applicable, and compare it with the sample or the colour in the previous packaging. Store-bought materials have all instructions and information on the label.
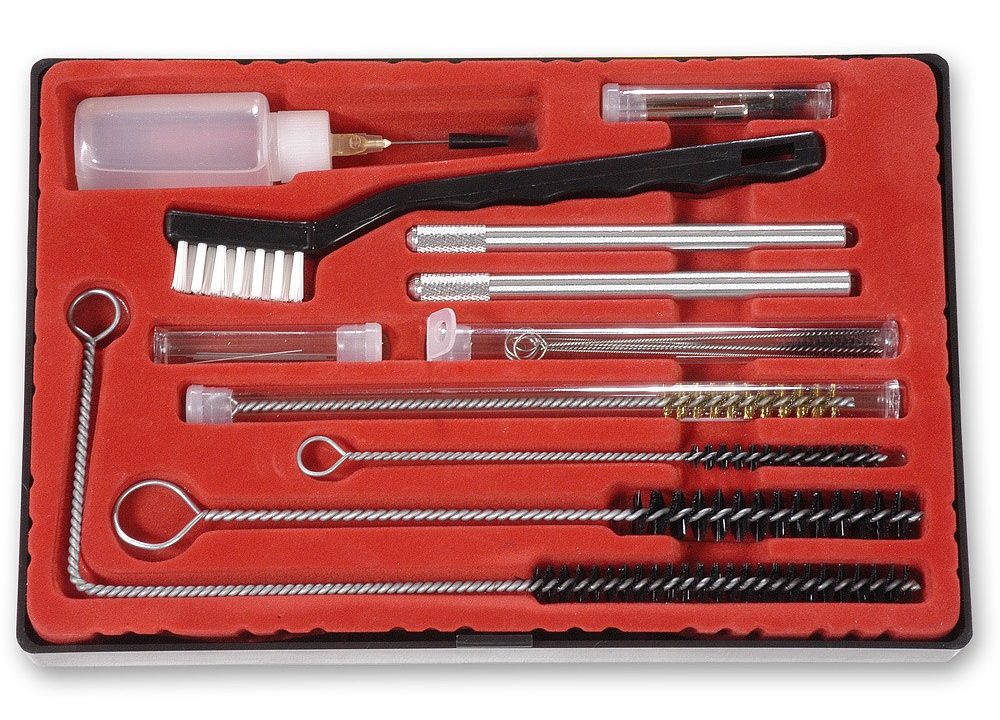
- The equipment used must be checked before starting work. It shall be washed and cleaned each time after the work is finished. The finishing area must be kept clean and tidy. This avoids the danger of accidents during the application of materials.
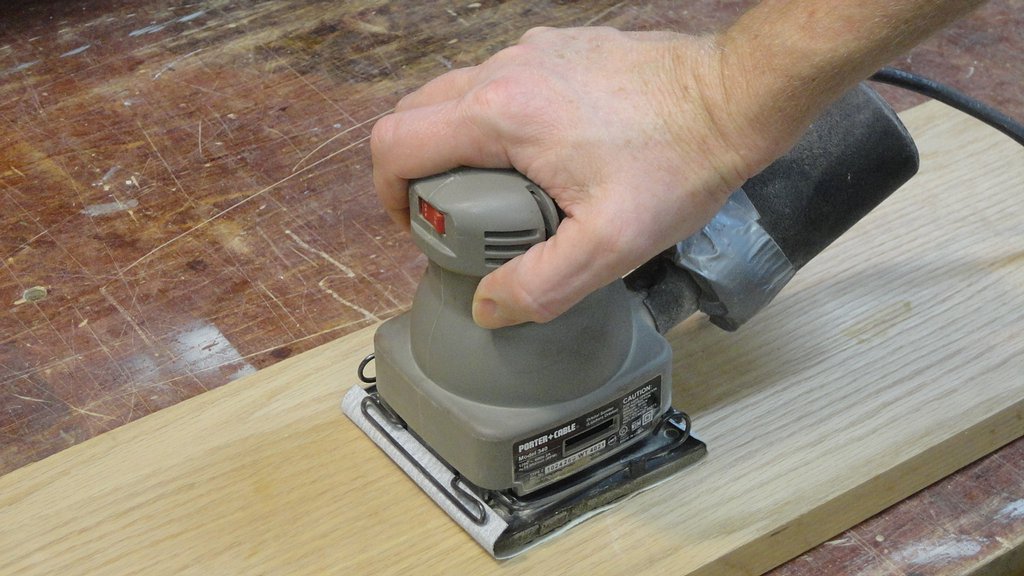
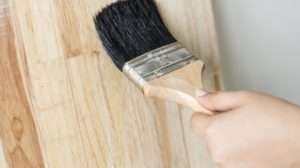
- The wood backing must be sanded thoroughly before being finished. The more time spent sanding white, the less risk of defects in the finish. Sanding is done with several grits, starting from coarse sandpaper to the finest. Sanding is also intended to clean the wood of any stains from adhesives, grease or silicone. If sanding is not sufficient, the wood is wiped with thinner. After sanding, the objects are cleaned of dust so that as little dust as possible is carried into the finishing area.
Preparation of finishing materials
Finishing materials should be thoroughly mixed in the original packaging before use, as pigments or other additives may settle to the bottom of the drum during storage. Insufficient mixing may lead to differences in colour or gloss. After mixing, a settling time is needed to remove air bubbles.
When using A+B type hardener finishing materials, the amount of hardener added must be according to the data sheet or work instructions. Otherwise problems can occur; too much hardener can lead to brittle film, too little can increase drying time and the resulting film is softer.
The mixture between the base product and the hardener has a pot-life. After this time the mixture should no longer be used even if it is still liquid because it loses its properties. The pot-life can last from 2 hours to several days. Products with a long pot-life can also be used the next day. In this case it is recommended to mix the old material with the newly prepared material in a ratio of 1:2. In order not to forget when the material was prepared, put a label with the product name, code and date. Keep the products covered.
The thinner is very important and should be chosen as indicated. It influences drying time, film appearance and gloss. The choice of thinner depends on the finishing materials used, the technology adopted and the working conditions (temperature, humidity).
The viscosity of materials is a very important property in finishing. It can be found in the technical data sheets and its value is determined at 20 grd.C. Viscosity is dependent on the ambient temperature. If the application is done by casting machine or with valves, the viscosity should be checked and adjusted, if necessary, at the beginning of the work, after each refill and from hour to hour. Viscosity measurement is done with viscometric cups (FORD or DIN).
During finishing the temperature of the product, the environment and the wood substrate must be above 15 grd.C. If there are large differences between them, there may be problems with adhesion to the substrate or with the varnish (orange peel).

Finishing mode
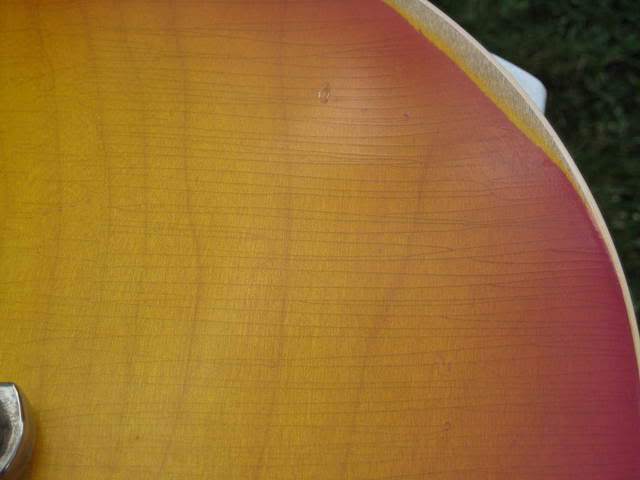
Pay attention to the number of coats of product that can be applied. If more than one coat is applied there is a danger that the varnish film will crack. Apply more coats than recommended only when repairing defects. It is better to remove the varnish film completely and re-finish than to be unable to control the thickness of the film.
As the finish is made of several layers, adhesion between the layers is very important. In order to have a good adhesion the intermediate coats must be sanded. Sanding is especially important for catalyzed products.
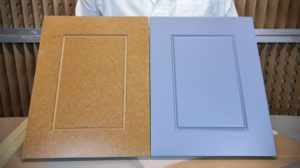
If the products are dried in drying tunnels, the items must be brought to ambient temperature before storage. Panels finished with normal (non-UV) materials should not be stacked until after 24 hours to avoid sticking together. Neither should packaging be done immediately after finishing as impressions may appear in the film.
I'll stop here with my recommendations for a quality finish. But I already know that the list needs to be improved, so a revised and added edition.


Hello,
More concrete details regarding the grain size of the sanding, if the wood species matters.
The same when sanding: between bait and primer, or bait/primer and varnish?
Can you describe a little bit of the process from A - Z, if you please.
Thank you
Hello. You can find some of the answers in the article for DIY enthusiasts and the one with indications on white grinding. Also, I will be back very soon with an article about grinding soft and hard essences, focusing on the differences between them. Thanks for following along.