Ever since I first saw a wooden composite tabletop, epoxy resin and all sorts of spectacular encapsulated objects I knew I wanted to have one, or rather make one. As I already loved wood, the only dilemmas were what type of resin to use and what object/objects to encase in it.
I thought it would be simple with resin, but after a search online about epoxy resin I learned about their whole family. I am not going to talk now about the types of resins, their areas of use and how they are used, all this information you can find here.
For my project I needed a resin that was transparent, odorless, would not yellow over time, would not shrink/crack, would allow a thick layer to be poured to facilitate the embedding of objects.
I would like to point out that it is imperative to consult the technical data sheet before use and to follow the instructions exactly. An example of what can happen when epoxy resin is not measured and mixed correctly can be seen in the video below.
Coming back to the third item, being a bar countertop and me being a beer fan since my teenage years, the choice was quite simple... beer bottle caps.
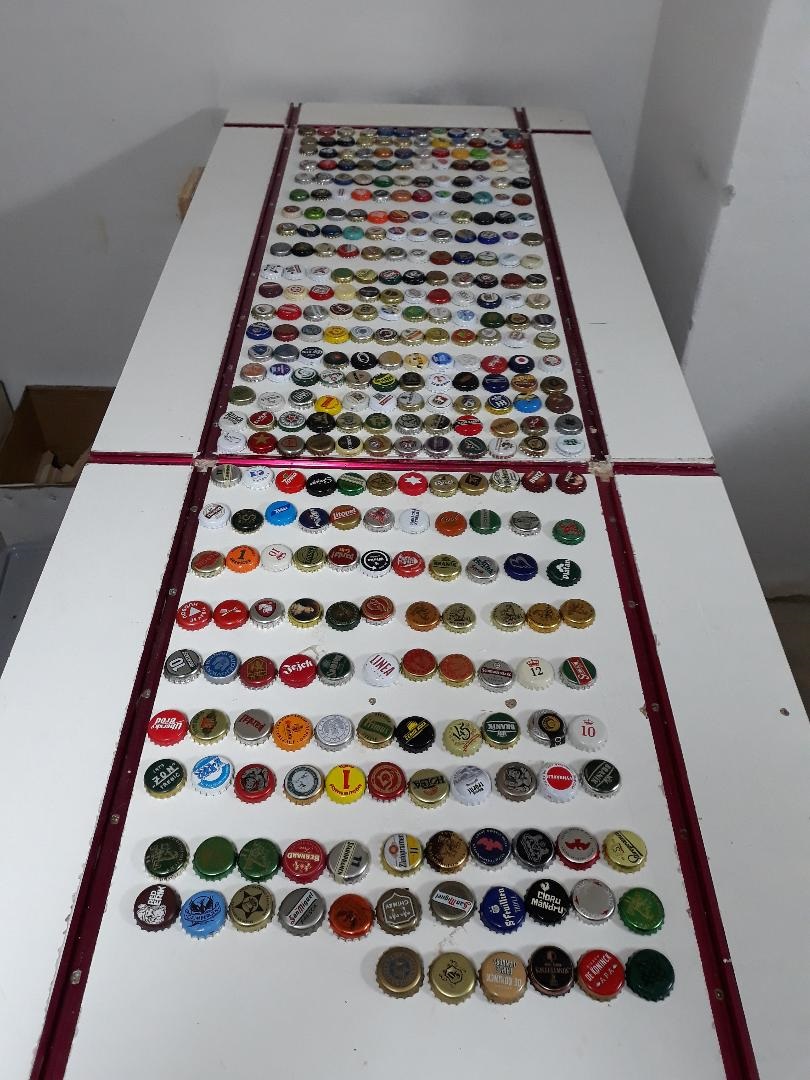
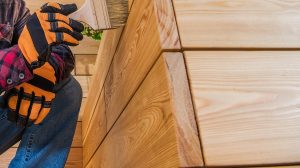
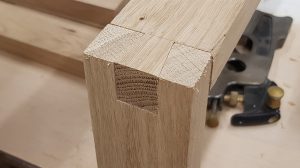
For the support part I used a cabinet of frasin measuring 1400 x 205 x 40 mm, so 343 lids were needed to cover the entire area.
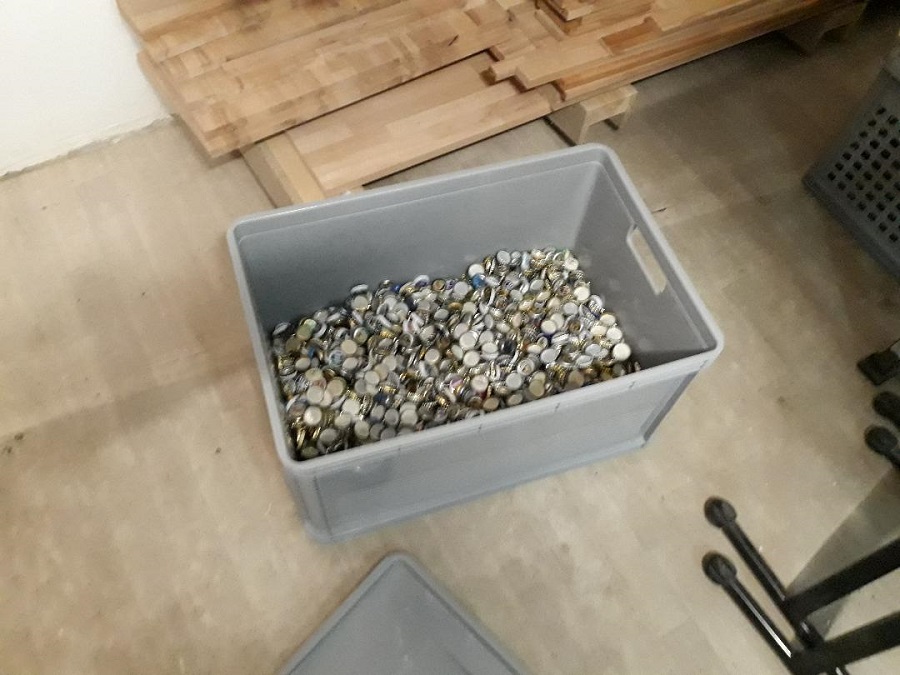
It was quite an adventure collecting the lids because I wanted them to be unique. With a lot of help, I managed to collect thousands of lids and after a rigorous sorting I managed to get 343 unique lids.
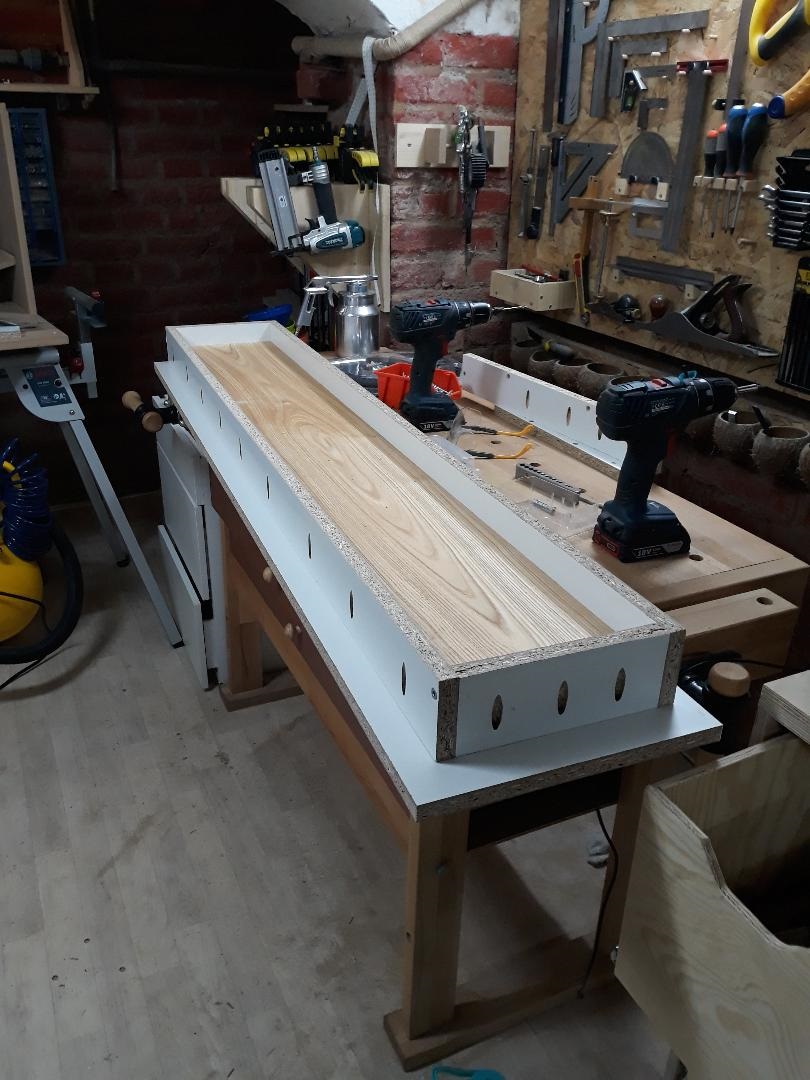
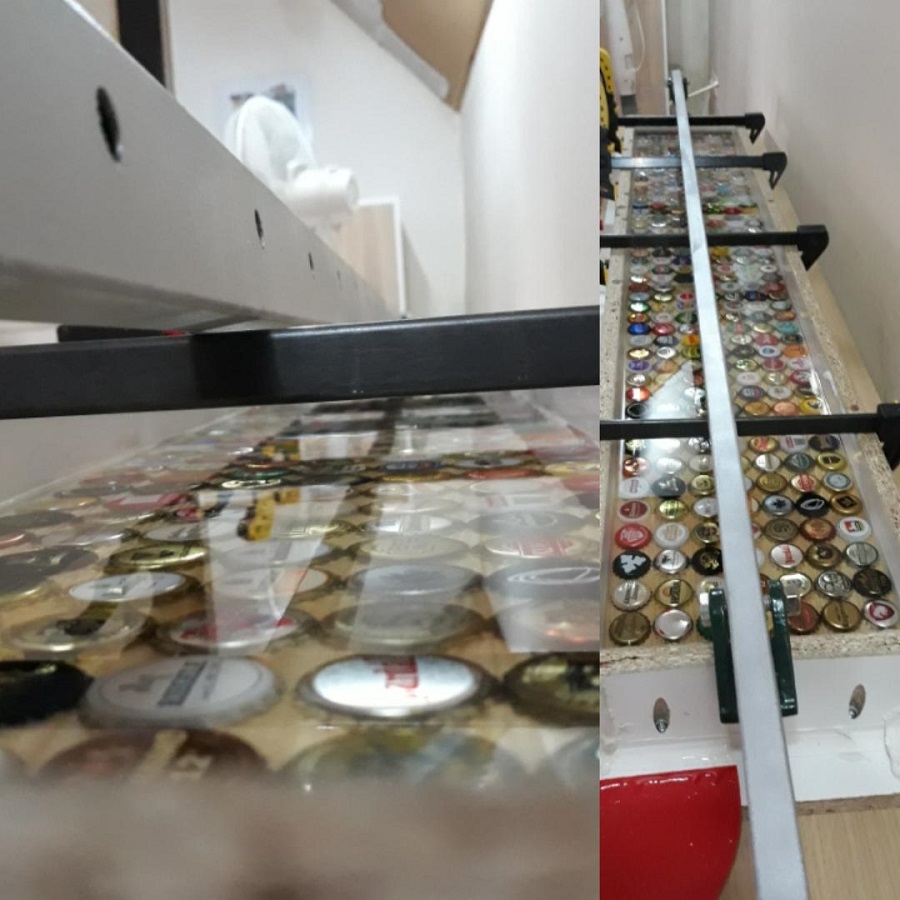
Once the wood was brought to its final dimensions, we made a formwork out of melaminated chipboard in order to be able to pour the resin without it sticking.
Having made the final selection, with all sorts of permutations, the lids were glued with silicone to the countertop.
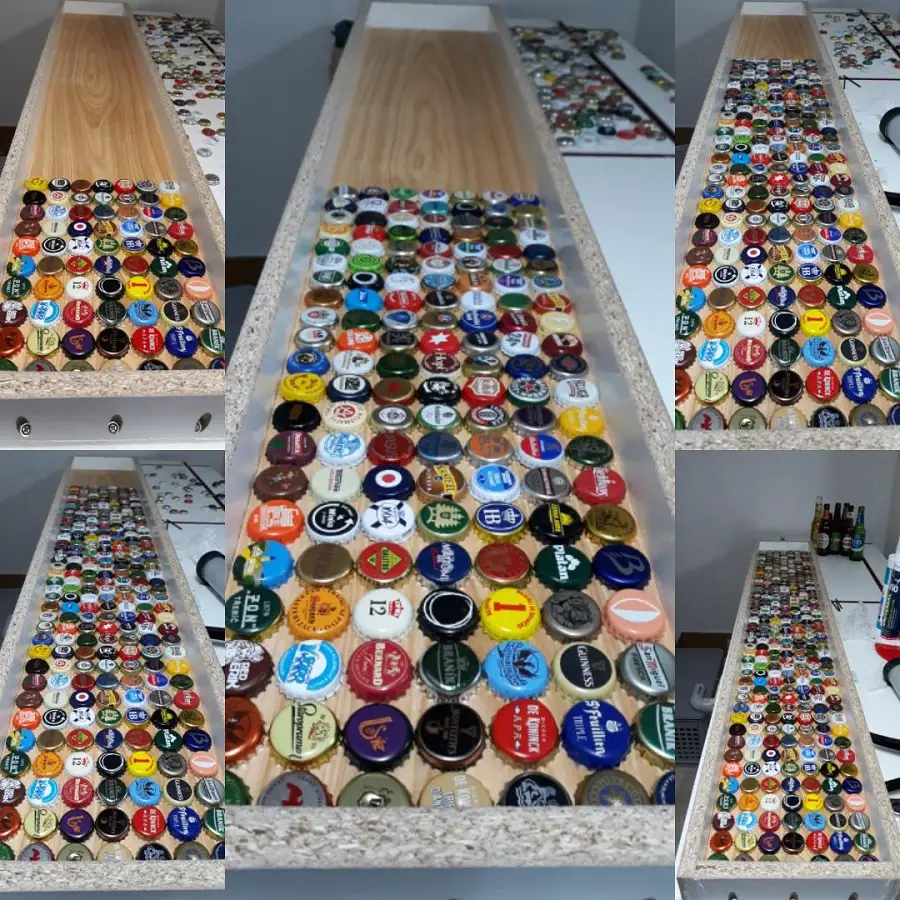
With everything ready, the resin was poured and spread with a spatula. The air bubbles that came to the surface were removed with a hot air blow gun. In the end, I had nothing to do but wait 72 hours for it to cure.
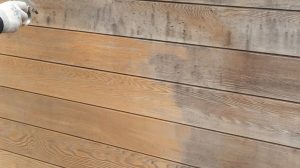
The grinding was carried out in several stages, with different grit levels ranging from 400 to 2000.
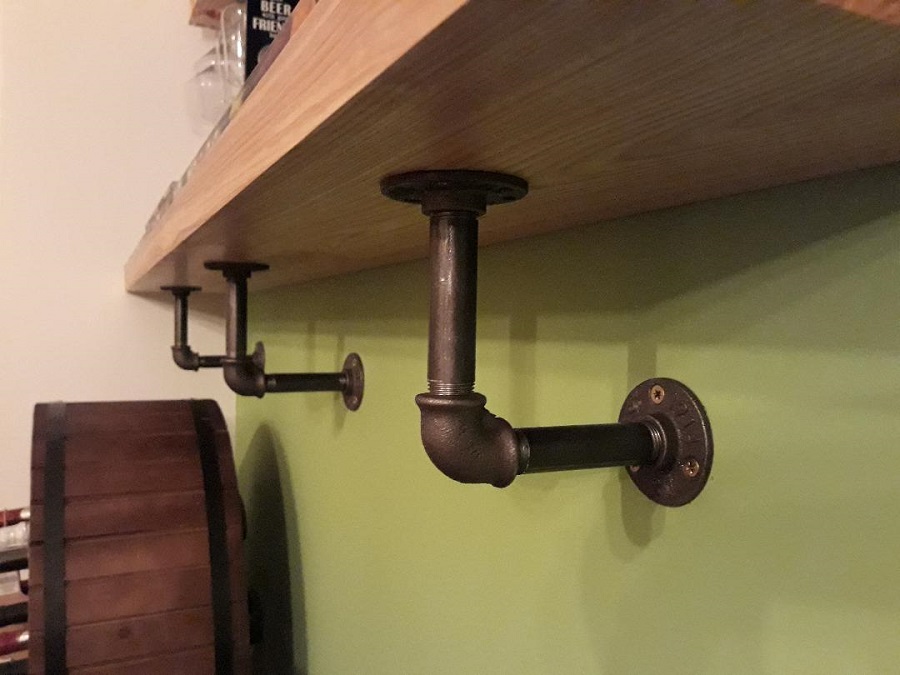
Because the style of the furniture in the room is industrial, a topic that can be covered in another article, the wall countertop fastening system was made accordingly; from pipes, connectors and flanges.
I would also like to take this opportunity to thank my friends for collecting the lids, without which this project, which is very dear to me, would not have been realized. And last but not least, to all those who consumed those beers. Cheers!


Hi. Is it possible to use epoxy resin as wood varnish?I mean to apply it with a brush on some chairs that will actually be under the open sky... Sun, rain, snow, etc... Thanks.
Hello,
Wood stain is for interior use and is applied by casting. For exterior use there is a floor resin that is applied to concrete, stone, pool area, etc. In this case it is also applied by casting.
For exterior use, there are varnishes and paints that are resistant to outdoor conditions and can be applied with a brush.
All the best!
Hello, Where can I find the flanges to attach the brackets to the wall? I've been looking for a while and can't find them. Thank you!
Hello,
Unfortunately they are not available in our country.
The options would be importing China or the US.
Good riddance!
Hi.My name is Florin.I have a question too.If I want to make a wooden table in combination with epoxy resin,does the wood have to be dry?If the wood is green,does it still work after it is put in the resin?Thanks.