


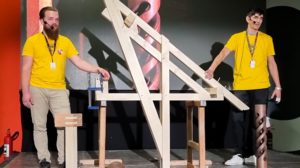
There are jobs where you need long wooden elements with very good strength. It is difficult to have such pieces in one piece, so several pieces of wood need to be joined together so that the final product is very strong. In order for the joint to be strong, the contact surface between the two pieces being joined must be as large as possible. An extension by butting the pieces together and making the joint only on the perfectly straight, 90° angled surface at the end will not have the required strength. Therefore more elaborate butt joints must be found where the profiles provide a much larger contact surface.
Below are some of these joints, the most commonly used and among the easiest to make for items used in furniture making or to extend pieces of wood to be used for cladding. There are other, more complicated butt joints for extending beams in construction. In this case the forces acting on the joint are very strong. But more about them in another article. Now let's see how we can extend wooden elements used in simpler works.
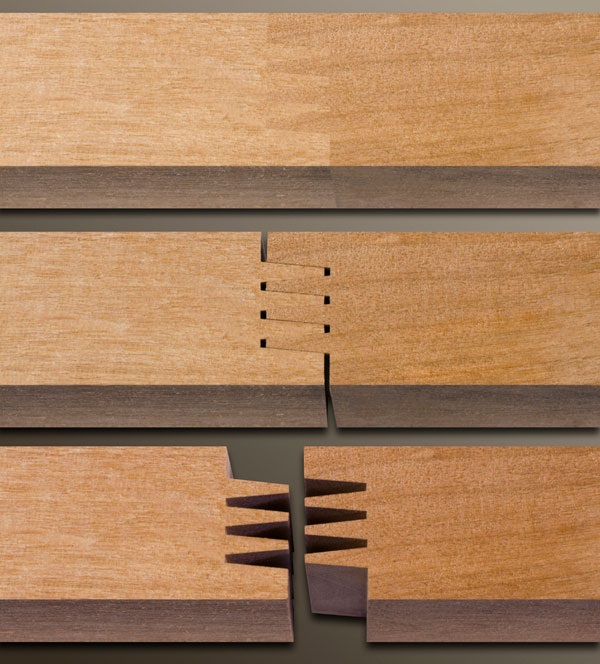
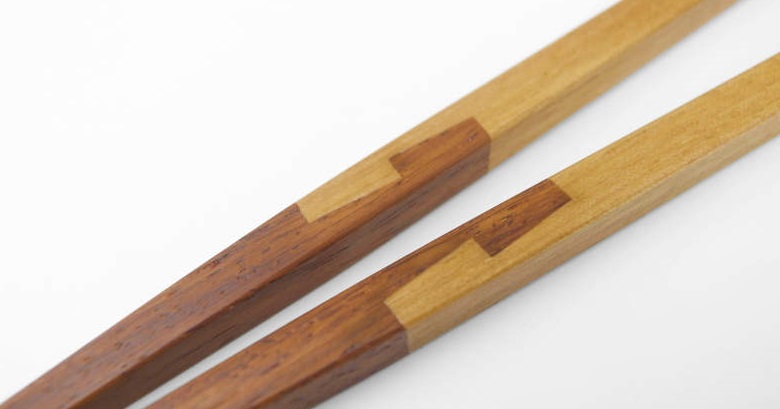
Teething
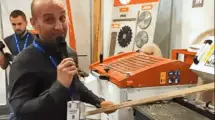
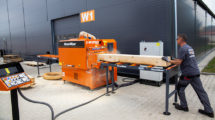
It is the most widely used joint in the industry for the extension of wooden elements. It is used both for solid wood panels, when the joined elements are shorter and smaller, but also when laminated beams (glulam), where the elements to be combined are much larger.
The joint is much stronger than a butt joint. With the appearance of the splicing teeth, the method of bonding changes completely compared to butt bonding, the contact surface becomes much larger and the bonding is parallel to the fiber, not at the end of the fiber. It is a known fact that gluing along the grain, when the fibers of the two pieces of wood are parallel, is very strong.
In order to make the joint, however, the joint profile must be made, a difficult operation that is carried out mainly in factories, where the equipment makes this possible. In workshops, however, or when it is a DIY project, other types of joints are chosen which are strong enough to allow the project to be carried out. There is a article entirely dedicated to the dental bonding and those interested can find out more by reading it.
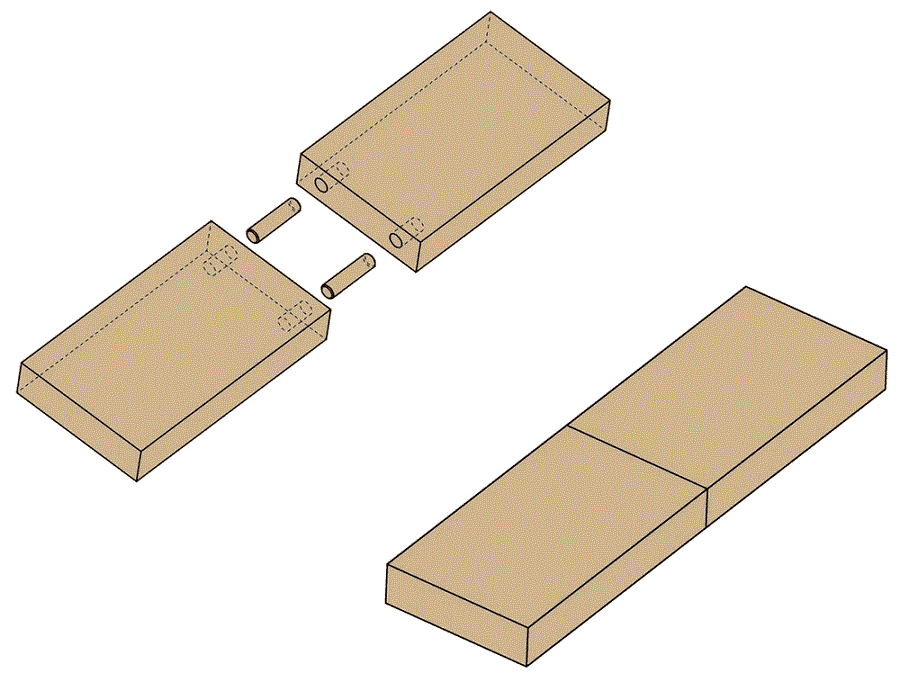
Joining with dowels (dowels)
It is the joint used to extend the elements and in the case of wood-derived boards. It's basically a way of making their alignment perfect and is doubled by the use of screws when greater strength is needed.
Joining can be done simply and quickly with a drill, a suitable drill bit, dowels and wood glue and is therefore recommended for beginners, for lengthening short lengths that do not need to be compressed, stretched or twisted under high compressive, stretching or twisting forces. Spacers, however, consider it to be weak and mainly suitable for housework.
A major disadvantage of splicing is that moisture variation can lead to dimensional shrinkage of the dowels. Combined with the ageing of the adhesive for various reasons (temperature, unsuitable conditions, unsuitable adhesive for the existing conditions) leads to play and ultimately to the failure of the joint.
And for an article has been dedicated to dowel joints where you can find out more about the pros and cons.
Oblique joining
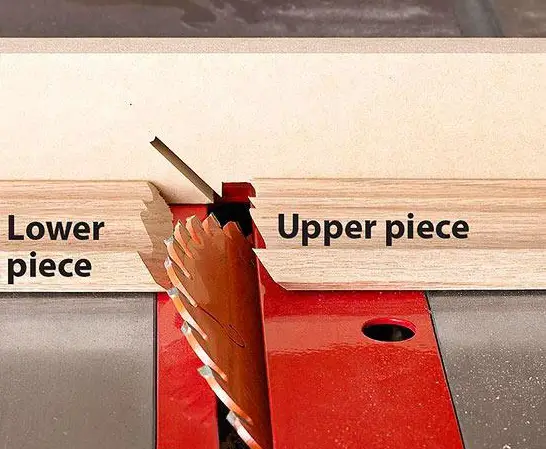
Another very simple joint is the one in which the elements are cut at an oblique angle. This increases the contact area between the two pieces and the joint will have a higher strength. But it is not a spectacular increase so it should be used for elements that are not subject to strong forces.
Cutting can be done with a circular whose blade can be tilted. The greater the angle, the larger the bonding surface will be and the joint strength will increase. For example, when cutting at a 45° angle, the bonding surface increases by 40% compared to the straight surface.
For a perfect fit, one of the pieces should be cut face up and the other, at the same blade inclination, face down. This will ensure a very good fit.
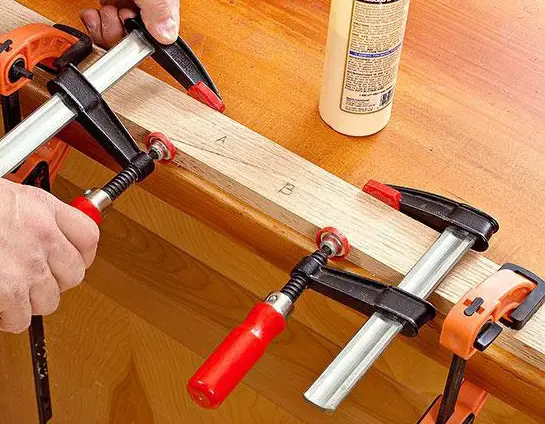
The two cut surfaces are glued together, the edges are matched and then fixed with cleme until the adhesive has set. In order to make the joint as firm as possible, wooden rods can be placed on either side to stiffen it and the joint can be clamped together with the wooden rods.
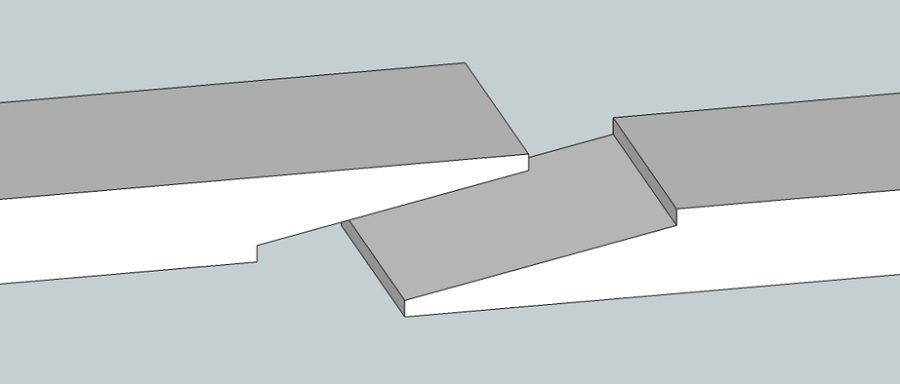
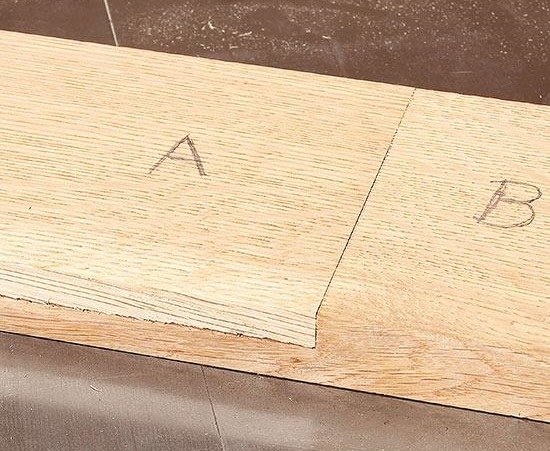
Lengthwise oblique joint
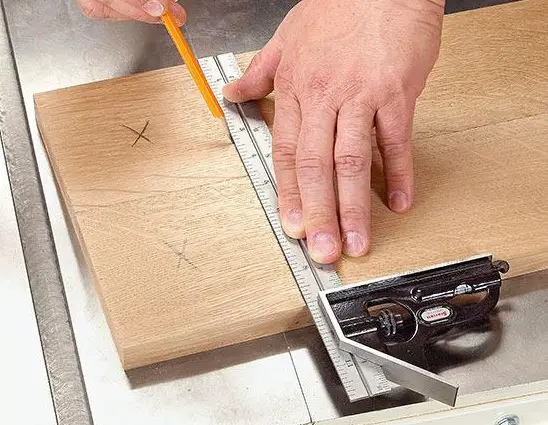
In order to increase the jointing area even more, the elements can be cut obliquely, but not perpendicular to the piece, as in the previous method, but along the length of the element. The cut must be very precise so that the elements fit perfectly. For this, use an ordinary echer, like the one used for technical drawing, or a template in the shape of an echer.
As with the other bevel cut, the cutting line is drawn on one piece on the front and the other on the back. The notch of the width of each item must be at a perfect 90° angle to that of the length. To draw the cut line the echer fits at right angles across that made by the length and width of the piece. The cut should be made very neatly, exactly on the drawn line.
After cutting, dust is removed and adhesive is applied to all cut surfaces. The pieces are placed one after the other on a perfectly straight surface. They are matched and clamped with clamps until the adhesive is fully cured. It is mandatory that clamps are placed on the end areas of the glue (the tops of the elements) so that the elements are properly bonded.
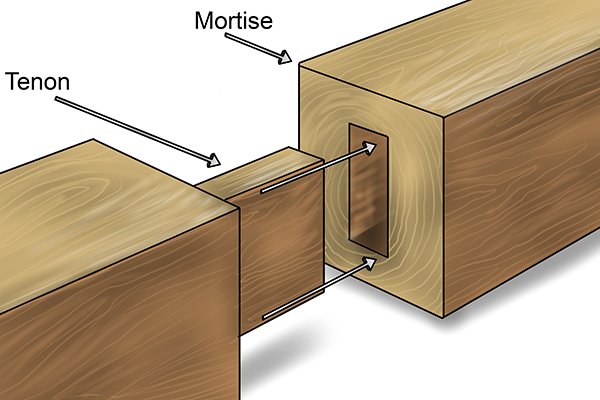
Joining with a log and hollow joint
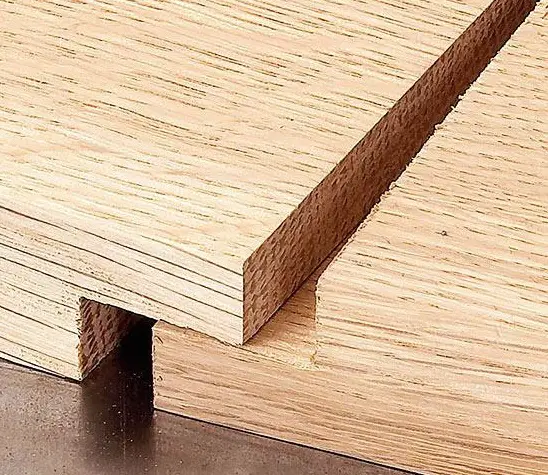
The mortise and tenon joint is one of the most commonly used joints in furniture making. It is used mainly for right-angle joints, but also for lengthening elements when they are thick enough to allow the mortise and tenon to be made.
In order for the joint to be perfect, the recess must be a little deeper than the butt. The gap left when the elements are put together is also needed for the adhesive with which this butt joint is stiffened.
The subsequent strength of the joint depends on the length of the root ball. The longer the dowel, the more pressure can be applied to the joint without loosening or breaking.
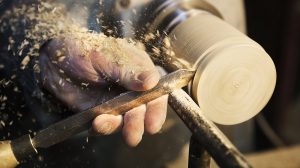
The top and hollow can also be made by hand by those who have a passion for woodworking and the joints made in this way. But it is simpler to use router with milling tools that can do both the hollowing and the chipping.
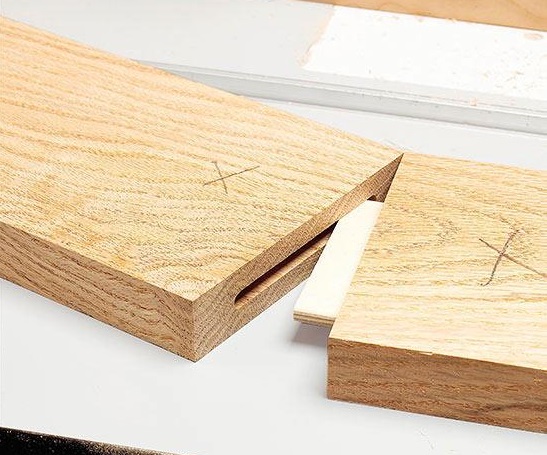
Wedge joint
A similar variant to the butt and rabbet joint is the wedge joint. A wooden wedge (bridle) is used instead of a log, which fits snugly into the grooves made in the two elements to be joined. The wedge is much easier to make and so the joint is simpler to make.
The joint can be classic or pierced. In the latter case, a groove is cut at the ends of the two elements to be joined. A wedge the width of which is equal to the depth of the two grooves is used to bring the two elements together. The wedge must be made in such a way that it fits firmly into the groove. In order to make the joint secure, the wedge is fixed with adhesive. The joined elements are placed between two planks and clamped together with clamps until the adhesive hardens.
It's a butt joint that's well suited for items that need high bending strength.
Joining half-thickness in wood
It's an aesthetically pleasing, powerful and easy to make with a circular with table or a router. It is a very good and strong way to make butt joints. The overlapping surfaces allow for bonding parallel to the fiber. The larger the overlap, the stronger, stronger the splice.
To make the perfect extension the area to be overlapped must be measured and marked. The cut should be made up to half the thickness of the elements. The tools must be sharp so that the cut is exact and smooth. Once the cutting is done, check that the elements fit perfectly. Adhesive is then applied and the elements are clamped in the clamps until the adhesive is fully cured.
Variants of the same joint are those in which the cut in the wood is oblique or has a profile that further increases the contact surface.
The method can also be applied for the extension of elements in Chipboard or MDF.
Other types of butt joints
They are not the only joints that allow for the extension of elements used in furniture production, for flooring, guards or wall cladding, but they are one of the simplest to make. Joints such as butt to butt with beveled butt, butt to butt with false butt, butt to butt with square butt and the like are much more elaborate and difficult to make. But the more sophisticated they are, the larger the contact surface and the stronger the joints.
It is very important that the choice of joining method depends on how the extended element will be used. Compressive strength, tensile strength, twisting strength, bending strength are all important when butt joining. When done well, the contact surface is large and defects that can be weak points are removed (knotscracks, cracks, resin pockets), the element made by joining two pieces of wood may be stronger than a single piece of the same length and thickness.


Please show us how to literally do the head to head bite. how to measure both pieces ,.......how to cut....how to join ......and what tools to use. thank you
Hello, can you help me with a problem? I want to install pine flooring in dowels. Is there any chance that it will last?
Hello!
Sorry for the late reply. 🙂
It depends on how long the elements are and how well the wood is dried. But if gaps happen to form between the elements, it is much easier to knock into place compared to glued. The risk is higher where there are very large variations in humidity and temperature (attics, lofts). If the wood is properly dried and the humidity inside is fairly constant, it holds up well. Sometimes it is sufficient to fix the elements tightly together (knocked down), without immobilising them. Like oak parquet used to be.
All the best!
Congratulations on the article. It's very well put together.
What would be a good joint for a wooden plate used to mount a drawbar?
Thanks for your appreciation!
In order to be as strong as possible, the joint should be made along as much of the length of the wooden elements as possible and along the grain (the fibres of the elements glued in parallel), not at the end of the fibres, on the cross-section.
For a drawbar, the strongest joints are the teeth joints, which are stronger the more teeth and the longer they are, or the oblique ones, which are the same, over a longer surface.
All the best!