


Even if there are recognized technologies for sanding and finishing surfaces or applying wood preservatives, the diversity of species and even of wood from the same species, working conditions, application methods or finishing materials sometimes lead to unforeseen situations. Many years of experience have helped production workers or wood enthusiasts to discover tricks to solve difficult situations or find shortcuts without jeopardizing the quality of the final product. Many of them have become so widely used that they have become part of the technology and are more widely used than traditional methods. Here are some of the tricks used when sanding, preparing, staining and varnishing/painting wooden surfaces.
1. No putty for the holes in the wood surface? Use wood spackle and wood dust!
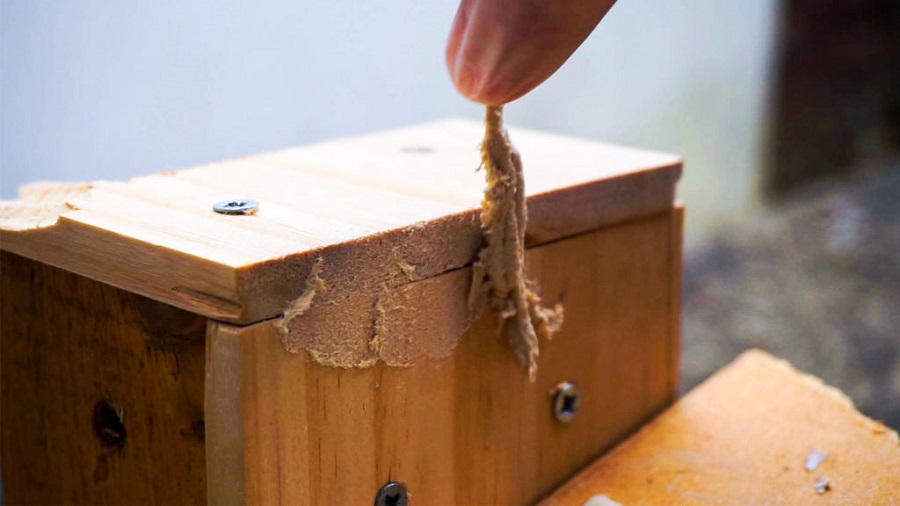
Wood often has imperfections - small holes, scratches - that need to be repaired to make the surface perfect after finishing. Typically wood putty (also called knife putty) or special putties. A handy method, which also has the advantage of achieving a wood-like color, is to cover defects with a mixture of aracite and wood dust from sanding. Use fine dust, not sawdust. The mixture should be made in such a way that the adhesive becomes more consistent, but does not lose its adhesive properties. Each craftsman usually has his own recipe because the result depends on the viscosity of the adhesive and the fineness of the wood dust. In the end, the mixture should have the consistency of a porridge. It is poured in excess into the hole cleaned of dust and impurities, allowed to dry and then sanded down to the surface. It has to be put in in excess because, as it dries, the quantity decreases.
Another method is to mix nitrocellulose varnish with wood dust. In this case, only nitro varnish should be used, otherwise stains will appear in the areas.
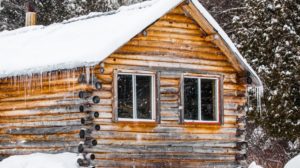
2. Your softwood has knots and you want to block the resin inside? Use shellac!
It is a known fact that resin from resinous wood is very hard to lock inside. That's why the resin bags are removed and nodes are replaced with twigs that mimic the look of the knot. They imitate it but don't replicate it, which is frustrating for those who want the genuine knot. That's why many choose to leave the knot as it is at the risk of the resin coming out and staining the finish. There is, however, a solution to lock the resin in - shellac. By brushing 2-3 coats of shellac on the knot, the resin is trapped inside and will not come out even if the temperature rises. You can find ready-made shellac in specialty stores, especially those selling painting materials. Further information about shellac, and how to prepare it if you have found shellac in flake form, can be found at here.
3. Most defects are visible after coloring. But you can also see them before
A big problem with colored clear finishes is flaws such as scratches or fine dents that are not visible after sanding. You can make the surface visible if you go over it with a damp sponge. There are even blemish-revealing stains - very light in color and compatible with all subsequent finishes. By wetting with water or very light stain, the wood surface changes color and defects become visible. The use of water also has the advantage that it will raise the grain of the wood if the sanding has not been done properly, thus allowing better sanding.
Once the defects are identified, the surface is sanded with a medium abrasive sponge or abrasive paper with a grain size not greater than 220 so that the very fine dust does not block the absorption of the colorant or the primer/lacquer into the wood. After sanding, the wood is allowed to dry completely before staining/lacquering is started.
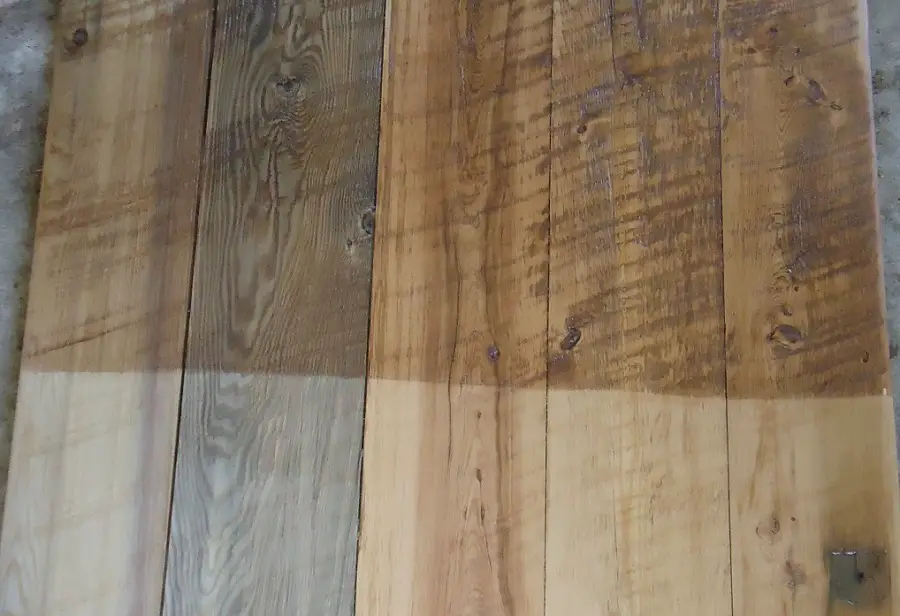
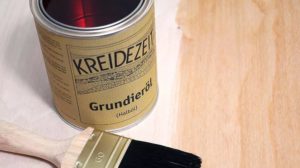
4. Want to bring out the natural wood grain? Use water-based wood stain in excess, followed by wiping!
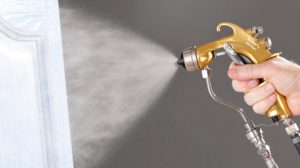
Many shy away from water-based baths for fear of peeling, longer drying time and increased moisture in the wood. You need have no such fears. If the gluing or veneering has been done correctly and with quality materials, you won't be endangered by the amount of water in a bath. And if the wood has reached equilibrium, even if it absorbs the water in the bath, it will immediately release it by drying. With water-based stains, the natural design of the wood is brought out much better and the colors are more vivid. And if applied with a spray gun, in excess, followed by wiping with a clean, soft cotton cloth, the coloring will be even, with no stains. Caution. If the surface is not well sanded and has small blemishes, the method will highlight them too.
5. Use a solution of arrowroot to reduce absorption in fiber end areas
In wood, most absorption occurs through the fiber ends, where the fiber has been sliced. The transverse areas (where the cut is perpendicular to the fiber) and the milled or turned areas are where the fiber ends are very numerous. More color is absorbed when the fiber is battled, staining the surface.
The oldest solution used to reduce absorption in these areas is water from aracet, i.e. a diluted solution of aracite. The solution is applied with a brush to those surfaces only. In the case of balusters or other patterned turned items, the solution is applied to the entire surface. The aracite gets inside the fiber, hardens, thus blocking absorption. After application and complete drying, the surface is sanded, dewaxed and can be colored.
6. Want to smooth the wood after staining? Use the back of sandpaper!
The recommendation of finishing specialists is not to do sanding between layers until after a coat of primer/lacquer has been applied over the stain. Sanding the bath directly will cause the color to set differently and result in a mottled appearance. However, if for some reason you need to smooth an area after coloring, use the back of a used sandpaper. The paper isn't abrasive enough to take the color, but it does manage to smooth the surface, getting rid of the very rough look.
7. Don't want brush marks on the surface? Use a stiff sponge!
Do-it-yourself enthusiasts often complain that paintbrushes leave streaks and brush bristles on the surface. The appearance is all the more noticeable the thicker the lacquer, the higher the viscosity. If, for example, water-based exterior varnish is applied, dilution is not recommended because the varnish has thixotropy (so that it can be applied vertically without dripping) and the extra water affects this property. In this case it's best to use a squeegee. The best ones are hard sponges because they apply the varnish or paint more evenly and without dripping. If you are applying solvent-based lacquers, use a solvent-resistant sponge. Ordinary sponge, on contact with solvents, swells up and leaves.
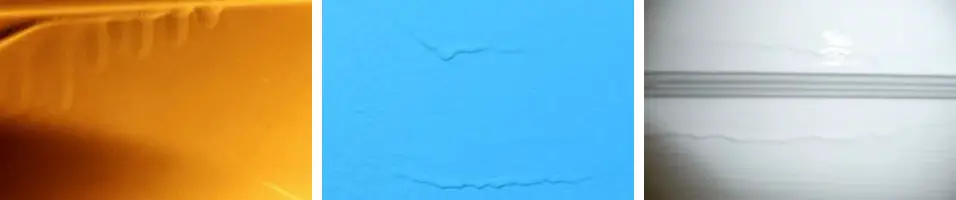
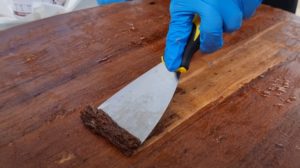
8. Got lake scum on the edges or surface? It's solved!
It is known that the varnished surface looks much better without orange peel or plastic look, if instead of a thick coat you apply 2-3 thin coats of varnish, diluted appropriately. But what about the drips? Thin varnish will be more fluid and will run off more easily, forming unsightly drips on the edges. On flat surfaces, the dripping will continue after you stop applying, until the varnish dries shallowly. Thick drops of hardened varnish are difficult to remove by sanding. To remove the thick layer, you have to insist and the surrounding areas are affected. The best method is to use a țicling. What's that? A kind of chisel with a straight, sharp, narrow, fine, straight-edged blade. It is used to remove the excess, carefully and after the varnish has completely dried, after which the surface is lightly sanded with a fine abrasive sponge or sandpaper. If the excess is to be removed at an intermediate stage of the finishing, sand with 280 or 320 grain size. If it is the final coat of varnish or paint, first use a minimum grain size of 400, then polish with felt or soft cotton cloth and abrasive paste 800-1000, for matt varnish or 3000, for gloss varnish.
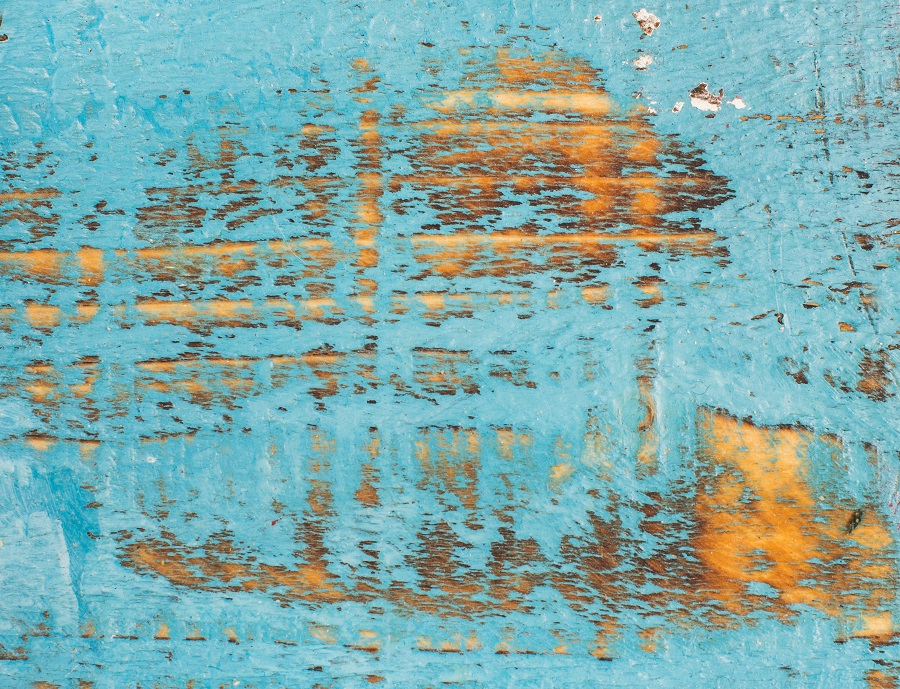
9. Want to make distressed furniture, but don't want to put much effort? Use wax!
Distress/distressed is the most popular wood antiquing. Burning the edges, i.e. sanding them down to the wood or the bottom layer, gives the impression that the furniture has been used for a long time. To suggest more intensive use, sanding is also done on flat surfaces, the overall appearance being that of furniture that has been painted variously over time and which has deteriorated through heavy use. The method involves artistic vision and quite a lot of work, as sanding is not very simple. To avoid the effort of sanding, wood wax can be used. It is applied thinly to the undercoat, in areas where you want to remove the top coat (edges, surfaces). As the wax is the top coat, the top coat of paint will not adhere. After drying, it is easily removed by wiping with a soft cotton cloth. The effect can be finished with wax or varnish. If varnish is used, areas that have been waxed should be wiped off with thinner/alcohol if the paints are water-based, or weak soda solution if solvent-based.
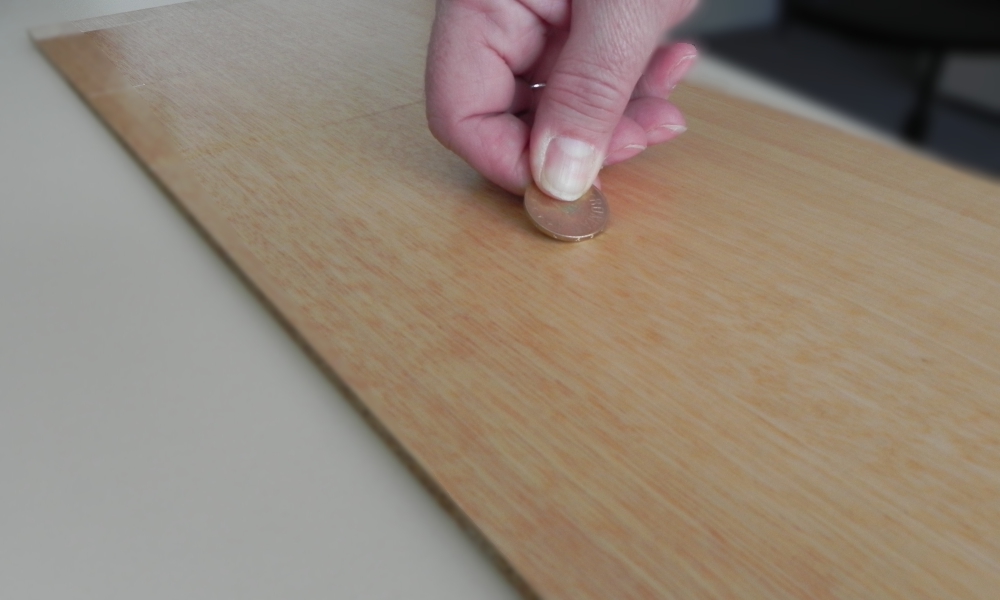
10. You've refinished an old wooden object and want to check if the new coating adheres to the wood? Use the coin test!
The varnish and paint layers adhere to the wood because some of the first layer is absorbed by the wood and the subsequent layers cling to the first. When refinishing a piece of furniture, visible paint layers are removed by sanding or paint strippers. The layer absorbed into the wood is ignored, however, and this results in the adhesion of the new finish being reduced. To ensure that the varnish will penetrate into the wood, you need to sand it after the paint layers have been completely removed. Use a coarse sandpaper (60, 80) first, then a finer 150 or 180. This will remove the absorbed varnish on the surface of the wood and open the grain to absorb again. If you have already refinished a piece of furniture and want to check if the new coat has adhesion, use a coin (a 50 is perfect). Use the edge of the coin to draw a stripe on a hidden area of the furniture. If a white streak is left behind, this is not good. It means the lake has broken loose and air has gotten underneath. If the varnish just streaks, without whitening. the finish has adhesion. Why is adhesion important? Because with any harder mechanical shock or bump, the varnish separates from the wood, then cracks and peels.
There are certainly lots of other tricks you have used when finishing wood. I'd like to consider this article a start and fill it in with other tricks from your own experience or from those from whom you have learned your craft. I invite you to leave them in the comments area and I promise to add them, mentioning also the name of the person who came up with the proposal. What do you say, shall we make it 100?


Thank you for the invaluable information, I'm just starting out and it really helps me build my confidence.
Nowadays, at Dedeman I only find lazures - the bath is only available as a thin 2 in 1 lazure.
How does it apply? Can I treat it as a thin coloured varnish?
Hello!
Glad to be of service.
The lazings are produced for outdoor use. Morally it should just be a sunlight-resistant dip, but the commercial ones are really a kind of thinner, coloured varnish. Unless the manufacturer has other instructions, apply 2-3 coats to sanded and stripped wood.
If you just want wood filler, you should look at specialty stores, those that sell wood products, or distributors of professional wood products importers (ICA-Lomilux, Sirca, Sayerlack, Milesi, Renner, Remmers, etc).
All the best!
Thank you!
Another question: what is the difference between alkyd and polyurethane varnishes? Are they compatible with oiled (linseed oil dried) supreme?
Hello!
Basically, alchemical varnishes are a chemical variant of oil-based varnishes, have white spirit or other petroleum derivatives (gas, petrol) as solvent and can be used outdoors (especially paints). Polyurethane varnishes are very resistant because they harden through a chemical reaction. They are used for situations where resistance to chemicals, solvents, abrasion, abrasion or mechanical shock is required. They are both solvent-based and water-based. Solvent-based ones are pure polyurethane and are used indoors. The water-based ones are acrylic-polyurethane and there are also outdoor versions. In the USA there are polyurethane oil variants, but we have not come across them.
Alkyd varnishes can be applied over oiled surfaces, ooliurethane varnishes only the US version.
All the best!
Hello, thank you for the valuable information. I would like to make kitchen furniture out of beech paneling that I will paint at the end with a water based paint. How should I proceed in order to give better moisture resistance ( especially for the body that will support the sink)? I checked at Dedeman and they can do pallet staining for Oskar - water based paint. What coats should be before the paint or after? Thanks,
Good evening!
The most important thing for moisture resistance is that the wood is covered all over, even in areas that are not visible (edge, back of countertop, etc). This avoids moisture absorption due to possible water leaks.
If using paint, apply 2-3 coats, drying and sanding in between to make the surface smooth and pleasant to the touch.
If you want the natural wood grain to be visible, use bait and clear varnish. The putty is for staining and you can apply it only on the parts that are visible. You can use water-based or solvent-based putty. Apply the varnish after it is completely dry. Do not sand before the first coat of varnish as this will alter the colour. Apply with a brush, sponge or trowel, with a brush to avoid staining. Beech has a tendency to stain with water-based bait. Do not let the bath bleed. Apply it drier (brush well wiped, sponge well squeezed, trafalet with stiff sponge).
After drying, apply 2-3 coats of varnish, just like paint. Use water-based varnish for interior use.
Good luck!
Hello,
I ordered stained and lacquered hardwood panels for kitchen cabinets. My problem is that after a while some started to warp, altering the flatness. I suspect moisture differences. What do you think I can do?
Good evening!
The deformation can also be due to the different finishes on the two sides of the panel (one side finished and one unfinished or on one side 3 coats of varnish and on the other only a very thin one), the way the elements forming the panel have been cut or the construction solutions of the furniture.
If elements with different moisture contents have been used, cracks may occur.
Unfortunately, there's not much you can do. If possible, you can add fasteners so that the panel is forced to stand upright.
It can also be a temporary deformation due to a very large decrease or increase in indoor humidity and the panel will recover when it returns to its original conditions. But this possibility is very small.
All the best!