


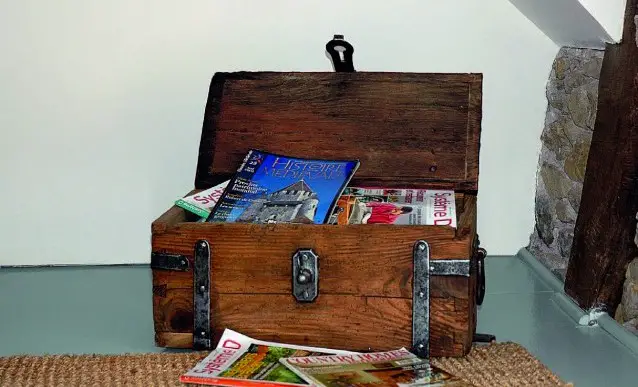
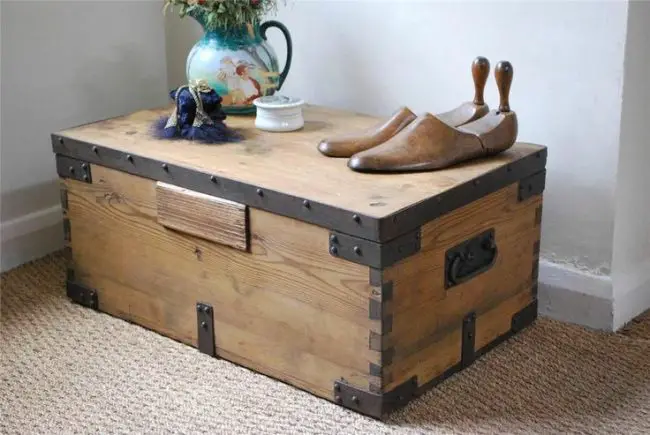
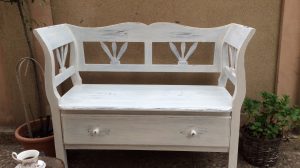
The other day a post caught my eye. Someone had found an old wooden chest in the attic and was asking for help to clean it out without damaging it. I thought to myself that this is not simple at all and realized that it's a topic I've never covered. So, the subject of today's article will be cleaning and freshening up an old wooden object that has not been stored in the best conditions.
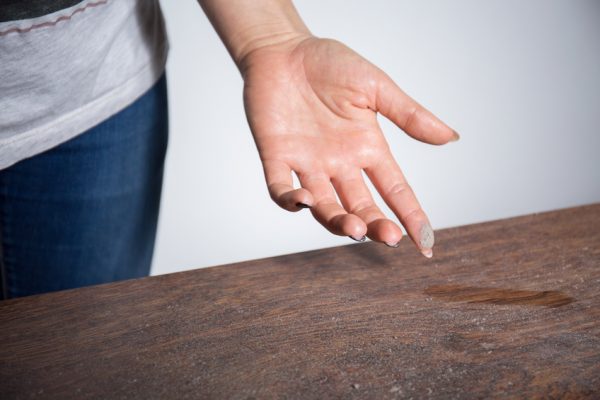
The first thing you notice about such an object is the consistent layer of dust. It is not advisable to wipe it off with a cloth, as larger dust granules may have settled over time. These, when the cloth is moved from side to side, can scratch the surface with consequences that are sometimes difficult to remedy.
Using a wet cloth is not a solution either, especially if you wet it with hot water. The object might be finished with wax that softens on contact with the hot wet cloth. The result will be a smeared surface that will have to be completely removed and redone.
If the object is not coated with wax or varnish, using a wet cloth is the worst choice. It will form a slime that will get into the unprotected wood and its pores and will be very difficult to remove.
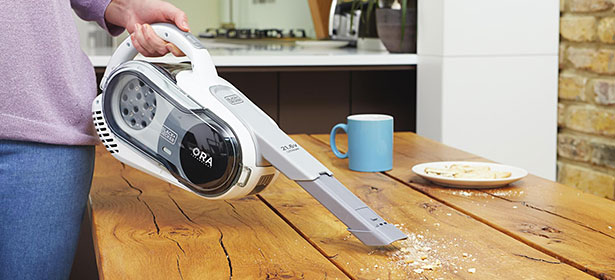
The best solution in this case is to vacuum up the dust. Not blowing it with air, because you spread it into the atmosphere and end up dealing with it again. Blowing with pressurized air is only a solution if you have good exhaust systems to suck up all that dust. When doing this at home, the vacuum cleaner is the solution. Do the vacuuming, from a small distance, without putting the brush on the object, so as not to scratch it.
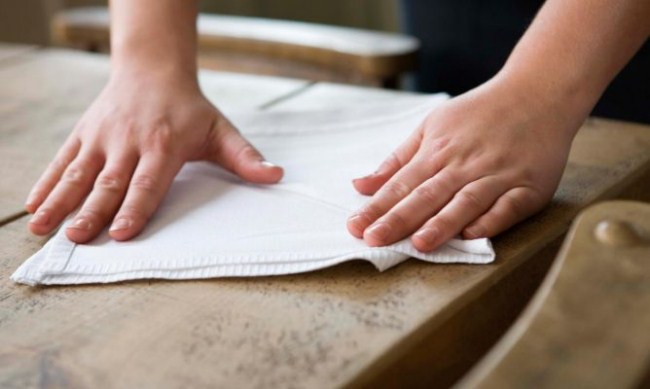
Once you have made sure that the dust is completely removed from both the outside and the inside, you can wipe the object with a clean, soft cloth. Cotton cloths are best. Old, soft T-shirts that you were most comfortable in during the summer, but no longer wear because they've grown baggy, gone in the water or are out of fashion, make the best cloths to wipe.
Only now you can use wet cloths. But don't use hot water, use warm water and soap or a non-aggressive liquid detergent as detergent. Do not use abrasive cleaning solutions. It's easiest to use the leftover soap you use to wash your face, which you dissolve in a little water. You get a solution that can be used as a detergent. To make the water for washing, put some of this solution in warm water. Wipe the object with the cloth soaked and then wrung out. The water should not be allowed to puddle on the object. There may be scratches through which water can penetrate to the wood. After cleaning thoroughly with the wet cloth wipe the entire surface with the dry cloth. All cloths used must be soft, non-scratchy and lint-free.
I've seen some recommendations to clean surfaces with thinner or ethyl alcohol solutions (medicinal spirits). In my opinion it is risky to use solvents when you are not sure with what kind of products the object has been protected. If it has been coated with waxes or shellacsoluble in solvents, the object may become soaked.
Now that you have a clean object, you can see if the surface is intact, if it needs small repairs or refurbishing, you can choose whether to leave it as it is, with the patina of time, or to refinish the whole finish. If it's an old and valuable object, it's a good idea to call in restoration professionals. Refurbishing, and especially restoration, is not a simple operation, it takes experience.
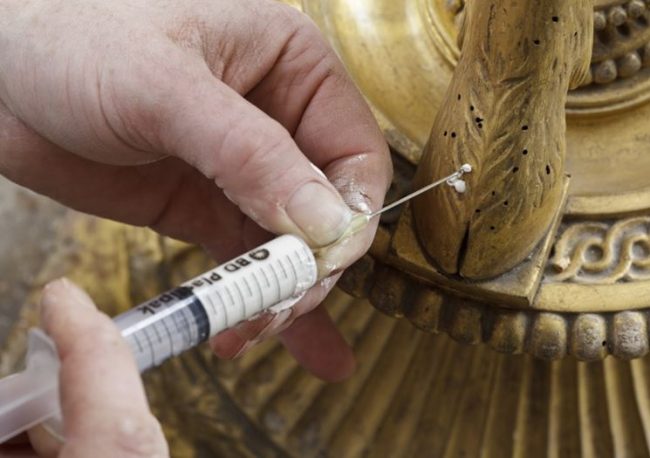
One more thing to check, but it is very important: if the wood has been attacked by cari or other specific insects. Curry holes look good and contribute a lot to the old look, but if it's still in the wood, you may have a big problem. In addition to continuing to destroy the item, it may also move on to other wooden furniture in the house. Plus the noise it makes while eating the wood. If it's completely quiet in the house, it sounds like mice gnawing on the floors.
To remove cavities, which are very resistant, you need to use special substances. When you buy them, make sure they are to treat wood attacked by decay, not to prevent attack. Those that prevent are far too weak. The solution should be put in each hole, then cover the hole with scotch tape and leave for 2-3 days. Repeat the operation at least one more time.
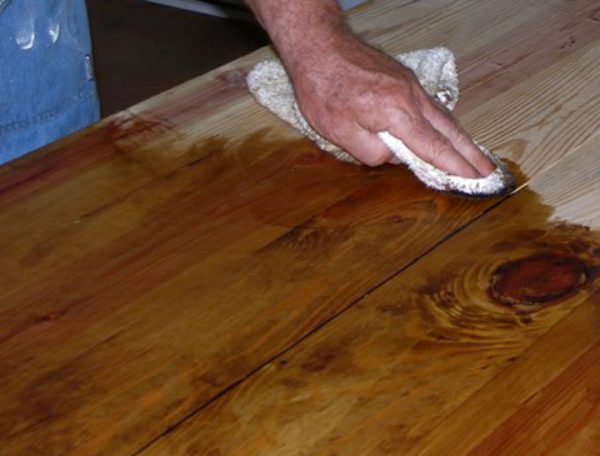
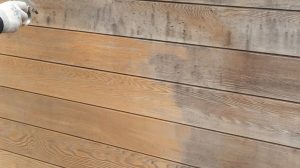
One last recommendation. If the wood is protected, to freshen up the look, apply a coat of wax or special oils for wood. The application will still be done with the cloth. It is good to warm the wax slightly before to make it more fluid and apply a smaller amount. Finally wipe well with a clean dry cloth. You will get a very nice silky look. Much nicer than with conventional commercially available furniture cleaning and care products.
I hope you find these tips useful and in the future it will be much easier to save old things that are close to your heart. If you decide to remove the old finish coat and apply a new one, here are some more tips information in the following link.


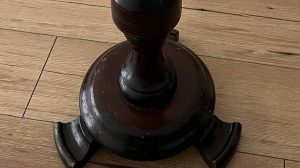


I have two very interesting chests but they are painted brown, as far as I can tell in many coats. They are covered with paint and metal trim. Do you have any advice? Thank you very much.
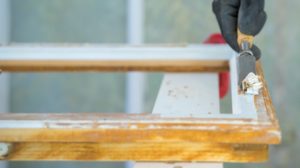
You can use paint strippers. I recently used Kober paint stripper and was happy with it. Apply with a brush, leave it on for 20 mins then remove with a scraper or a stiffer brush. The downside is that you'll get to the wood, and if under the brown paint was another finish you may lose it.
You can also sand it, but manually is very difficult. You need a sanding machine on which to use 80 or 100 grit sandpaper. Once you have removed the old layers, sand again with 150 grit paper and refinish.
More solutions for removing old paint layers can be found in the article below.
All the best!
https://revistadinlemn.ro/2017/09/15/cum-se-curata-stratul-vechi-de-vopsea/