


Last year, after the publication of the acacia, we received a message from a reader who told us how he recovered acacia wood from an old barn and used it to build a gazebo. He was impressed by the strength and toughness of the wood. The way he told his story, his enthusiasm and his desire to share his experience with someone who has the same passion for wood impressed me and that's how we got to know each other (unfortunately only virtually). Although it may seem like just a simple story about building a gazebo using old wood, I think it's more than that. It's a story about passion, about reclaimed wood, about memories transferred to a new gazebo, about dreams, plans and wishes and last but not least, about family. I'm happy to tell you this story, occasionally calling on the words of the "little boy".
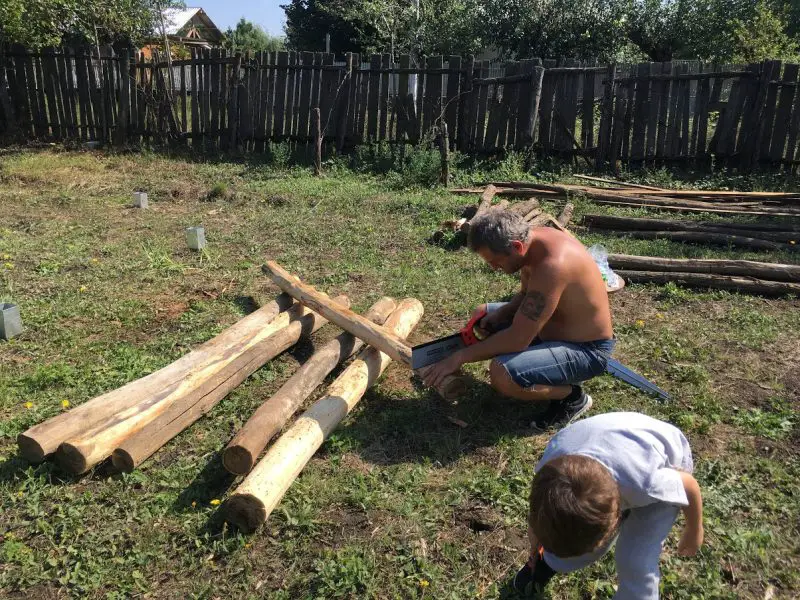
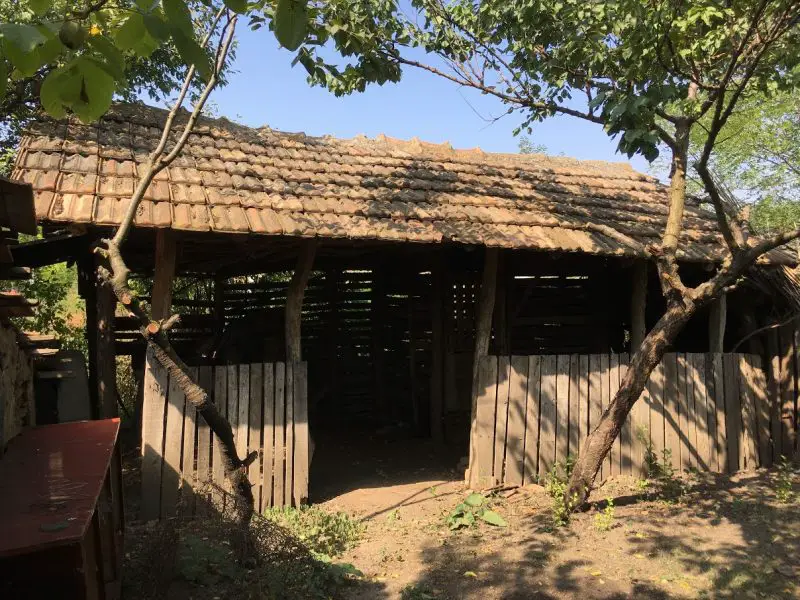
He is Claudiu Gârceavă, who earns his living by making very good melamine chipboard furniture, but who dreams of a workshop where he can process solid wood. Last autumn, he demolished an old shed - a barn or dovecote, as we say in the south - and decided to salvage the wooden posts, which were made of acacia. The porumbar was built in 1949 to hold, in addition to corn, firewood and reeds used for wine barrels.
Some of the wood has been lying in the ground, the marks left by the damp, but especially by insects, are very visible after the bark has been removed. However, the wood was just as hard and resistant.
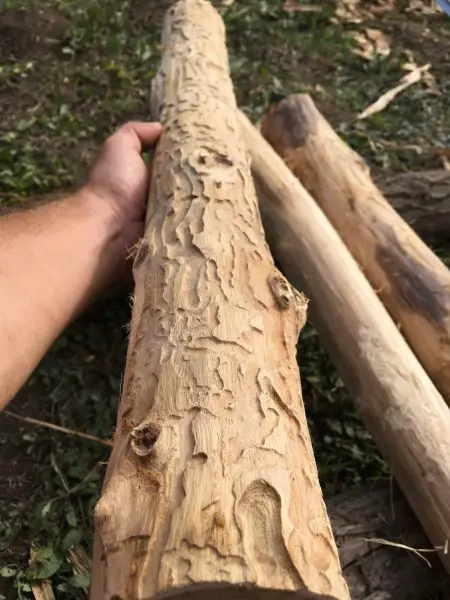
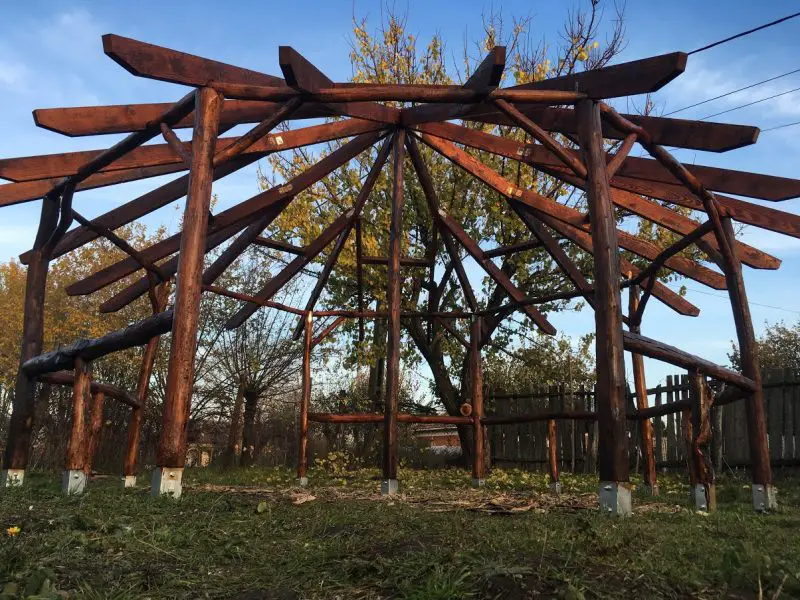
Each acacia pole was carefully cleaned with axe and shears, old nails were removed and it was prepared for the future construction.
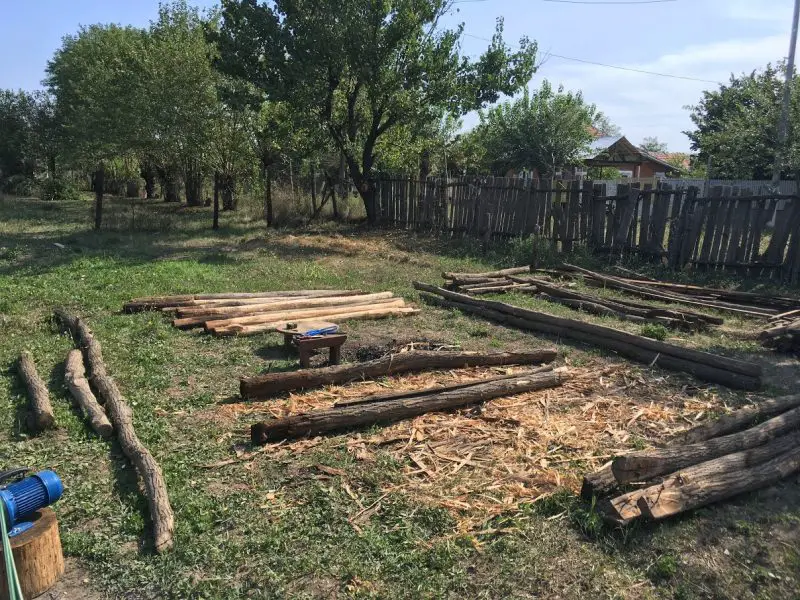
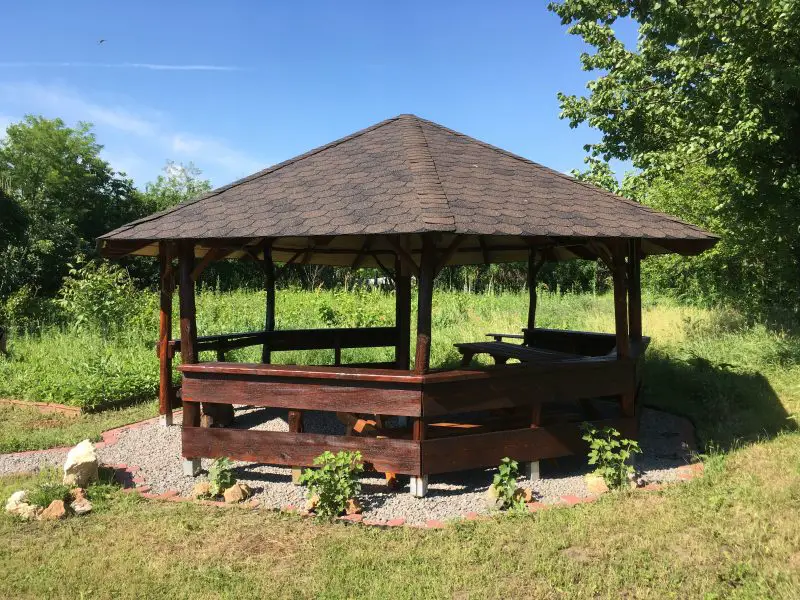
"At the gazebo we used recovered wood making the resistance posts, the post bracings, the horizontal bars connecting the posts at the top end, the horizontal T-shaped beams between each pair of posts at the bottom and the central post. The gazebo is 5 m in diameter in the area of the pillars and 6.5 m in diameter in the roof area (seen from above), and is in 8 waters (octagon)".
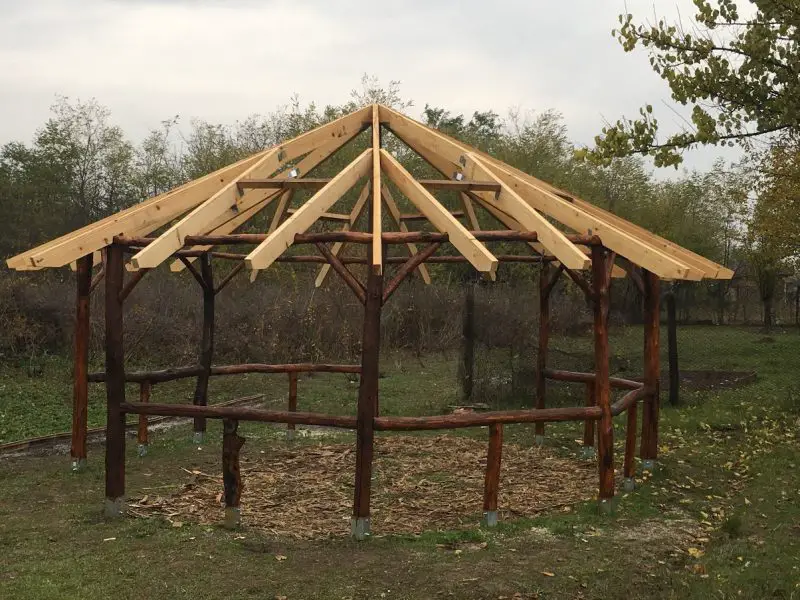
Because the recovered wood wasn't enough, he had to buy another 4 m of wood, which he cut to the round and made into rafters. After making the structure, he coated everything with a drying oil, left it in the sun for 2 days to dry, then applied a rosewood-coloured varnish. Because winter came in the meantime, he had to stop. This gave the wood time to "settle" over the winter.
"This year, as soon as the heat came on, I took it up again. I put shingles on the roof on all 8 sides, fastened in hollow screws, 900 hollow screws in 3 days. I then covered it with thin bituminous membrane, overlapped at the ends 10 cm and fastened from place to place in long staples. In one day it was ready, but the sun baked me a bit, by the end of the day we were both black, me and the membrane".
The next few days the weather was nice, so he could lay the bituminous shingle in peace. It took 4 days and ... 1750 nails. On the edges he put all the shingle, cut into a drop shape and glued it with mastic.
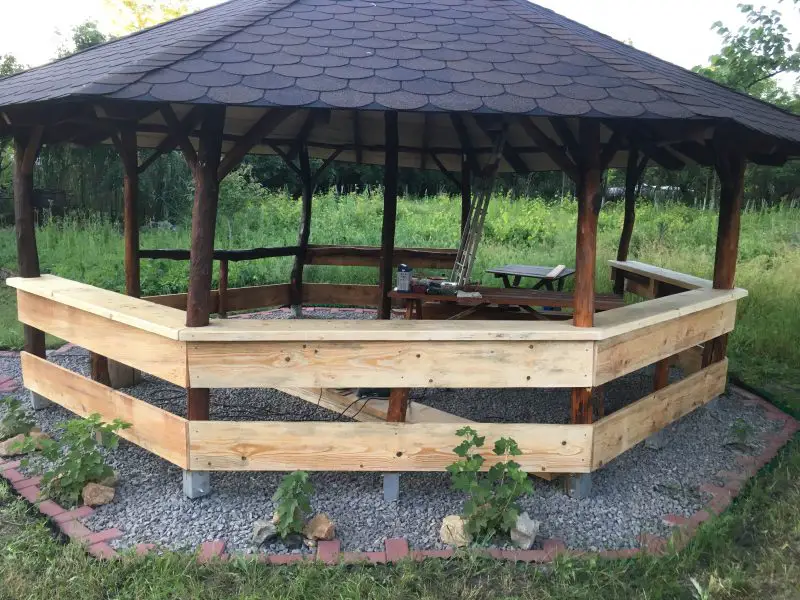
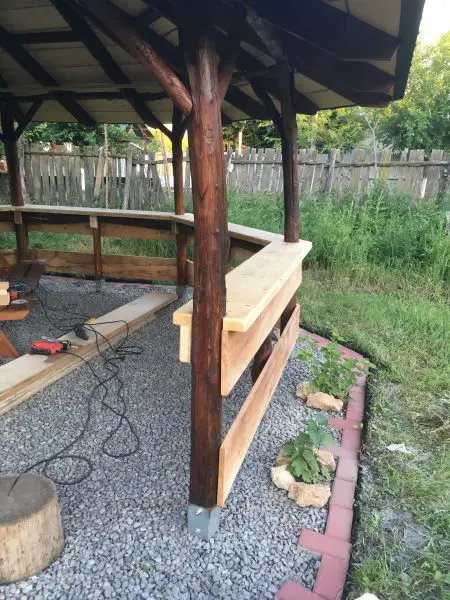
With the roof ready he allowed himself 2 weeks to rest, then moved on to the bottom of the gazebo. Also from 280 x 50 mm and 4 m long, he made horizontal poles and laid them over the outside planking. All the acacia poles had to be prepared and then hollow screws were used. The acacia turned out to be so hard that nothing would go into it, and smoke came out of the drill when drilling.
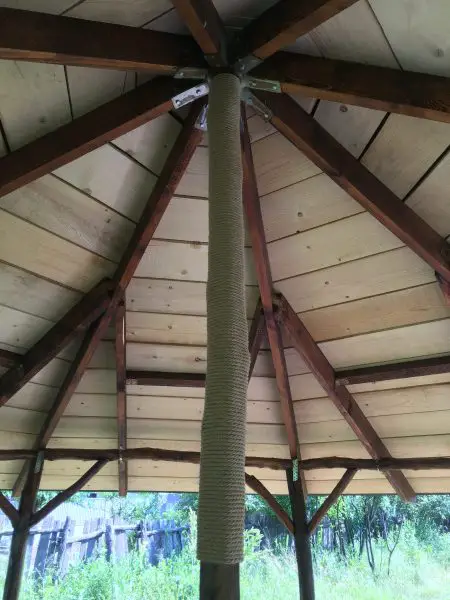
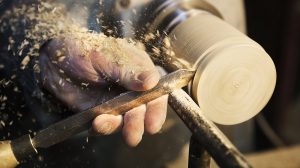
The pole was wrapped in twine to "finish" the rather rough surface of the acacia. He didn't want to straighten it so as not to thin it by even 1 mm. "For a metre and a half of pole we needed 50 (fifty) metres of string. 🙂 I couldn't believe it!"
Also on the central pole, 1.70 m above the ground, he put 4 anchorage sieves for 250 kg each for the hammocks. "After you've eaten your meal, you can relax in a hammock when it's a torrential downpour outside."
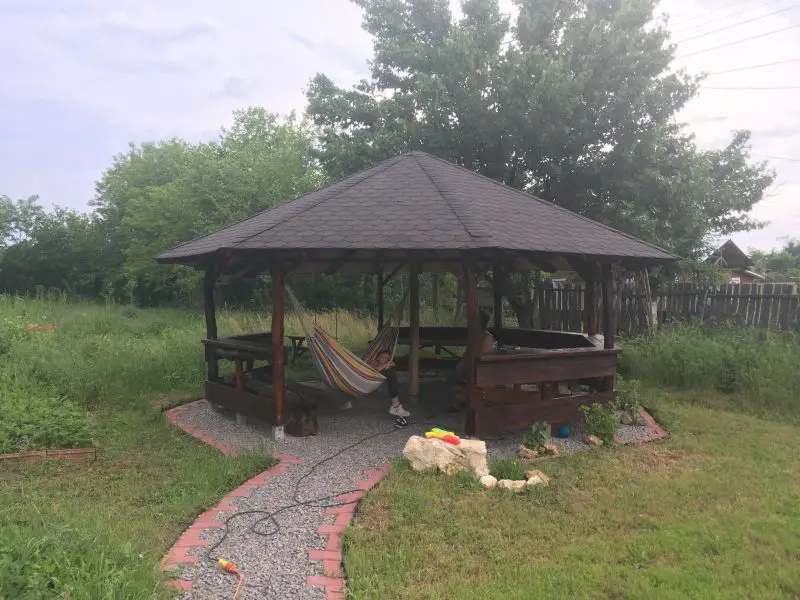
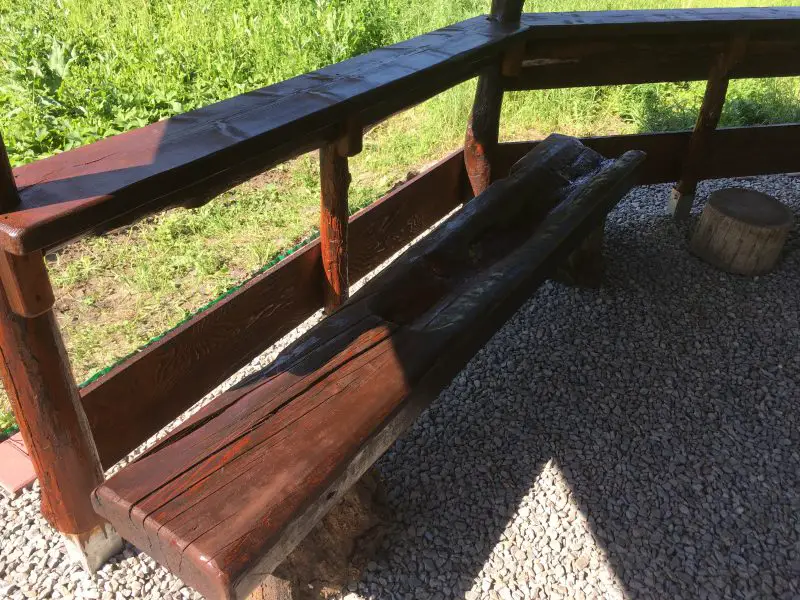
Inside he put 2 benches bought but adapted for the gazebo and a 3rd one made from an old plank eaten by curries. "I hollowed it out until I found good wood , let it dry, then I varnished it and fixed it on 2 acacia logs that look like ceramic. It's a very comfortable bench."
I told you at the beginning about the enthusiasm of Caludiu. I thought long and hard about how I could say what was to come, but no one version could capture the excitement, the joy of achievement and Claudiu's love of wood. So I'll let him tell you again.
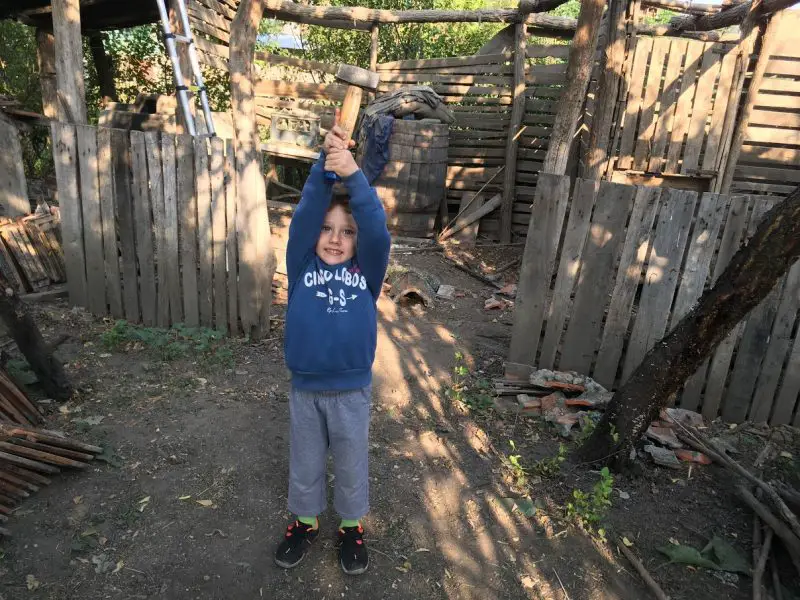
"What I wanted to tell you is that every nail, every shingle and every wood cutting, cherting and finishing was done by me and me alone. It was and will remain my first solid wood project. Sometimes I think I love wood more than people. You know, I'm a pastry chef by trade (for real 🙂 ) I've been making furniture out of melamine pallets since 2000, before that I made pate. My dream is to have a workshop where I work with solid wood and I strive to make my dream come true with my family. I have a daughter, a pupil at Tonița, and a 5-year-old son, who scares me with his tenacity and patience. And of course my wife, who understands and loves us all."
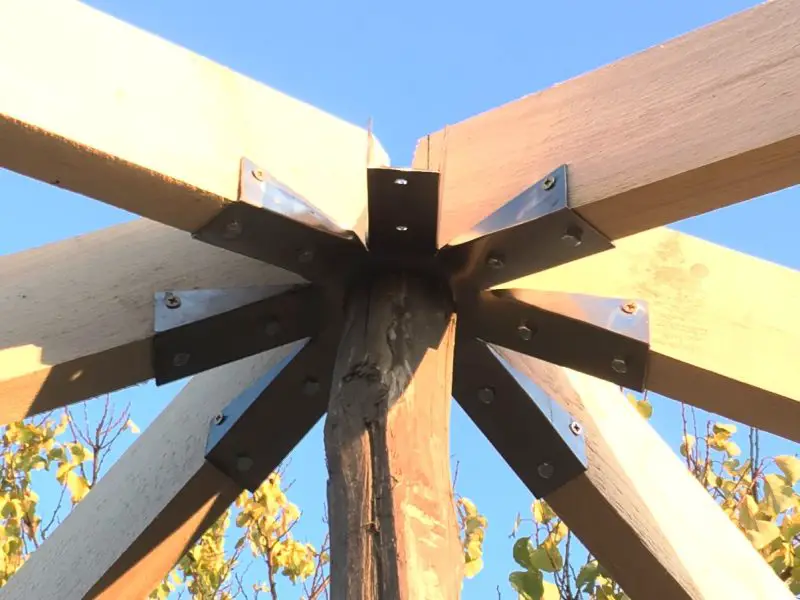
As well as the satisfaction of having done everything himself, Claudiu is also proud of having done everything himself. As tools he used the foxtail saw (the longest), the drill, the flex, the hammer, the axe, the vice and the scissors. "The firepit is 8-sided - octagonal - and the metal piece at the top, on which the rafters and the central post are attached, I made from a piece of 3mm sheet metal. I drew the shape, cut it with the thin diamond disk flex, drilled it out and then hand-bent it in the vise and hammered the fine grooves I made with the flex (the sheet was quite thick). This piece basically supports the roof and connects the rafters to the central acacia post, and is fastened to it with a 20 cm long, 1 cm thick hex-head screwdriver. You don't know what satisfaction I got when I climbed it and stood on top".
Now the gazebo is ready, so everyone can enjoy it in peace and quiet. Except maybe Claudiu. Not that he doesn't enjoy it, but I don't think he does it in peace because he already has a lot of other projects on his mind and he's itching to get started. 🙂
The photos in the article are property of Claudiu Gârceavă


I read this article with great excitement, especially since the "culprit" of this project is literally my brother. I enjoyed every word you and he said. I'm glad that there are so many people who appreciate Clau's stubbornness and at the same time simplicity and I wish that in the future he will be at least as skilled as he is now.
While reading this article, I had the feeling that I was sitting on the sun lounger under the gazebo.
Congratulations on the article Mrs Mihaela, and congratulations to you too Claule... just know that no matter what the situation, I'm always relaxed because I'm more than convinced you're dealing with any problem. 🙂
Thanks for the appreciation, but I think congratulations are in order for Claudiu. I was just... the scribe. 🙂
All the best!
Sarumana madam, thank you once again for your time and maybe we can meet for a chat or even a walk to the site to show you in detail how we did the joints, and little details that make the gazebo special!
I would like to add that it is an eight-sided octagonal gazebo, and the piece of metal at the top on which the trusses and the central post are attached, I made it from a piece of 3mm sheet metal on which I drew the shape, cut it with a thin diamond disk flex, drilled it and then bent it manually in the vice and with a hammer on shallow trenches that I drew with the flex (to facilitate bending of the rather thick sheet metal).
This piece basically supports and connects all the rafters and is also fixed to the central salcam post with a 20cm long and 1cm thick hexagonal head screw.
I wrapped the pole in twine to "finish" the rather rough surface of the sausage.I did not want to finish the middle pole so as not to thin it by 1 mm.
Thanks bro-mio, maybe you'll get to see it in reality :D, cheers and see you soon!
Congratulations on the gazebo, your hard work and ingenuity. It shows very well the good ideas in desging that you have applied. Congratulations also to the lady for the well written article and especially for the pictures.
Thank you very much, I'll try to post in detail each stage with pictures with everything, from the bedding put in the ground and measuring the diameter, center, etc. to the last nail at the top of the shingle!
Today he received another wagon wheel mounted vertically between the eaves and the pulley, it's the wheel that unchimiu had from his grandfather's wagon, it's made of ash and it's 110 years old, it's a wheel of the soul!
But I'll keep you posted on everything else!
Hello. I am asking for your help given my experience in recovering old wooden posts. I have seen that you have recovered acacia poles that were eaten by decay. I received an oak pole from a neighbour, pole that has been on the ground for several years. I am supposed to use it as a support pole for an electric cable to power the house. It has more rotted and decayed portions on the part that has been sitting on (in) the ground). I have cleaned this part (I still have work to do) and then I want to treat it with Sadolin Anticarii (twice) after which I don't know how to prepare it to be put in the ground to last as long as possible. Basically how to treat the part that will stay in the ground so that it doesn't rot and break (I've had this happen with the first fir pole) and how to treat the rest of the pole that will be exposed to sun, rain, etc. Again, the pole is made of oak but has a damaged surface but I can see that the "heart" of the trunk is ok and strong even if it still has holes and cracks going inwards. Thanks to anyone who can give me suggestions.
As far as I know, the wood that will be put into the ground is burned on the surface and then tarred, if you put the wood into the pit of the post, say 60cm, the tar must be about 10 cm above ground level.
A very important thing to do is to put crushed (broken) gravel not too bad at the bottom of the hole and then place the post in the hole, so the water from the ground will not "climb" on the post.
I don't know how the oak behaves to peeling and decay but what I can say is that the salcam wood has decayed in 70 years only at the lower layer because the inner layer is very hard and there is no way to enter, more precisely from 130...140mm diameter of the pole in the ground that was not treated with anything there is 110mm of raw salcam (steel) left after peeling and cleaning, I hammered into it and it doesn't even leave traces!