


The quality of a finish can be determined by film tests that are standardised. This can be used to determine resistance to staining with various hot or cold liquids, scratching, temperature variations, adhesion of the film to the substrate, etc. The tests are carried out after a minimum of 14 days after application (30 days according to some standards) and must be carried out by accredited laboratories in order to issue test bulletins. But we don't always need an official "answer". Sometimes we simply want to see if what we are doing is right. There are always simple, sometimes empirical, but very useful methods for this. This is the case for the adhesion of varnish film to the substrate or the adhesion of top coats to each other.
But first let's look at the causes of the lack of adhesion. I will list the most important ones:
- wood humidity too high
- polishing improper bleaching of wood or between layers
- contamination of the substrate with various substances - waxes, oils, dust, etc.
- temperature too low or too high in the working environment
- large temperature difference between the object to be finished, the varnish and the environment
- failure to comply with freezing or drying times
- non-compliance with the mixing ratio with catalyst
- incompatibility between finish coats
- spraying wrong - air pressure too high or too low, distance to object too high or too low
- too much pigment in the base product
- wood with a high resin/oil/tin content requiring a first coat of insulator to be applied before the usual finish

Just seeing how many factors influence adhesion and wishing you had a simple method to test it. And the simplest is coin testing.You can use a 50 cent coin, which is passed over the finished, dry surface with a light press.
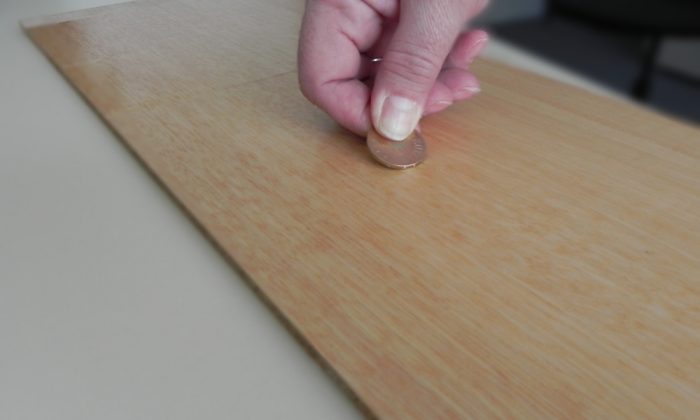
If there is no white residue or the varnish layer is not "scratched", then adhesion is good. Basically no trace should remain on the back of the coin. Usually, after the coin is passed, the surface is wiped with a soft cloth to see the traces better.
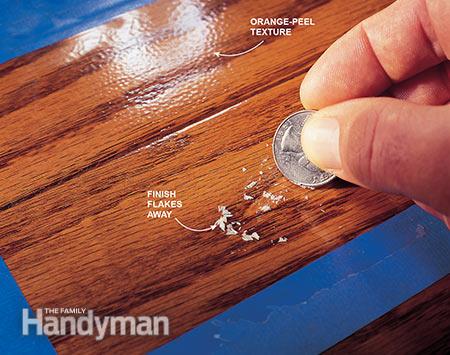
The remaining white mark is wider than a normal scratch and indicates that the film has peeled off the wood or the finish layers have peeled away from each other and air has penetrated between them, causing the white colour to appear.
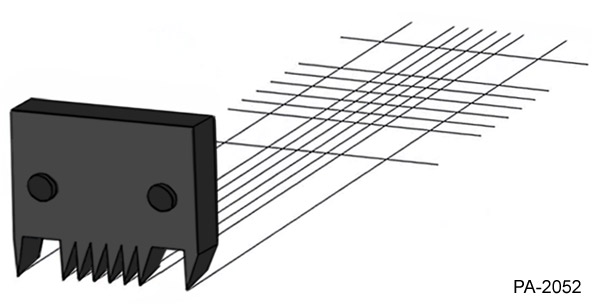
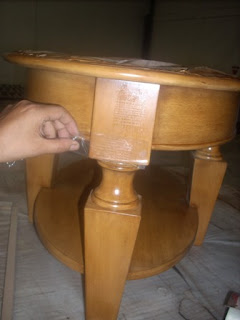
Another way of testing is grid test,which is derived from the standardised test method itself. Basically, it involves making a grid like the one in the 'X and O' game on the finished surface using a sharp object. In the standardised method, a device is used to draw the grid lines at well-determined distances from each other, resulting in identical squares.
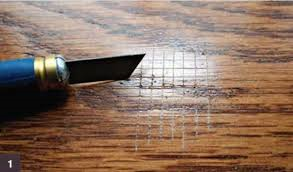
A cutter, scalpel or blade is used in the factory and the squares are no longer as neat. For the most accurate answer it is better to keep the squares as small as possible. The cutter should be very sharp so that the cut is as fine as possible and does not break the film.
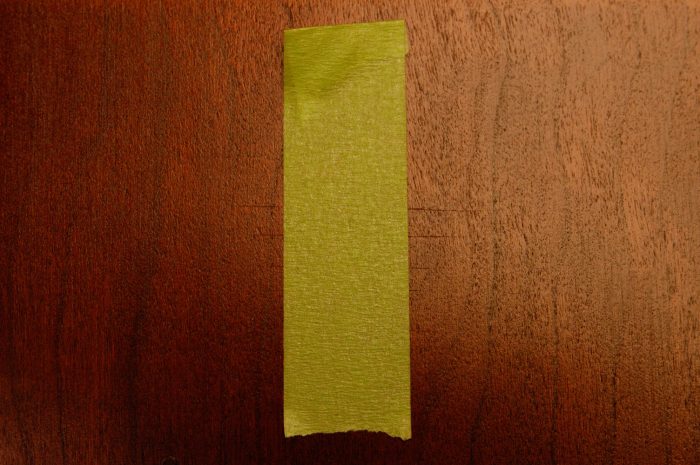
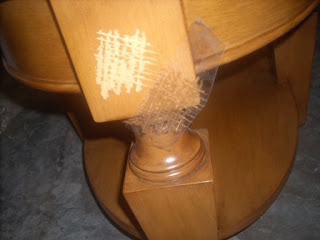
Stick a piece of scotch tape over the grid (you can also use paper tape), pressing it lightly on top so that it is well stuck all over the surface, then attach it to one end and pull it out.
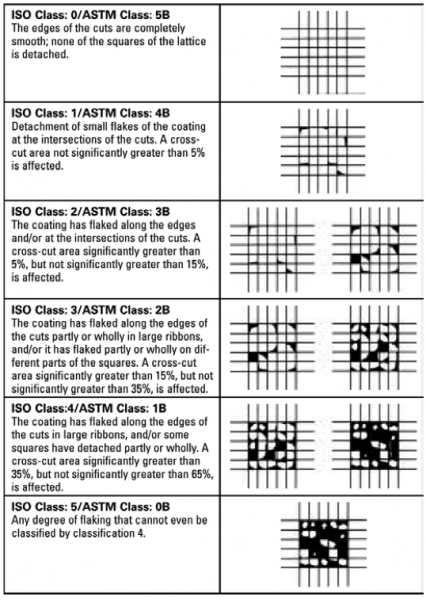
Depending on how much varnish remains on the piece of tape determines the quality of the adhesion. In the standardised version there is a division into several categories - very good, good, acceptable or no adhesion, and the classification is made by comparing the grid in the standard with the result obtained.
In the case of the factory test things are simpler. If nothing or only lacquer has come loose along the cuts, adhesion is good.
If the squares come off, the film has no adhesion.
Other variations can be made from this method. You can draw a small triangle or a small square and then put the scotch tape on it and draw it. However, the answer to these tests is less certain.

And those who are repainting or refinishing a piece of furniture can do such a test, or an even simpler one. A strip of tape is applied to the refinished surface and then pulled off. Normally no varnish should remain on it. If it does, it means that the 2 coats are not compatible and there is no adhesion between the coats. It is good to test before applying to the whole surface; try on a more hidden part.
Both methods of adhesion determination are simple and can be done easily in the factory, in the workshop or at home. The difference between them is that while in the first method the film is only damaged if it lacks adhesion, in the second case the film is also damaged if it has adhesion. This is why the test should be carried out in places where there is no visibility and the grid should be as small as possible.


Add comment