


Another experience in production led again to an article. During some tests, small defects appeared on the surfaces to which the varnish was applied, spoiling the final appearance. As the general opinion was that the varnish was to blame, the opposite had to be proved. And I can assure you that it is not the easiest thing to do. But let's see how it all started.
The purpose of the visit was to test products for finishing veneered MDF doors and MDF board objects. The requirement was to apply both transparent and opaque pigmented products. The materials were applied in a dedicated finishing area, where there was a regular spray booth with a dry filter and a normal spray gun with a barrel. The place has exhaustion plant, both in the mechanical processing and finishing area.
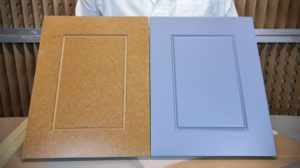
The first day was used to prepare the surfaces before varnish application. That is, veneered MDF boards were sanded thoroughly, and MDF boards only in the mechanical processing areas. Two coats of primer were applied, wet-on-wet, clear on veneered MDF and white on unveneered MDF. Between coats a time of 20-30 minutes was left to allow the first coat to vibrate slightly, after which the boards were left to dry until the next day.
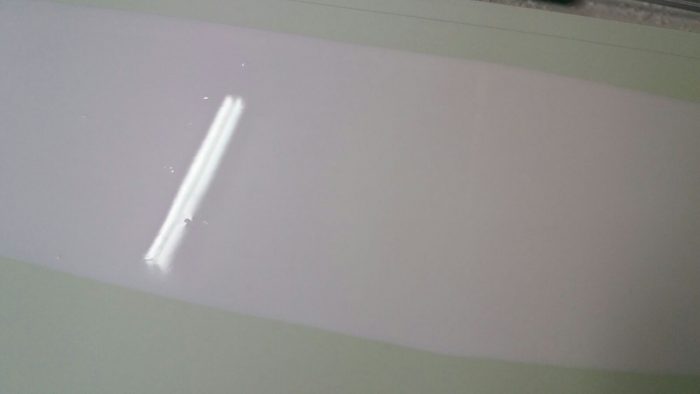
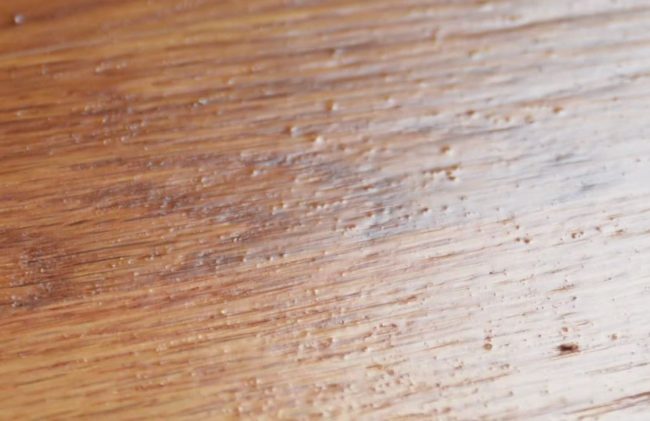
The next day all surfaces were sanded first, followed by varnish application. And this is where the problem began. Small impurities appeared on the varnished surface as if the varnish had not been well filtered or had deposits of solids.
We were convinced that it was not the lake's fault, but we had to prove it. So here's what can be done to see if the fault is the fault of the varnish, the application system or the environment:
- apply, under the same conditions, another material with the same characteristics. That is, if the defect appeared on a white gloss varnish, try using a clear gloss varnish. If the film will have exactly the same defect it is impossible for the 2 gloss varnishes to have the same problem;
- if the product applied is a 3-component product (with catalyst and thinner), change the whole system. Otherwise you won't know for sure whose fault it is. When all 3 components are changed and the defect remains unchanged, the fault is definitely not with the finishing materials;
- Mix a small amount of the materials (varnish, catalyst and thinner) in exactly the same proportions and pour it onto a piece of board. If the defect occurs, then you can remove the gun and the compressed air with all its filter system from the line of culprits.
- Eliminating the above it is clear that the fault is environmental. Don't be fooled by the fact that there is an exhaust system that removes impurities. Sometimes the lack of filters on the routes can cause impurities to get into the spray area.
The presence of impurities in the finishing and drying areas is the biggest enemy of film quality. To avoid their appearance it is good to make sure:
- the mechanical processing area is as far away from the spraying area as possible;
- the filters used in the cab have been thoroughly shaken and vacuumed (even if new). To remove impurities, after shaking, the spray booth suction is left running for a long time;
- before spraying starts, sprinkle water on the floor. The water attracts dust grains. Do not sweep the area until you have finished applying the products and the varnished tiles have been moved to another room;
- if possible, introduce more air into the spray chamber than is being removed. This will create an overpressure that will keep impurities at bay. This is basically the principle by which a pressurised spray booth works. Or invest in a pressurised spray booth. You won't regret it.
- do not work with very high air pressure. It creates currents that entrain dust particles in the area.
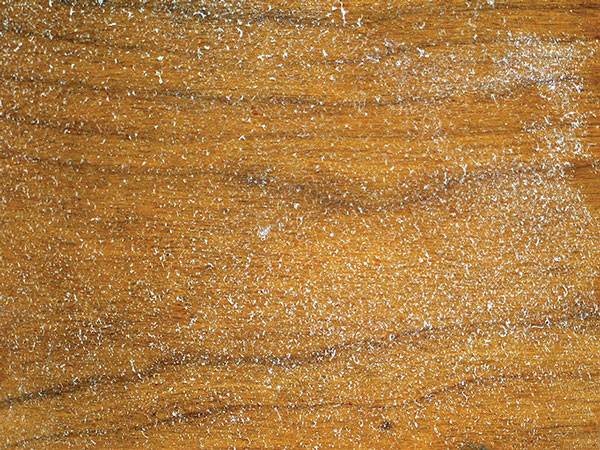
You may think that it is simple to distinguish a lint or a speck of dust from a defect caused by the varnish. I can assure you that it is not that simple. I've seen varnish defects that looked very much like a speck of dust or a hair. Especially when it comes to hardening varnishes. A very good example can be water based products with curing. If the hardener is not mixed very well with the base product and water is added for dilution, small solid particles very similar to sand can appear from its contact with water. Therefore, in this case it is recommended to mix the two components very well before dilution or, much better, to dilute the base product with water first, homogenise and add the catalyst at the end.
What I learned from this experience is that you can only convince of the truth of what you say with patience and by proving it. In an argument there are many points of view and each is convinced of its truth. To win you need convincing arguments.


Nice and interesting article! Congratulations !