


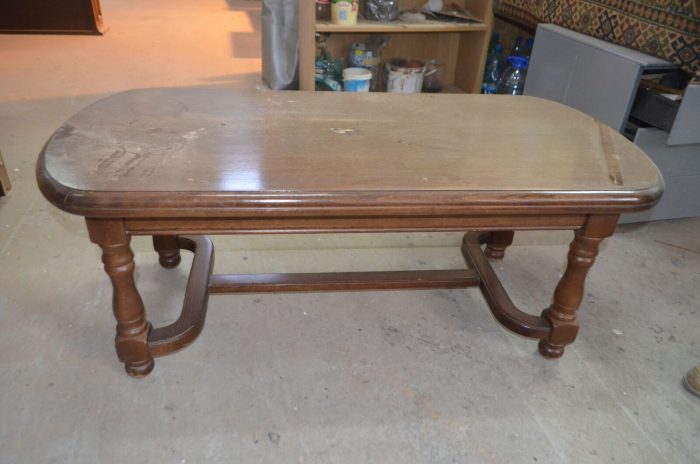
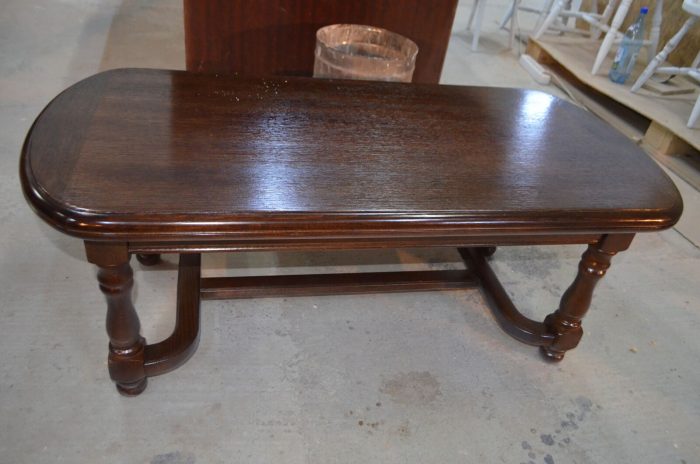
Someone recently asked me to tell them what the steps would be when you want to refurbish a table. I tried to help with links to articles they might have learned something from, promising to come back soon with an article on exactly this topic. In the meantime I found at SaveMob photos from a table refurbishment and it seemed the best way to illustrate what I am about to tell you. Of course, this is about reconditioning done by craftsmen who only do that. However, if the table (or the object you want to refurbish) is not badly damaged and you are also a DIY enthusiast, you can venture out.
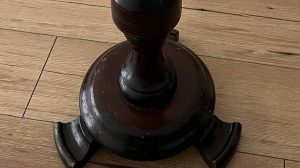
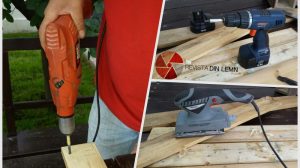
The first stage is problem identification you are facing. The table should be carefully examined to see if it needs to be re-glued, if it has parts that should be replaced, or on the contrary, if there are elements that can be kept as they are. In such cases, the finish layer is definitely damaged, so the next step is to remove it. There are situations (like the one in the example) when only the top is badly damaged, so there is no point in removing the finish from all the elements of the table.
Varnish removal can be done through grinding or by pickling. In most cases, the 2 methods are combined. Pickling is done by applying a substance that attacks the varnish (pickling agent), after which the soaked varnish is removed with a squeegee. Pickling solutions can be found in any DIY store.
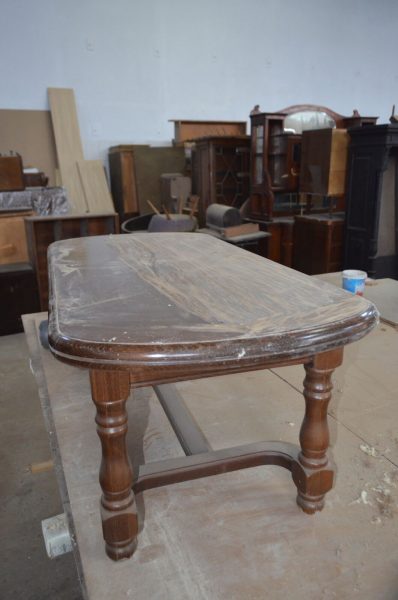
After removing the thick layer of varnish the surface is washed with thinner to get rid of the last traces of varnish and sanded with wood sandpaper (120-150).
When you have reached the wood it is good to examine the surface again. See if there are any fibre pulls, dents or holes you want to patch. You don't have to be overzealous with small marks because they are often what give an old piece of furniture its charm. But if you find that the defects are large and unsightly, it's best to repair them.
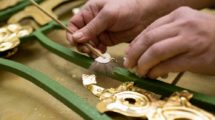
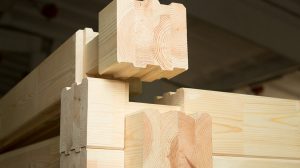
There may be situations, like that of the table in the photos, where the defects are very large and then it is necessary tofurnishing blat. In this case I advise you to call in the specialists because it is not an easy thing to do. The veneer sheets must be paired and glued together with adhesive paper to create the desired pattern, then cut to the dimensions of the table. The resulting veneer is glued to the worktop. Care must be taken not to leave any air or impurities between the board and the veneer. If the pieces of veneer are not properly clamped, they may slip when glued and the operation is totally compromised. I repeat, veneering is not simple and my advice in this case is to call in the specialists.
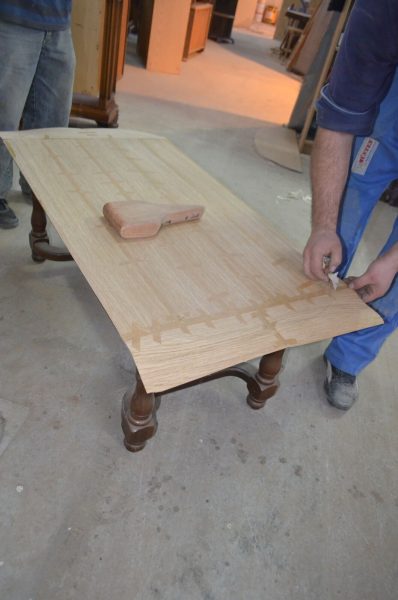
After veneering, the paper with which the veneer pieces have been attached is removed by sanding.
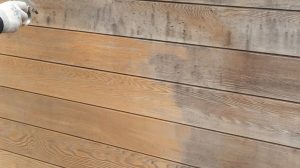
But let's go back to the case where veneering is not necessary and the countertop has been thoroughly cleaned and sanded. Staining should follow. But first you need toand other parts of the table (legs, ties), to complete dust-generating operations. Dust, as I always say, is the enemy of finishing and it's best to eliminate any source before you start staining and varnishing.
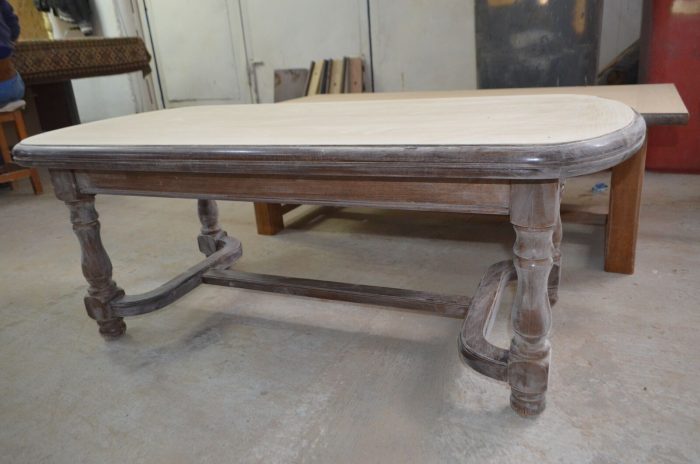
For coloring you need to find a berry that looks like the one applied to the table legs. Application can be done with a cloth, sponge or trafalette. If the bath is solvent based you must have a special solvent mop. The ordinary sponge swells in contact with the thinner. After wiping let the countertop dry.
After the berries have dried completely a layer of grund colourless (or varnish, if it's the kind that can be applied layer upon layer - universal). Application can be done with a brush or a spray gun. If you use the spray gun protect the rest of the table. You can put foil/paper all around and tape it to the edge with adhesive paper. You can find it in DIY stores and it's great because the glue doesn't stay on the wood like with scotch tape.
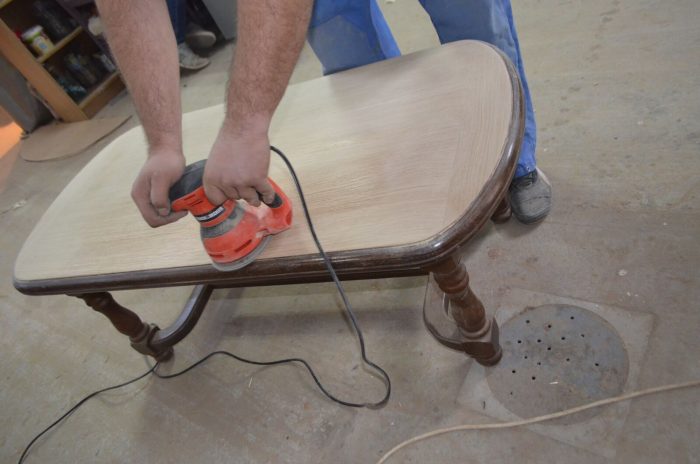
Allow the primer/lacquer to dry thoroughly and then polishes with sandpaper of min. 240 if matt varnish or min.400 if the varnish will be glossy. You can also use fine sanding sponges for sanding. Sanding is done to remove the fibre that rises when beating and priming and the remaining bubbles in the film. Without this operation the table will not have a fine surface.
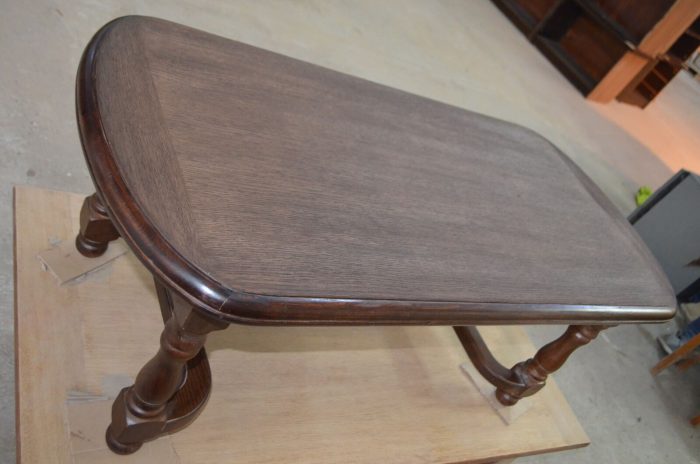
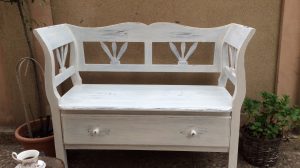
The final will apply a coat of varnishthis time all over the table. If there is a difference between the colour of the top and the legs, you can even out the colour by putting a little colouring in the varnish (3-5%). Note that the varnish must be compatible with the varnish (i.e. solvent-based varnish varnish or water-based varnish varnish varnish). It is best to leave the varnish to dry until the next day to avoid printing or other defects.
At first glance refurbishing the table doesn't seem like a complicated process, but it's best not to venture into it if you don't have a knowledge of refinishing, as you may be more likely to damage than repair. Especially if it's an old piece of furniture or one that you care a lot about. Call in the specialists in this case - they'll know what to do.
If you know more about the subject or have had similar experiences in the past, you have the space below in the comments area to enrich the above. If you have any questions, leave them in the comments area. I will certainly answer them.


Nice! Hard, patience without tobacco.
I'd like something about reconditioning veneered furniture.
Watch the magazine soon. 🙂
All the best!