


End grain - end grain, in translation - is the term we also use to show a way of cutting and laying wood elements to make floors, shredders, kitchen worktops and even panels used to decorate walls. From such decorative panels came the idea for the article. Before the holidays, every 2 days, I was asked by different people to explain how some very interesting looking end grain panels are finished. Immediately after the holidays I received, again, the same request from another person. I don't know who in my place wouldn't have thought that this was a sign and that it was a must to write an article about this topic. 🙂
What does "end grain" mean
As you already know, in Romanian end grain means end of fibre. Solid wood can be cut in many different ways, resulting in items with different appearance and properties. Tangential cuts can be made to the annual ring resulting in that cathedral-like appearance of the wood's natural design (fladere, as they are called). Another way of cutting is parallel to the annual rings, in which case a parallel line pattern results.
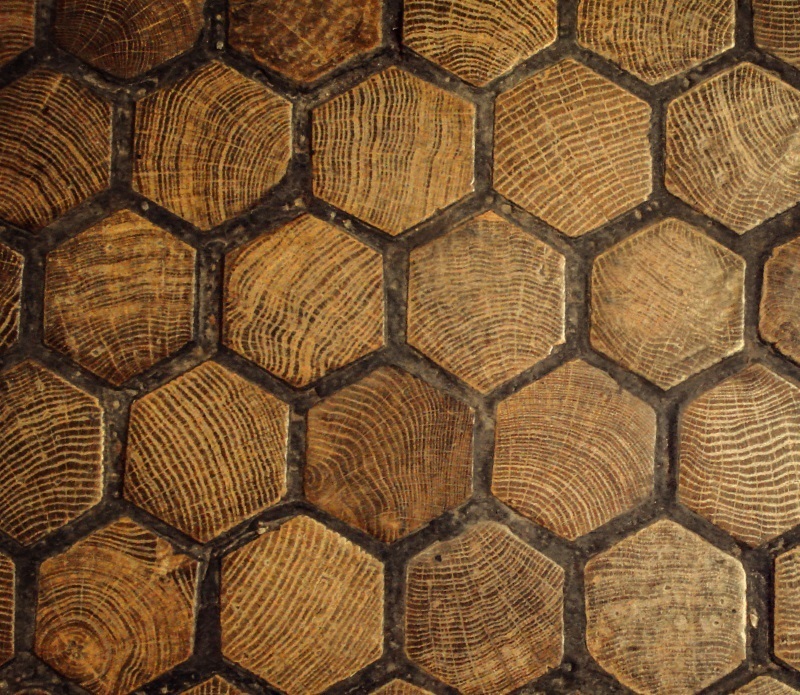
When the appearance is end grain the cut is made perpendicular to the grain, practically in the direction of growth of the tree. Annual rings are seen in this case as concentric circles. If a young trunk is cut the circles are complete, the image is similar to a shooting target. If the wood is already cut into beams or planks, the cut is perpendicular to the length, and on the surface you will see parallel arcs of circles representing several annual rings. This is the most common aspect and the one that results in the most interesting designs.
Wood "slices" made from branches, from which table tops or floors are made in combination with epoxy resin, very popular lately, also have such a cut. However, the term end grain is used less often for them, because in our country this term also has an aesthetic charge given by the positioning of the pieces of wood and the way they are finished.
Properties of wood thus cut and laid
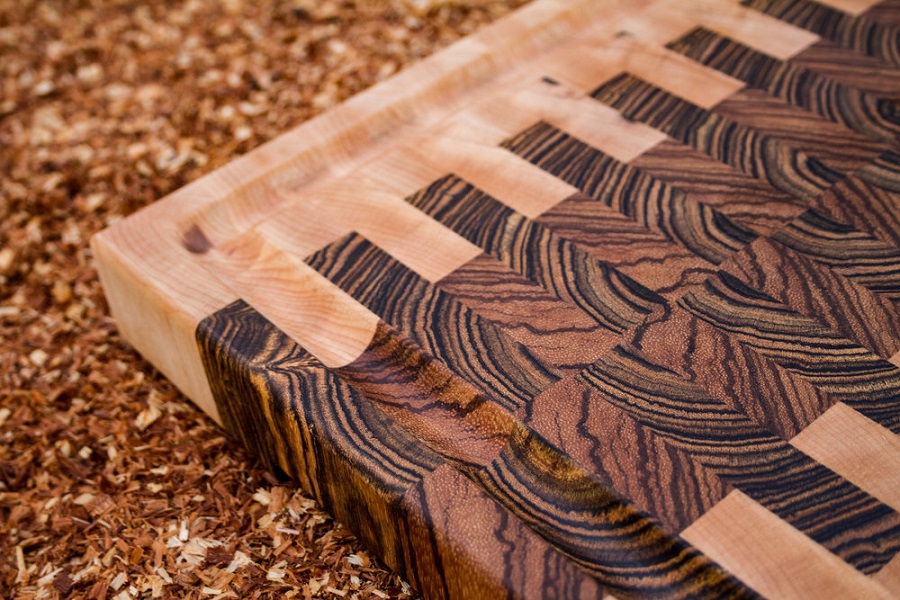
I say cut and laid every time because every piece of wood has fiber ends, only this area is hidden or, in any case, not the main face. In table tops, flooring or end grain shredders, the pieces of wood are laid and assembled so that the grain ends form the 'face' of the object.
This cut and lay mode comes with different properties than the other modes. The most important of these properties is the much faster and much greater absorption of moisture. Basically, through this area, the amount of water absorbed can be up to 100 times higher compared to a piece laid along the fibre. This is a disadvantage and specialists often recommend blocking the ends of the fibre immediately after cutting, before further processing. And moisture release occurs just as quickly and in large quantities which causes the wood to vary dimensionally quite a lot with moisture variation if the closing of the fibre ends is not done well.
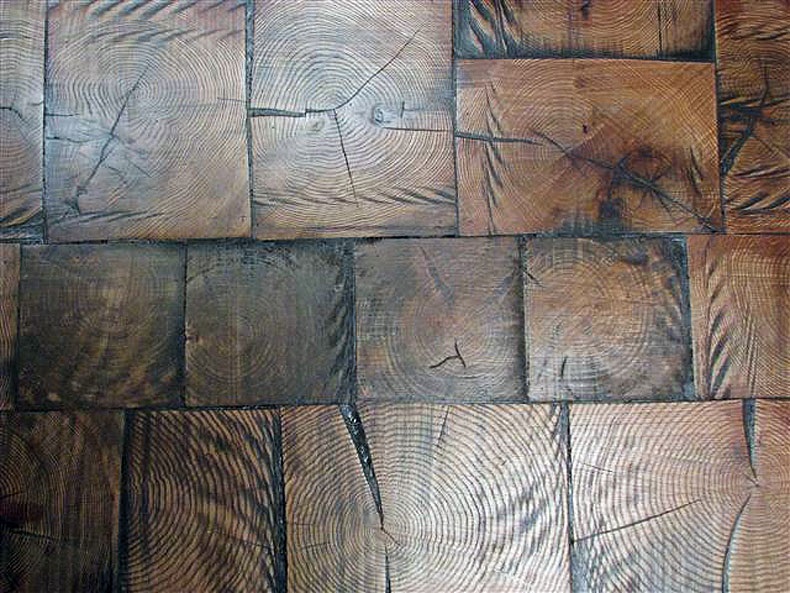
Another property is the much higher strength of the wood. This is why end grain wood flooring are much more resistant. That's why even in the past, streets, walkways, factory floors and floors in high-traffic areas were made from pieces of wood cut in this way. You can still see such a "podire" at Manuc's Inn in Bucharest. At the entrance there is still an area paved with pieces of wood, and the old ones have been recovered and can be seen stored next to the wall. I hope they will be used in time to furnish other areas inside.
Products made from end grain
They are made from end grain wood pieces table and kitchen tops, shredders, indoor and outdoor flooring, decorative panels for furniture and walls, paintings. For long trouble-free operation, all these items must be finished in such a way that the fibre ends are as closed as possible, minimising absorption.
Of all these objects, perhaps the most successful are shredders. They are preferred by industry professionals. To justify their choice they have the following arguments:
- used knives last much longer unsharpened. When cutting or chopping the knife blade does not hit the hard fibre but slides through the fibres, which increases its life;
- the shredder lasts longer without scratches. The explanation is the same as above - the knife blade slides through the fibres and doesn't end up scratching them;
- do not spread germs and micro-organisms. Because of the rougher surface than other types of mincers, when chicken, fish or pork is cut, tiny pieces of meat are retained strictly on that portion and do not reach other areas. After use, a regular wash with water and detergent removes debris and any micro-organisms and the mincer is safe to use. However, it must be protected beforehand with mineral oil to avoid strong absorption into the wood through the fibre ends;
- are heavier than similar sized products, but with the wood laid along the grain, which gives stability and safety when working.
Pieces of wood of different species can be used to create them, resulting in aesthetically pleasing designs. They are usually more expensive than ordinary wood chippers, but they are stronger, healthier, safer and last but not least, better looking.
Briefly about how to make "end grain" decorative panels
The use of wood for decorative panels and even paintings is nothing new. I wrote a while ago about a Russian-born artist which makes reclaimed wood highly appreciated paintings. In my opinion the end grain ones are the most expressive. The drawing made by the annual rings and the different absorption of dyes in the annual ring leads to a very pleasing result.
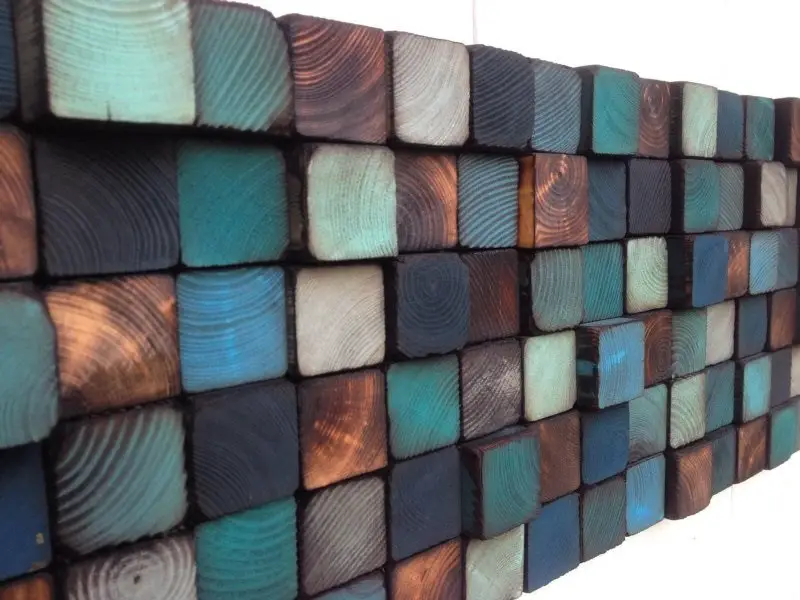
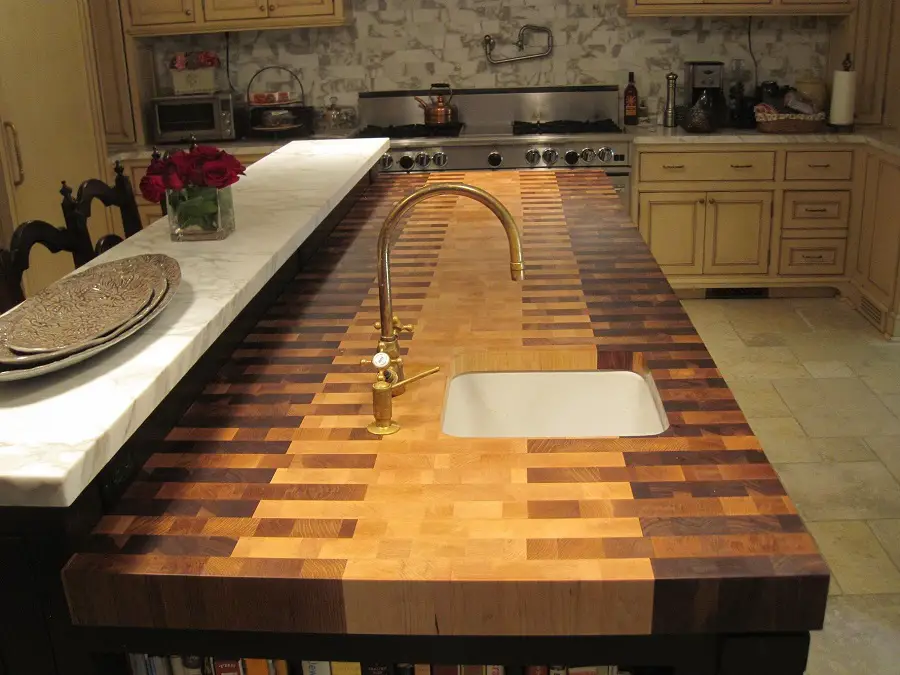
The request to explain how the finish is made started from a panel like the one below. Since it's not hard to do, I thought you might find a few pointers useful. Who knows, you may at some point consider making such decorative wooden panels as the subject of a DIY project.
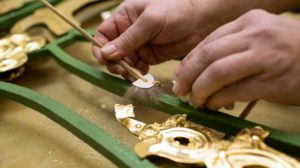
1. Preparing the pieces of wood
To obtain the panel, the pieces of wood are glued to a support. It's good to have a strong piece of plywood because the wood is quite hard and the backing can bend. There are two types of decorative panels: with pieces of wood of the same size and different sizes. The more spectacular is the one with different sizes, but the uniform one is easier to finish.
The wood is cut according to the appearance of the panel. The cut can be flat or oblique, but one side must be flat to stick well to the backing. After cutting, the pieces of wood are sanded very well, roughened and placed on the support, without being glued, to see if they cover it completely and to make the desired pattern. If they are the same size and shape they can be glued at this stage, and the panel can then be fully finished. If the dimensions are different each piece of wood is also stained separately. Protection with varnish or oil can be done both on each piece and on the glued panel. Finishing the pieces individually gives better control of the process even if it is more laborious.
2. Burning
To achieve the effect in the picture above, the wood must be burned superficially. Burning highlights the natural pattern of the wood because latewood and earlywood burn differently. Burning also influences the subsequent absorption of the dye.
Burning the pieces of wood can be done with an ordinary stove torch. With such a device it is easier to control the burning level. If a more powerful device is used, the burning can also be stronger. In this case, further brushing and profiling of the wood can be done.
Burning can also be used as a patina after staining. However, the effect should be tested beforehand to determine the duration of the burn. This will result in a 'muddying' of the colour, a more uniform patination with reduced contrast.
3. Colouring
It can be done with water-based or solvent-based baths, brush, sponge or cloth. After applying the stain, immediately wipe off the excess so that it does not penetrate too deeply into the wood. The annual ring will stain differently, the early wood becoming darker and taking on the colour of the stain used, the late wood remaining almost unchanged. It is not recommended to stain by soaking because the colour absorption will be very high.
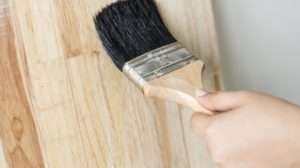
4. Protection (varnish or oil)
After colouring and drying they should be protected with oil or varnish to prevent water absorption and preserve the effect. Do not sand the wood at this stage as this can spoil the colour. If you feel the wood is rough (especially if water-based wood stain has been used) sand after a coat of varnish or oil has been applied and dried. Apply min. 2 coats for good blocking of the grain ends.
5. Arrangement on the substrate and gluing
If the pieces of wood have been finished separately, they are then arranged and glued to the chosen support. Follow the exact laying laid out at the beginning. Do not use excess glue as it will be increasingly difficult to remove as the glued pieces of wood multiply. After you have finished gluing, leave at least 24 hours before putting the panel upright so that the gluing is complete. Fix it securely to the wall. Such panels are heavy and you need to make sure that the fixing will not give way over time.
I hope you find this information useful and use it to make your own decorative panel. If you find the information useful to others you can share it. If you would like more information, have any questions or have any other information related to the topic, you can comment below.


Add comment