


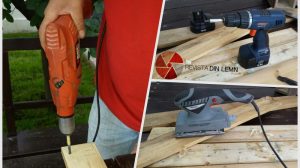
When I was telling you about the fewpower tools I'm working with I mentioned that I'll be back with the manual and finishing ones. Their presentation is related to a small work done for our booth at BIFE-SIM 2016. Being done in a very short time I didn't even photograph all the steps, but I hope to make my point eventually.
How I made the wooden countertop
For our stand we wanted to use high furniture and a table with bar stools seemed very suitable. Unfortunately, the table we found had been standing in the rain and had a damaged top. It absolutely had to be changed and we didn't have much time to spare either.
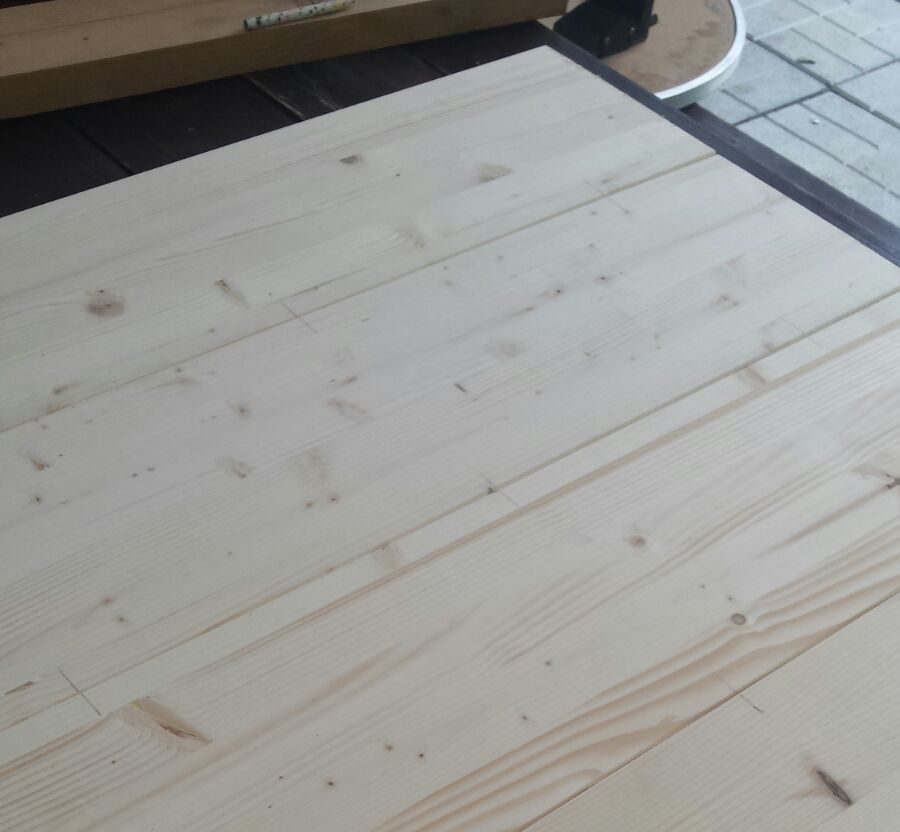
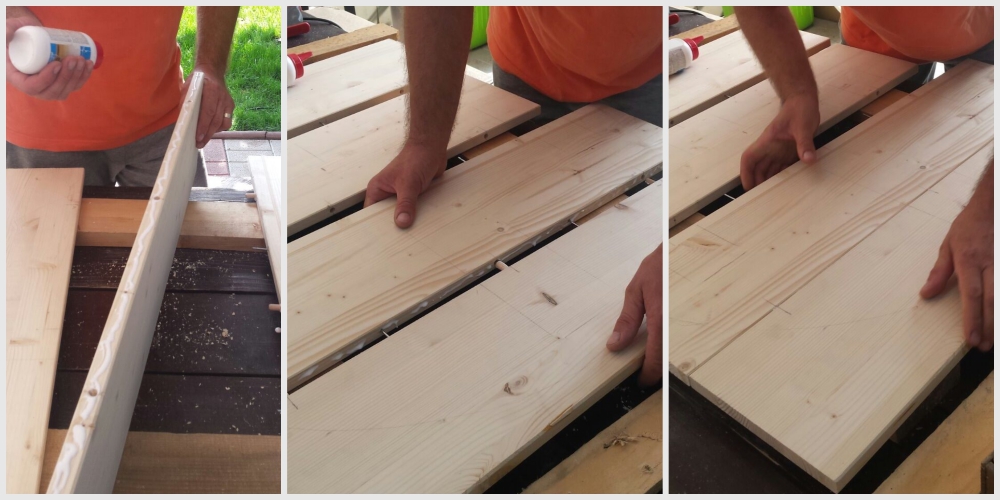
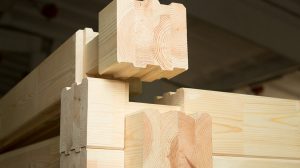
What I was going to do was not very different from reclaimed wood tabletopbut this time we used new planks of softwood. The original countertop was round, but a square one would have given us more space and was also much easier to make.
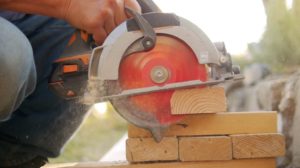
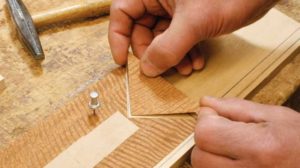
I quickly cut the planks, drilled holes in the sides and secured them with wooden dowels and aracet. Then I left them clamped in the press for a few hours.
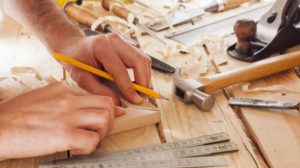
Tools used
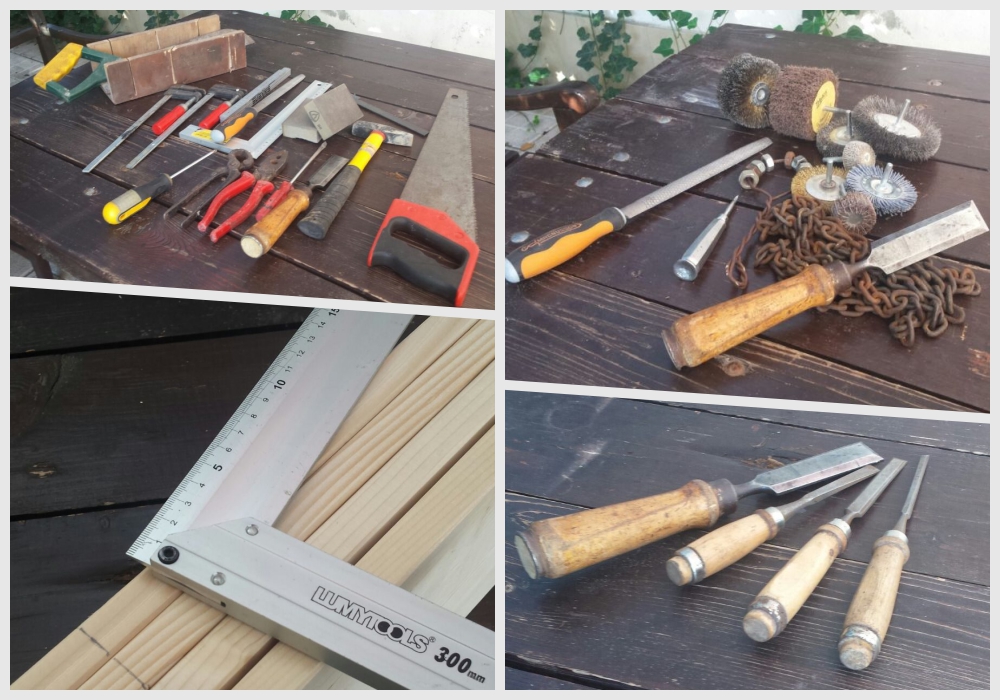
As I was saying, in addition to power tools, I also use hand tools. In a random string they would be saw, hammer, screwdrivers, pliers, pliers, pliers, carpenter's tape, ruler and a set of chisels.
If you want to buy good, cheap tools and don't mind second-hand, you can find them in flea markets. I paid 15 lei for the rim. I also found a similar one in a antiquitiesbut he was asking 300 lei for it.
How we finished the countertop
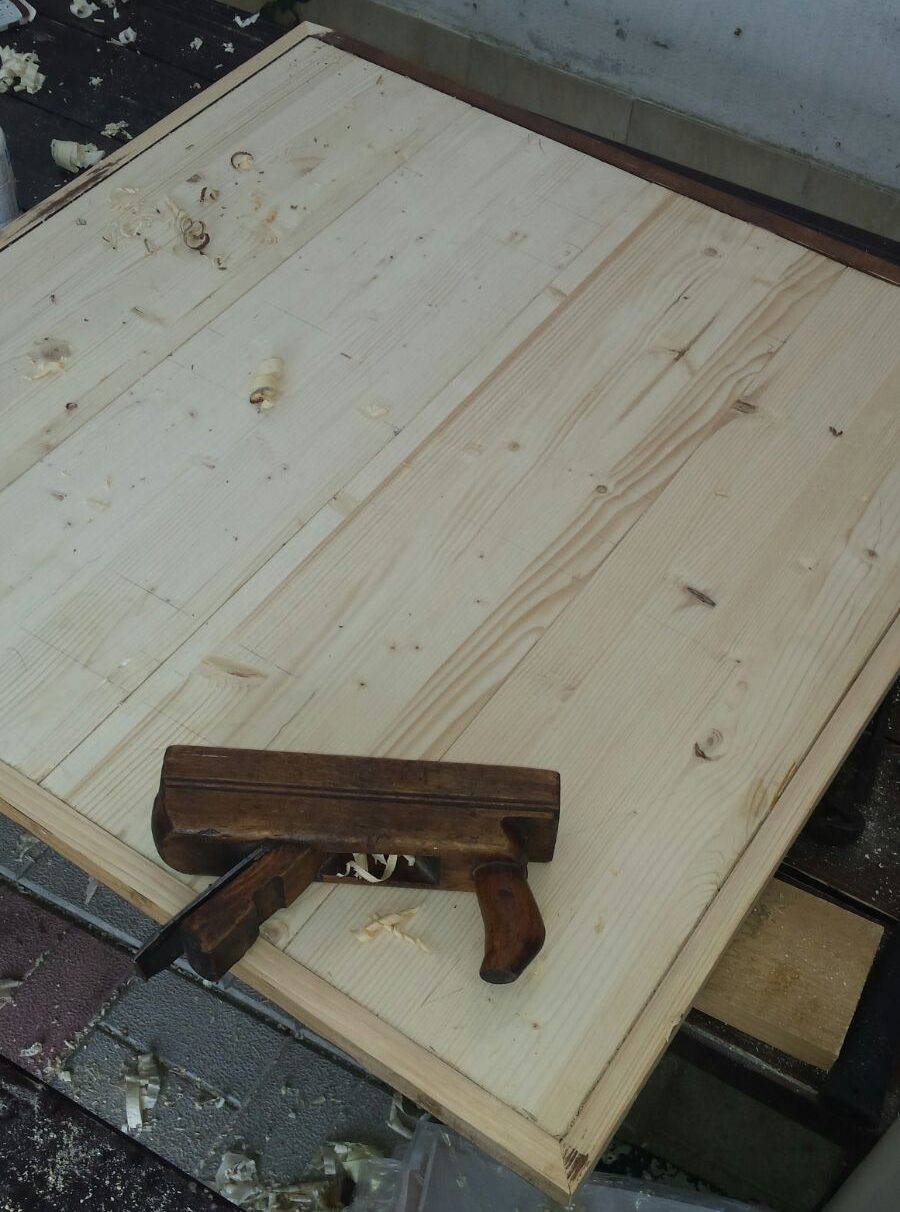
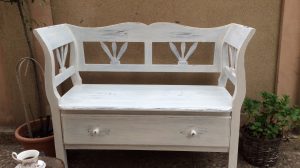
The countertop I've been rolling and aged a little. For antiquing white wood they use improvised tools (chain, nuts strung on wire), but also scrapers, wire brushes, spears or chisels.
Unfortunately, the intermediate photos are missing at the finish, but I'll tell you what and how I did it and show you the final result.
- I applied one coat of cream nitro primer and one coat of clear nitro,
- I sanded well between coats with 320 grit sandpaper,
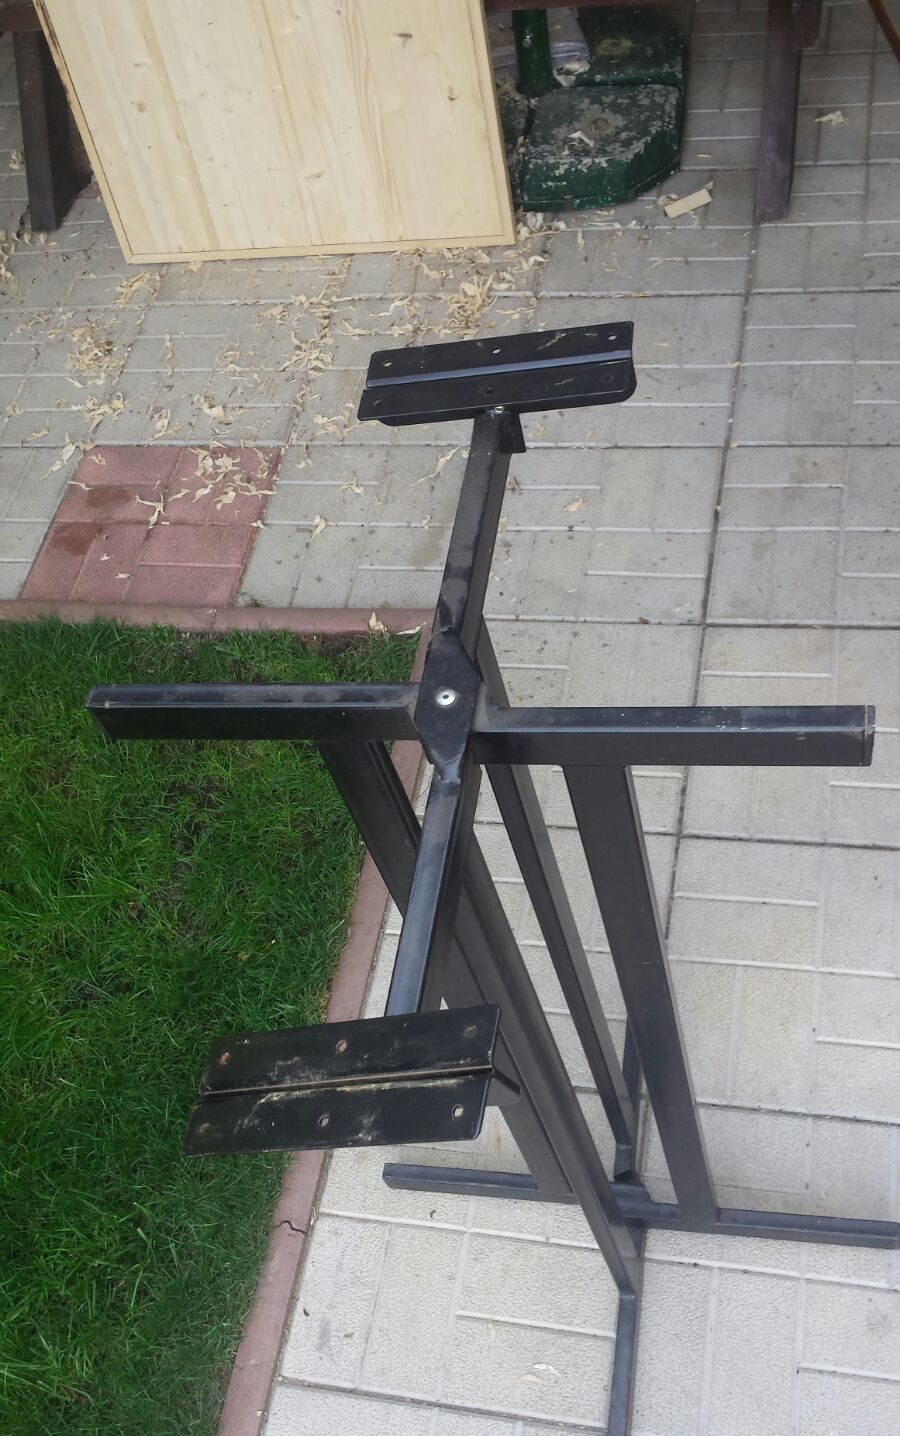
- I applied the dark walnut patina - I preferred a dark colour because the metal table leg is black,
- I polished the patina,
- I applied a coat of acrylic varnish withnatural effect.
I applied the finishing materials using a Kremlin cup gun (I'm reserving a special space for its presentation). Once dry, I assembled it and after a photo or two I ran to Romexpo because BIFE-SIM was starting.
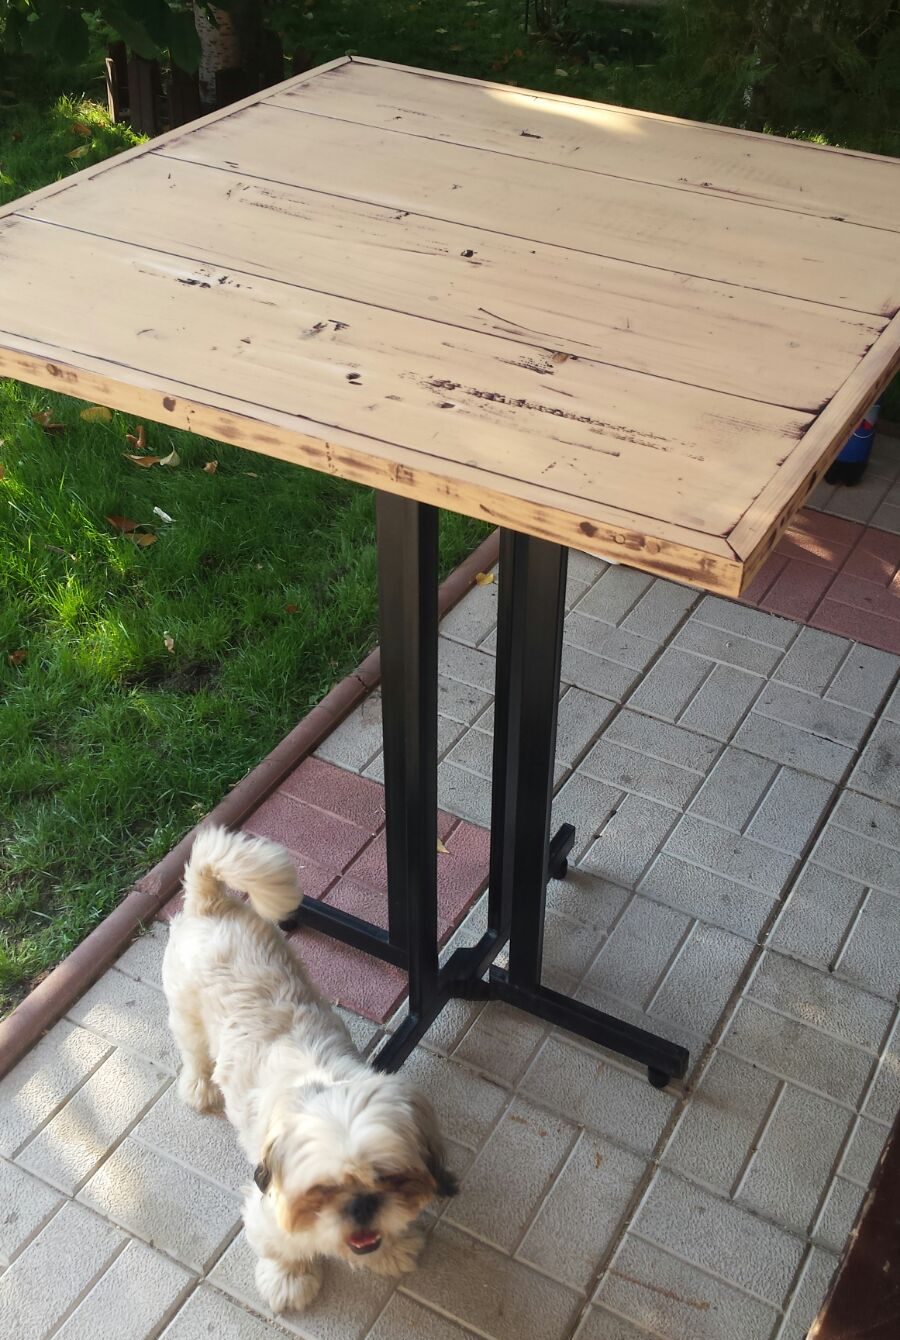
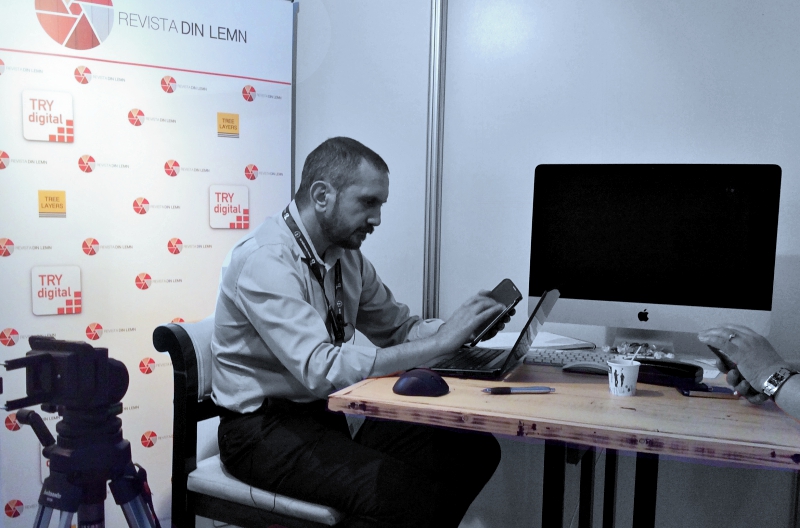
Being at a furniture fair, our table, which we had thought of strictly for its usefulness, worked like a magnet. It was from it that many discussions about wood, finishing and more started.
Thanks for visiting!

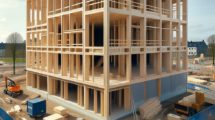
Good evening! In the ongoing development of a house we have decorative birches, trunks. We have found some green ones to buy and I wanted to ask you if we can install them like this or if we have to dry them, if we have to treat them in some way before (painted and with what), what kind of fastening system you recommend etc. I mention that the trunks are 3 m high and 10 and 15 cm in diameter, and the areas where they will be installed are the kitchen/living room and a bedroom. The heating will be underfloor heating and the ceiling is plasterboard. Thank you. Ana