


I was talking to someone about wooden beams and finishing them and thought it was a good opportunity to give you some suggestions on both how they can be used to decorate your home and how they can be finished.
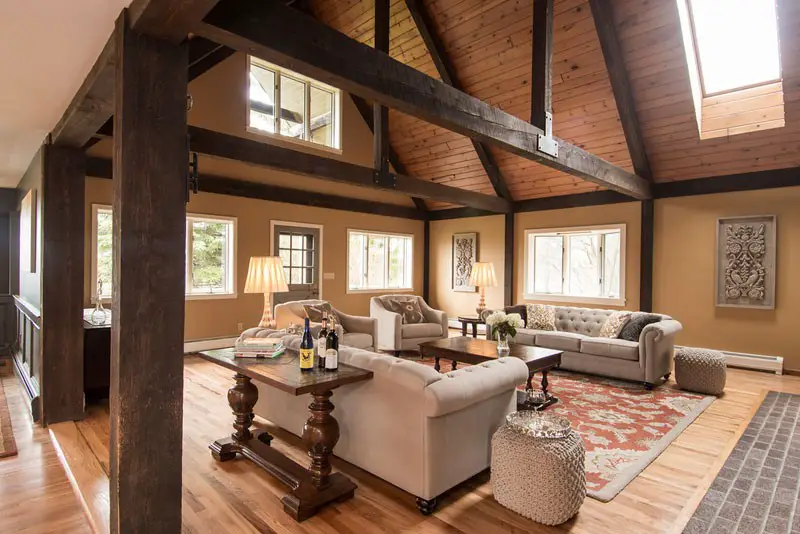
photo source: classiccountryvacationhomes.com
The beams were used for construction of houses without considering their decorative role. They used tree trunks that had been peeled or roughly worked. The roof of the house rested on the beams mounted on the support posts. If the walls 'swallowed' the support posts into the masonry, the beams often remained outside, the ceiling boards being driven from the attic over the beams.
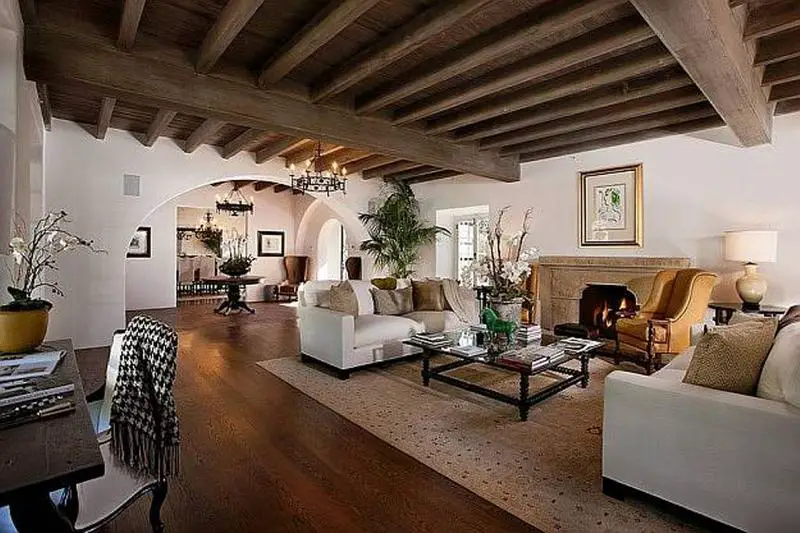
photo source: rilane.com
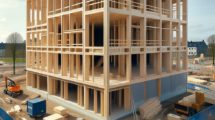
Wooden beams are now also used as a load-bearing structure. The roofing, the construction of walkways or attic, interior staircases, all need the support of strong beams.
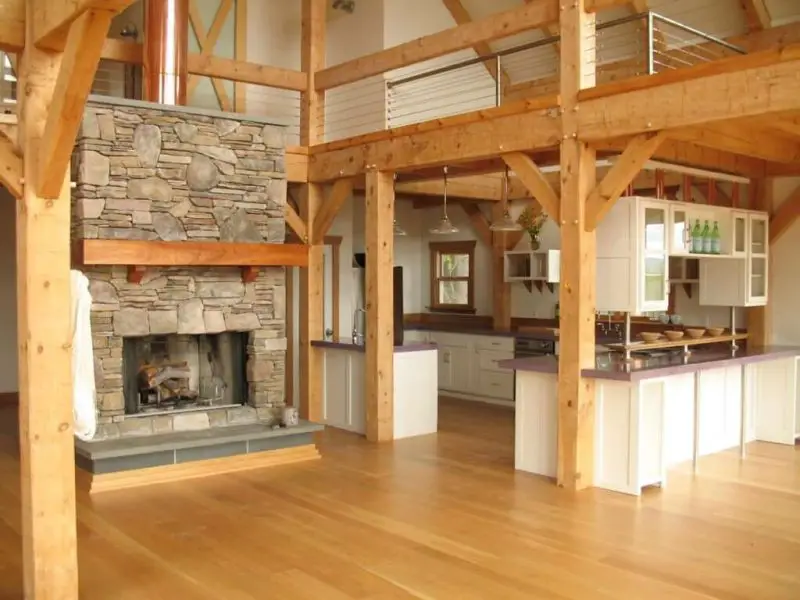
photo source: remodelingcalculater.org
Increasingly in recent years, attempts are being made to reproduce the look of the old or to create a special effect or atmosphere using wooden beams. They can be used either to make a rustic furnishingand modern construction.
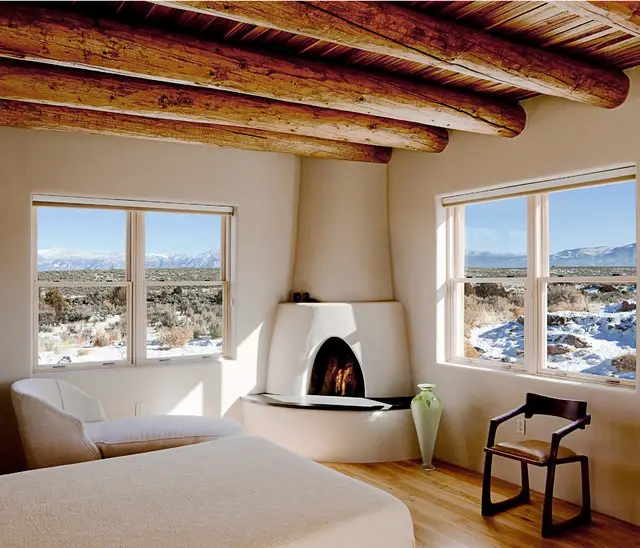
photo source: houzz.com
photo source: doityourself.com
photo source: benvenutiandstein.com
But unlike in the past, now they don't always use real beams from a tree trunk, but apparent beams that look very much like their older cousins. Would you believe that this old, weathered beam is actually an apparent beam made just a few days before?
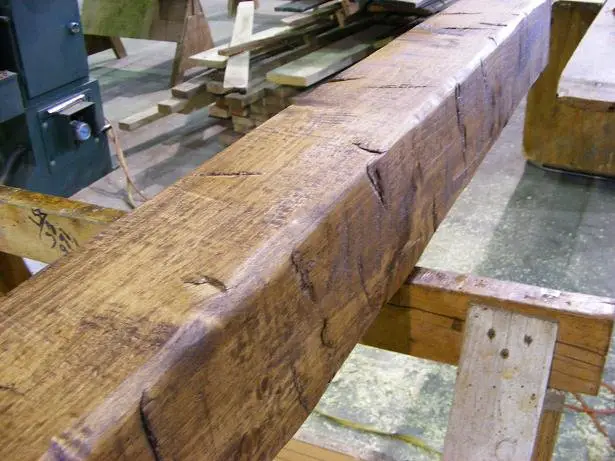
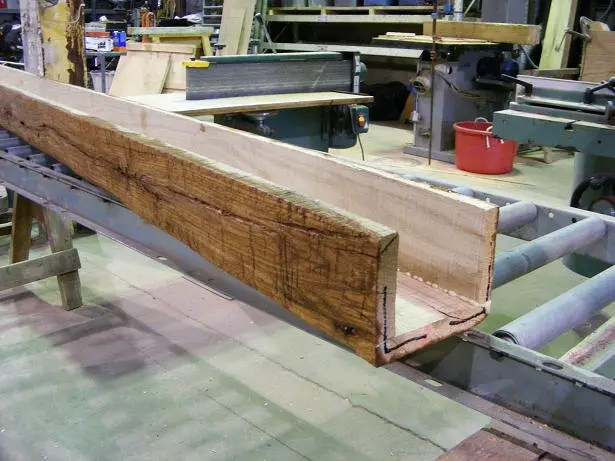
With beams like these you can change the look of a house a lot. Their great advantage is that they are lighter than beams made of reclaimed wood or tree trunks, making the load on the ceiling much lighter. However, it is very important how they are finished and how they are installed. If you watch the video at the end you will see the change to the room made by those very well made and fitted beams.
If you wish, you can do the finishing of the beams yourself. The important thing is to know that it will be some work. If you are not an architect or designer, it would still be best to consult with one to choose the finish. You may really like a particular finish, but it may not be right for your home. And finishing a beam is quite difficult, and once it's fitted, it will be hard to change.
The easiest way to finish the beams is to colour them the same colour as the ceiling or walls.
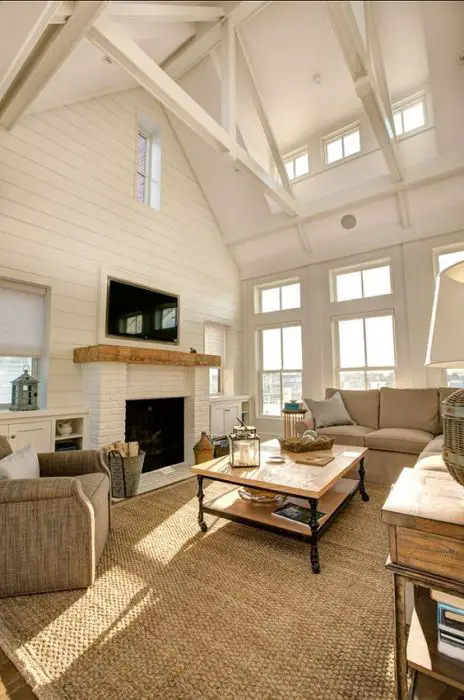
photo source: homebunch.com
But a contrasting colour will make them stand out and highlight them as design elements.
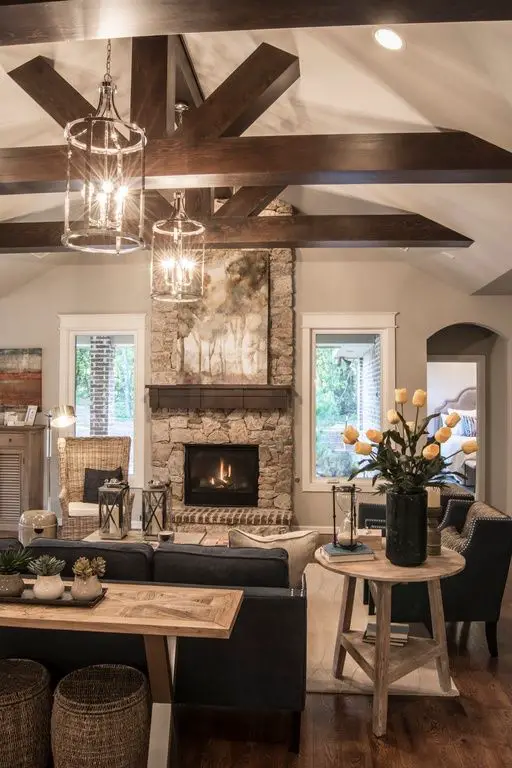
photo source: zillow.com
Regardless of their colour, 1-2 coats of protective varnish should be applied. You do not need special equipment for such an application. It can be done with a trowel, the important thing is to find the right varnish. From my point of view, the most suitable would be a low gloss waterborne varnish. A glowing beam looks a bit fake, but everyone can choose which variant they think fits best.
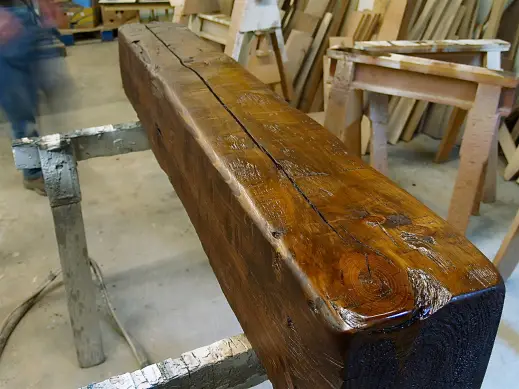
photo source: wunderwords.wordpress.com
Also from my point of view, the most interesting way to finish the beams is antiqued, outdated. True, you can use beams salvaged from old houses or made from reclaimed wood. However, there are those who say that it is better to use new beams with an old appearance, arguing that they are contaminated by insects or metals, that they weigh too much, that they lose material due to the wrong size or that it is impossible to know how long they will last because the origin is unknown.
The distressed look should be achieved on natural wood before applying stain or varnish. Aging the wood can be done by brushing it with a wire brush or by chipping it with a chisel, depending on which effect you like best.
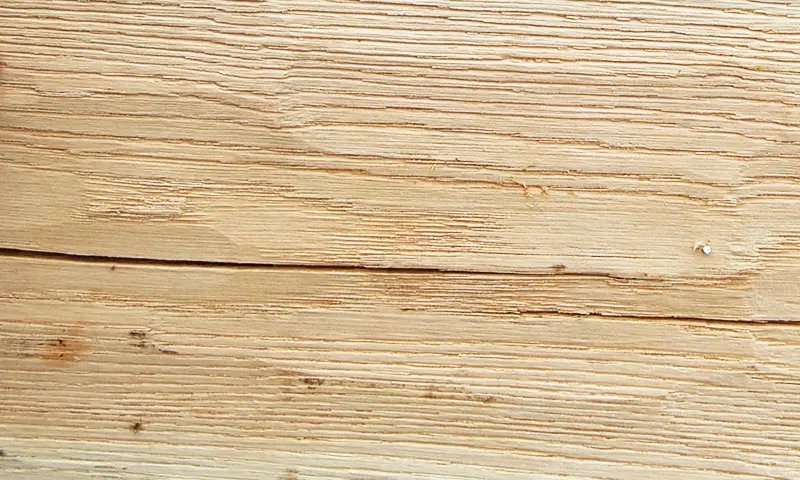
photo source: newenergyworks.com
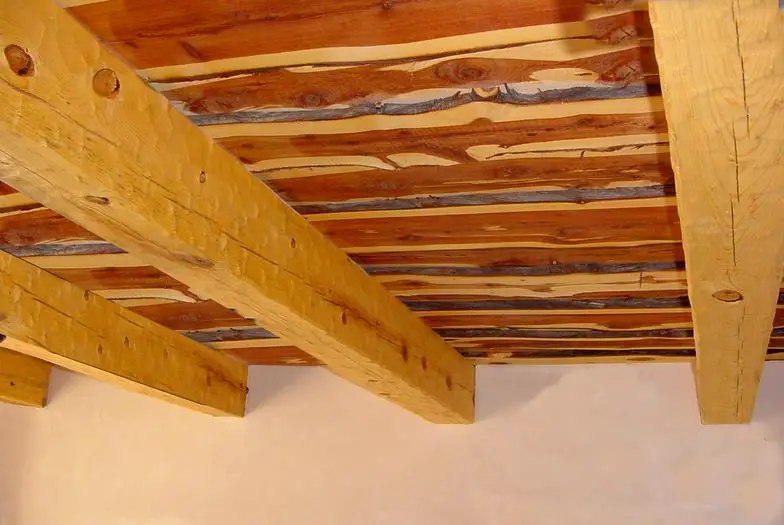
photo source: wholesaletimber.com

photo source: wunderwords.wordpress.com
Other marks can be made using simple tools that can scratch, prick or charge the wood. Below is a suggestion of such tools. But other tools can also be used, the important thing is to get the most realistic marks. The biggest enemy of antiquing is getting false marks.
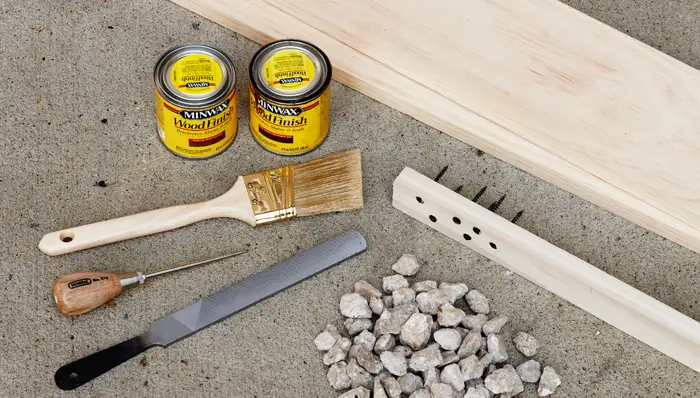
photo source: lowes.com
After preparing the wood, the beam can be finished with wax,
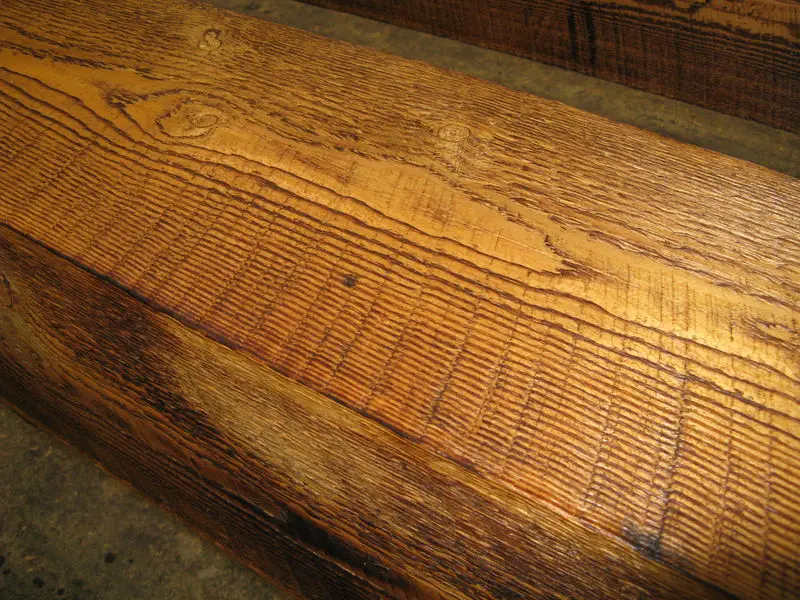
photo source: canadiantimberframes.com
or with berry in various colours, after which it can be applied lake.

photo source: canadiantimberframes.com
Finishing beams as a DIY project is not a very hard thing, the important thing is to find the right materials and the chosen version to match the rest of the house. Otherwise, the satisfaction of having done it yourself will quickly make you forget the effort you put in. Good luck!


[...] ever how much I love those low, low English country houses, with their large wooden beams[1], blackened by the weather, which a tall person could easily bump into, [...]
Dear Mrs. Radu, you seem to be a mind reader! Mine for sure !
Thank you for the register you addressed!
Hello, can you give me an idea of how I could mask some exterior beams that have cracked badly?
There are support beams on a patio and a terrace. They have been painted, but have cracked quite a lot and the visual appearance leaves something to be desired.
Good evening,
Cracks in the beams have a special charm and there are many who prefer beams like that. If you still find them very unsightly you can use wood putty. Cover the crack with a larger amount than necessary (to leave a small mound on top). During drying it will shrink. After complete drying sand the surface until you reach the wood level. You can stain and varnish the area without any problems.
All the best!
good evening! can you recommend a certain putty?
Hello
The terrace at the entrance to the house rests on two fir posts (beams), which now seem a bit thin compared to the proportions of the house. Seeing an article in the magazine on Japanese wooden architecture, I was thinking of boarding/plating these beams with oak planks, up to a height of 1.6 m to apparently increase their thickness .
My question is: Can covering the fir beams with oak wood affect the wooden beams supporting the deck and contribute to their decreased strength?
Thank you.
Good evening,
It won't hurt. I've also consulted with a structural engineer to be sure. The added weight isn't so great that it affects the structural strength.
All the best!
good article!
Hello, can you tell me a company that makes such beams?Thank you!
Hello,
How could I keep the natural look of the pine wood (panelling), bearing in mind that no matter what kind of colourless varnish I use, the wood will still darken in colour? Is there a treatment for natural wood, or is there a super colourless varnish that won't change the colour of the wood? Or a bath? I haven't found it yet. can anyone help me?
Hello!
The varnish that best preserves the natural colour of the wood is acrylic varnish on solvent. It is used for coating ash wood or bleached wood. The colour does not stay the same, but it is much closer to the natural look.
Another solution is to use a dip that, coated with varnish, will lead you to the desired colour. It can only be done by repeated trials on pieces of wood similar to the one you have.
But you have to know that pine wood will yellow over time regardless of the situation. It begins to change colour as soon as it has been cut. Even if you use UV-absorbing varnish a slight colour change will still occur.
All the best!
I would like to add a slight inconsistency between the older articles, where you recommend the use of old wood, and the present one where you recommend the use of new wood. A practicing admirer.
Hello!
I wouldn't want it to be misunderstood and thank you for the opportunity to clarify. I will always be for reclaiming wood when possible. It is a way to use it responsibly. But there are situations when using reclaimed wood is not the best idea. One of them is the weight of old ceiling beams. This does not mean that the beam cannot be used for a table or bench.
It is good to recover wood whenever possible, to repair wooden objects if possible or to change the use of some if we are inventive.
Thank you for following us!
Hello,
Thanks for the wonderful articles. I'm just furnishing a loft cottage and want to keep the fir beams visible. I will try to do the finishing DIY or better yet PDV day (First time ever after the famous show). Please help with the steps of finishing these grids. Being a small space that will also cover a small bathroom and a kitchenette, I am thinking that the beams should remain as light (natural) in color as possible. What should I do? Sanding? (they are raw as they were cut by the gater and are already mounted up). primer? Lacquering? I would be grateful if you could also recommend 1-2 products. Thank you.
Good evening!
Thanks for your appreciation.
The best solution in this case is, in my opinion, oiling. It is simple to apply, gives a natural look and lets the wood exchange moisture naturally with the environment. Most beams crack over time due to the stresses in the wood caused by moisture exchange with the environment. As a bathroom and kitchenette you will have moisture variation. The strength structure will not be affected, but a film of varnish will crack. With oil this is excluded.
You can use boiled linseed oil, Danish oil, natural oils (Kreidezeit) or other oils you can find in the market (they are mixtures of natural and synthetic oils). It is good to sand beforehand to better control absorption and for a pleasant appearance and cough. Sanding is done with a medium abrasive sponge or 180-220 grit sandpaper. The oil is applied dry with a rag, brush or brush, left to dry until the next day and another coat applied. You can apply 2-3 coats. At the last coat, after 20-30min, wipe off the excess because if it is not absorbed into the wood it will remain sticky.
More information about oil application can be found in the links below.
All the best!
https://revistadinlemn.ro/2019/04/17/7-reguli-de-respectat-la-finisarea-cu-ulei-a-lemnului/
https://revistadinlemn.ro/2018/05/15/ulei-de-in-cand-unde-si-cum-se-foloseste-cum-sa-ti-faci-singur-vopsele-de-ulei/
https://revistadinlemn.ro/2018/01/15/danish-oil-ulei-finisare-lemn/
The beams have been fitted since last year in May and have already defended smaller or larger cracks (a finger fits) as you said. How will the fir beam behave after oiling in terms of shade? Of the proposed solutions (linseed oil, danish, natural oil) how do they change the final shade and how do they behave over time?
Would the recommendation of boiled linseed oil, danish oil or natural oils be in order of price? Boiled linseed oil and spicy linseed oil is the cheaper solution. Which product do you recommend or which criterion is an indicator of quality? I found the one from policolor at 19lei/l, it is worth considering. Which Kreidezeit do you recommend for coating beams?
Will oiling protect wood from pests?
Thank you.
Hello!
Let's take them one by one:
- after oiling the wood looks like it is wet. It doesn't change colour, it just gets more accentuated. That's if the oil is not coloured. But resinous wood changes colour over time, whether it is finished with oil or varnish. The colour becomes more yellowish. The process occurs immediately after the tree has been cut and is accentuated by sunlight, UV radiation.
- The oils, unless stained, are not very different on the wood. They just accentuate the natural pattern and colour of the wood. If it were a tabletop, I would choose in this order: Danish oil (if it's the original recipe one with tung oil), natural oil, linseed oil. Tung oil is the best and most beautiful oil for wood. On the tabletop it would have a very nice satin sheen (if well wiped off at the end) and a nice sheen. Since it's beams, I'd go with the cheaper option (of the three) because there's no more cough.
The price differences in oils are also due to the actual oil content, which penetrates and protects the wood. Cheap oils have (often cheap) solvents and other substances that have no protective role. The purity of the oil is also important. If it is an unpurified oil its transparency is diminished and this will show on the wood.
- Danish oil can end up being the most expensive if it has a high percentage of tung oil.
- Policolor linseed oil definitely has synthetic oils in the mix. The drying agent adds chemicals that accelerate drying. Since you will be using it on beams, it is fine.
- Kreidezeit products are natural and very good. I have worked with them. The oils are blends of natural oils in which linseed oil predominates. I would use Resistant Oil without solvent. But this is a top, natural, very healthy oil and the price difference is significant. If you have considered Policolor oil, Kreidezeit oil will seem too expensive.
- Oiling does not protect the wood from pests. To avoid problems with infestation, it is best to treat the wood with specific undertones. You can find them on the market, they are generally called "antiques protection". But if the wood is already infested (it has decay galleries, fresh wood dust appears at the small holes or a specific gnawing noise) this treatment is not effective, you need a much harsher one.
I hope I hit all the points. 🙂
All the best!
Thank you. When does pest protection apply? Before starting the finishing (sanding, oiling)?
After sanding, before oiling, so that the wood absorbs as much as possible. If you use a water-based protective product, after application, allow it to dry for a few days before applying the oil.
Good luck!
[...] can build with wood. Using oak beams, you can make a frame supported on supporting joists exactly like the one above. On the beams [...]