


Surely you've experienced the feeling that you're bored with the furniture you have and would like to change it. I'm sure this is where women understand me best, but it's not entirely their domain. Good, so let's change! But money isn't always enough, plus there are other priorities: childcare or high school tuition, money set aside for holidays and the list goes on. Do you recognise even some of them?
So how do we do it if we want change? Here are some ideas. But you'll have to roll up your sleeves because it's personal, i.e. do-it-yourself. With a minimal investment and a bit more work you can transform an old piece of furniture into a new one.
Old and damaged or just aesthetically outdated furniture can be transformed just by changing its finish
Let me give you some examples. Do you have an old chest of drawers lying around in a garage or closet that you've often thought about throwing away?

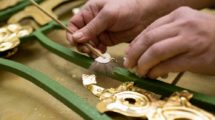
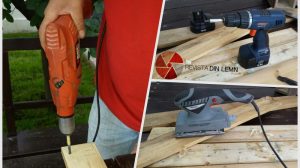
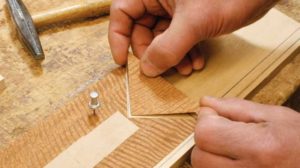
Why waste something that still works? You wash it, wipe it down and repair any dings or holes with wood putty which you sand after drying. Then lightly sand the entire surface, then paint with a commercial paint. The paint should be water-repellent for two reasons. The unpleasant solvent smell and fire hazard are eliminated, on the one hand, and on the other, you remove the risk of incompatibility between coats (photo 1).
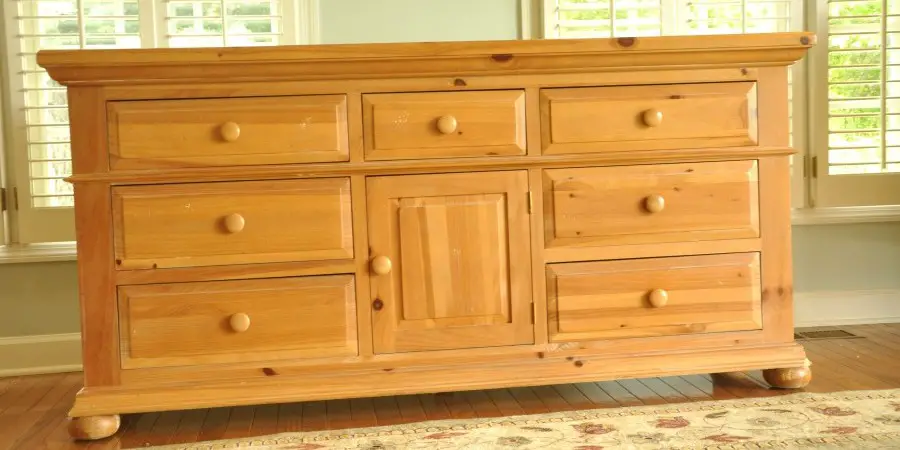
In the same way you can change a piece of furniture that is not old but needs refreshing or you simply want a splash of colour in your room (photo 2).
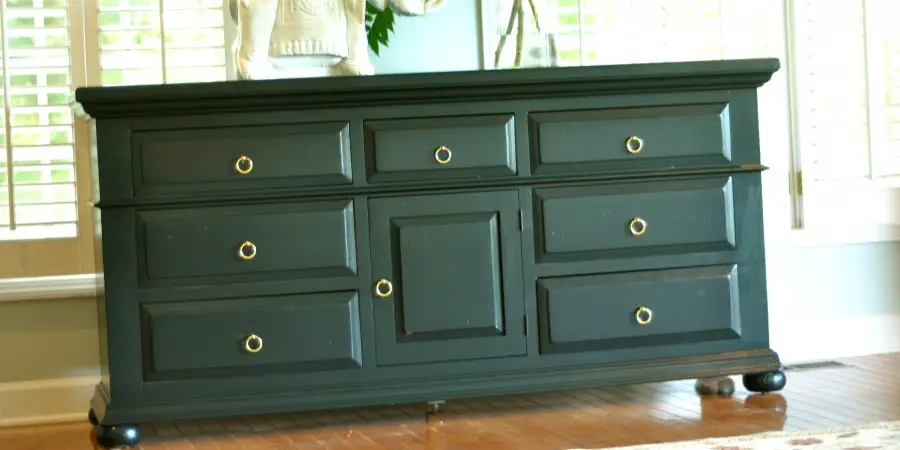
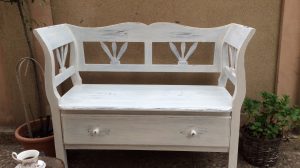
But let's take it to the next level. What if we used two colours instead of one? (photo 3)
The dull cupboard remained a memory, and in its place a much nicer one appeared.
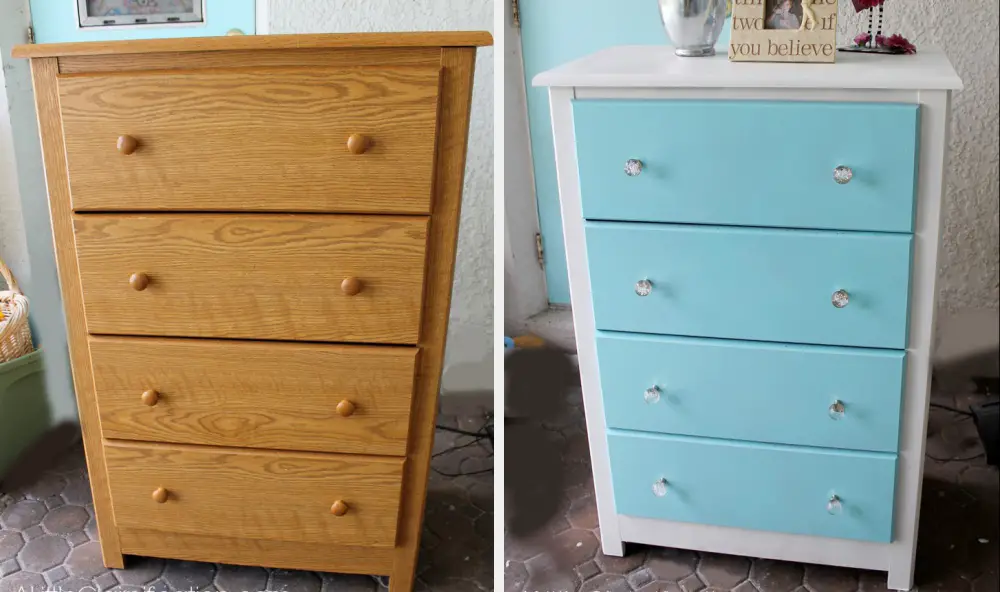
We can still retain some of the look of the old furniture piece. The chest of drawers below still has the top, which has been freshened up with a fresh coat of varnish, and the rest has been repainted. In order not to risk mixing the colour with the varnish, the operations will be done on different days and the contact area will be protected with special adhesive paper tape, which when removed does not leave marks or damage the finish. It can be found in any DIY store, like the wood putty mentioned above. (photo 4).

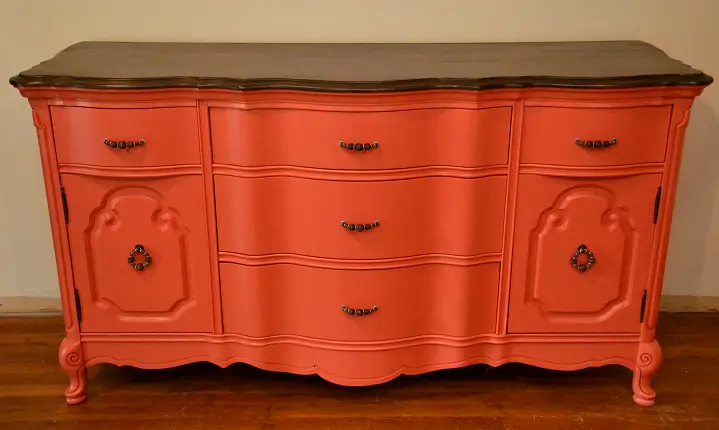
As you have seen, the accessories (knobs, handles, hinges) also contribute to the new look of the furniture. You can also find them in DIY stores and replacing them is child's play.
I hope you liked the ideas presented. I look forward to your thoughts on transforming old furniture with finishing.


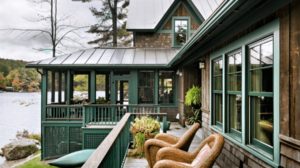

[...] covered with a tarp until last week. But for a while now, influenced by a magazine post, I've been thinking that it could do with some protection on the outside and a change [...]