


"I varnished a solid wood tabletop, but the look was dull and the wood seemed to have lost its charm. We sanded the top and removed the varnish completely, and now the top is like new. What can I do to bring out the design of the wood, but keep the look natural and colorless? I want to use hardening varnish so that the table, which will be used in the kitchen, will withstand the conditions there."
This is the full message received a few days ago from a gentleman unhappy with the appearance of the solid wood table finished only with varnish. From the beginning I found it a challenge to solve the problem, especially since staining, the easiest way to highlight wood, was excluded. Neither oil or wax were not a solution because the finishing was to be done with varnish. Then I realised that the wood had to look natural, which didn't exclude staining but using the most natural staining solutions possible. And so we came up with the three options below.
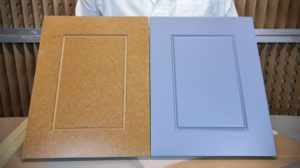
Staining with a stain very close to the natural colour of the wood
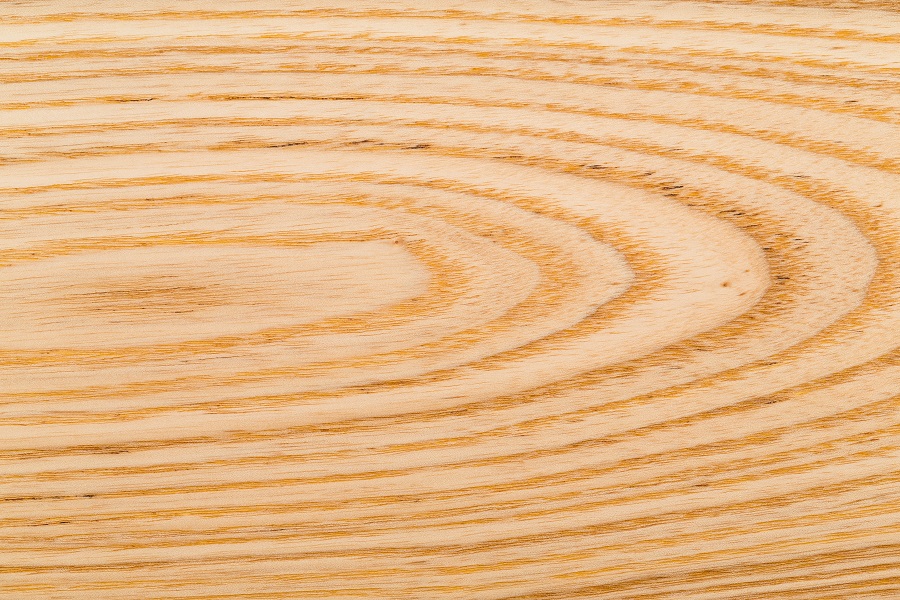
Natural wood design consists mainly of annual rings and pores. The way of cutting determines a certain pattern consisting of latewood and earlywood, the components of the annual ring. In these components the absorption of an ordinary berry is different and this is how the design stands out when staining. Early wood absorbs more and colours more intensely, late wood less and becomes lighter in colour. This is very evident in softwood is called negative staining, (from the negative of photographs), and the effect is enhanced by the lack of pores.
We do not want the wood to look stained, so we use a wood stain that is very close to the natural colour, just a little darker. When applied, the wood will absorb the stain differentially and thus highlight the design without the wood appearing coloured overall. After drying, the appearance of the wood will be very close to natural, but the difference in absorption will make the design more visible.
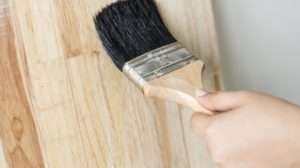
To promote absorption, apply with a sponge or cloth. If spray application is chosen, however, the bath must be in excess and then wiped off with a cloth. Wiping is done first with circular movements and then along the fibre. After complete drying, the finishing is continued with the application of clear coats. For a natural effect use varnishes with gloss level very low, down to 10. Solvent-based acrylic varnishes are very suitable. The low gloss ones are even called natural effect varnish. They are with carination making them suitable for tables and kitchen worktops.
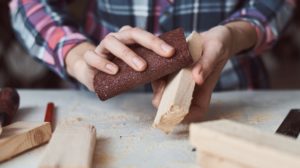
Use a pore-marking stick followed by sanding.
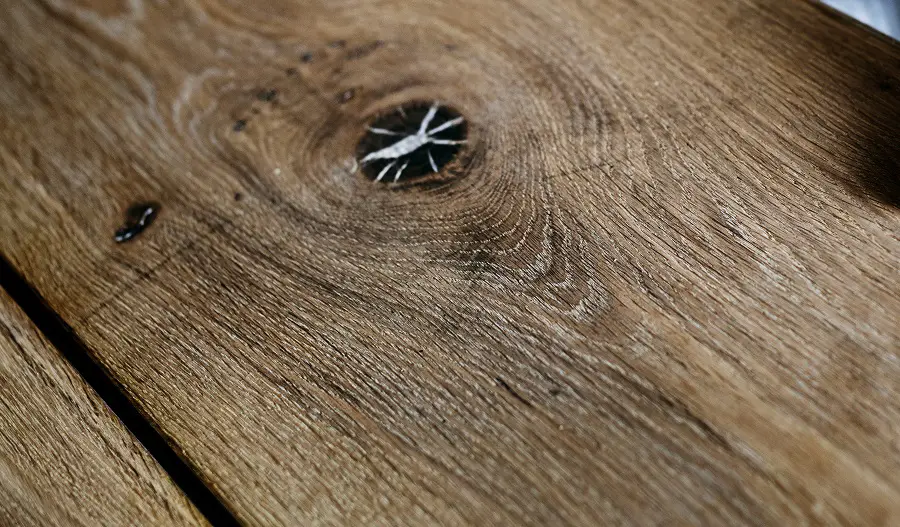
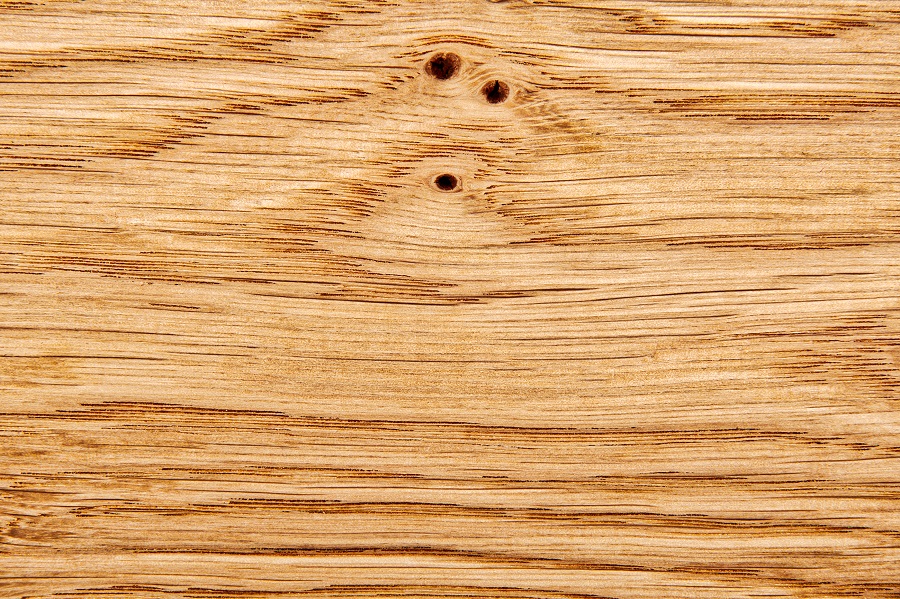
In the case of pore wood, i.e. deciduous species (oak, frasin, ulm, fag), the design can be highlighted by marking the pores. The pores are spread in the annual ring and by marking them the design is highlighted. Marking is done by staining. In order to stain the bath you have to be more particular, reach into the pore and get it wet. The larger the pores, the easier they are to colour. Oak and ash pores are easily stained, the smaller beech pores are harder to stain.
There are also deciduous trees, teepee or poplar for example, which have such small pores that they are very difficult to mark. Also, the natural pattern of the wood appears very uniform, with the difference between late and early wood almost invisible. Staining as in the example above does achieve differentiation, but because the wood is more tanned in these species it is possible that stains may appear. Therefore the use of a special, more volatile and wipeable stain is the best solution for the design to be marked.
Those special baths I keep telling you about are more volatile and so allow time for the dye to get into the pores. They can be with eraser or without. The ones with erasers only leave behind the marked pores, the rest of the wood remains only very lightly stained. If they are non-erasing, after drying a light surface sanding is needed to restore the wood to its natural colour, leaving only the marked pores. Even if the colour marking the pores is darker, the natural effect will not be lost because the rest of the surface will be in its natural colour. After priming apply the clear finish.

Use of special skates
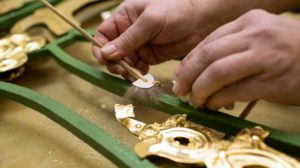
Skates are also used for pore marking. They are applied after the first coat of primer or varnish and so the effect is easier to control. Application is followed by fine sanding, usually done with steel wool and thus the effect on the wood is controlled. It is a method that is mainly aimed at specialists because the result also depends on experience.
Basically, a coat of primer or clear varnish is applied first, allowed to dry and then the surface is sanded to remove the raised fibre. If this sanding is not done, the patina will catch on the roughness and the final appearance will be "dirty". After sanding apply the darker coloured patina, allow it to dry and then sand it away. It will only remain in the pores and thus bring out the wood design. Finally apply the clear lacquer.
In all three cases, the wood is sanded beforehand so that the absorption is as uniform as possible. Polishing should not be done with very fine sandpaper because it reduces the absorption into the wood and the effect fades. A paper with a grain of 150, maximum 180, is sufficient.
I hope you find the above information interesting. If you know or have used other methods, please share them with us. And if you have any additions or questions, please leave them in the space below. I will certainly answer them.


Why do palint tops stain when staining with water-based bait? I mention that the white sanding was done with 120 grit and the bait application was by spraying in one coat without wiping. Thank you!
The rattan has many mirrors, very small knots, twisted fiber, which is why it is so beautiful and appreciated. But all this makes the absorption different and sometimes spots appear. Absorption in the mirror area is very low and light spots appear.
Use solvent-based (a quick one), it dries faster and doesn't have time to get deep. Or a smoothing bait. It stays more on the surface and evens out the colour. But unfortunately, it blurs the pattern of the wood. Another way to reduce absorption is to apply a very thinned (1:1) first coat of primer. sand after drying with 280 grit and apply the bait over. The primer should not form a film but only reduce the amount of absorbed wood stain.
Also use a finer sandpaper (180), it will reduce absorption.
Good luck!
https://revistadinlemn.ro/2016/10/19/luciul-de-matase-al-lemnului-de-paltin/