


Annie Sloan Chalk Paint - Annie Sloan chalk paints - are a well-known presence on the Romanian DIY paint market. Some time ago we were creating a beginner's guide to their use and I conclude with the promise to present you at length the transformation of a piece of furniture using Annie Sloan paints. I chose something simple to start with to see how easy they are to use. But, we'll also move on to transformations where imagination, skill and a little more experience are needed. An example of such a transformation you will find at the very end of this article. Let's see what they are first the steps of a transformation using Annie Sloan water-based paint.
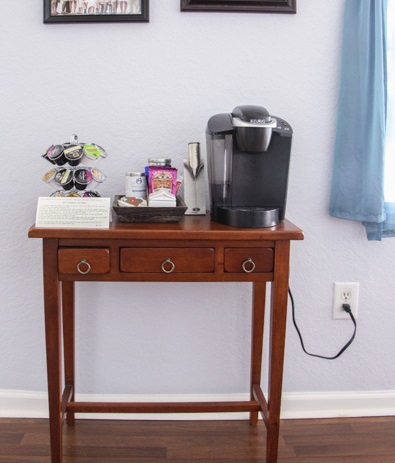
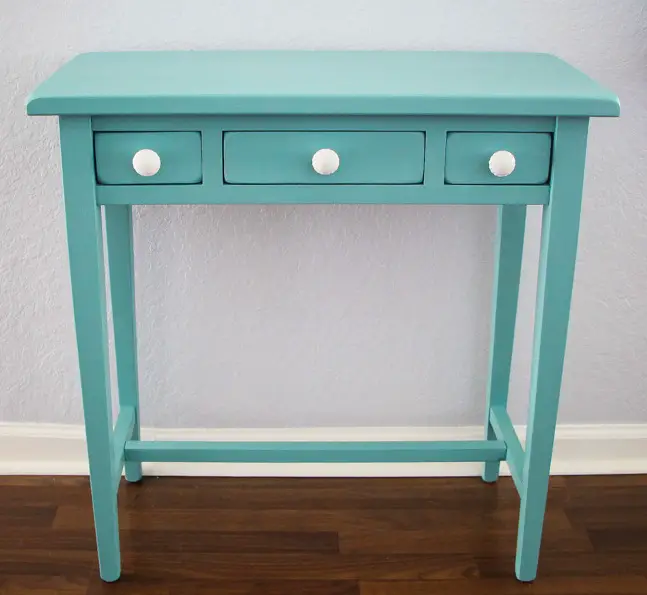
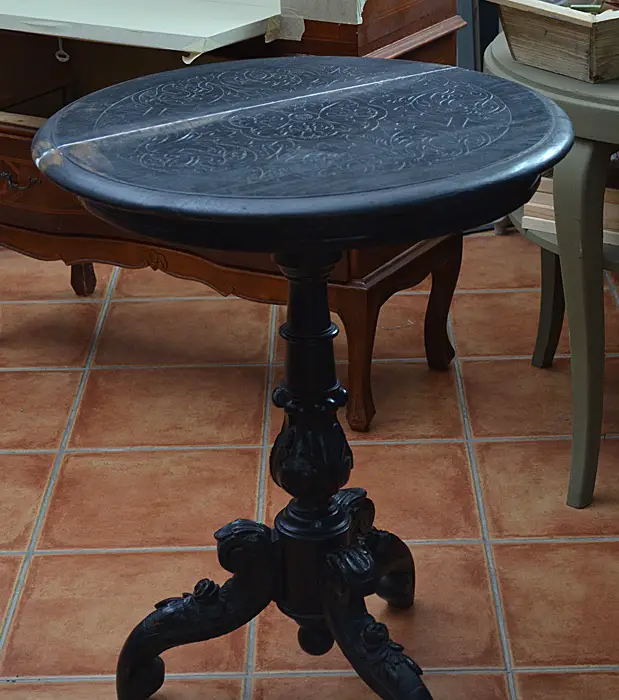
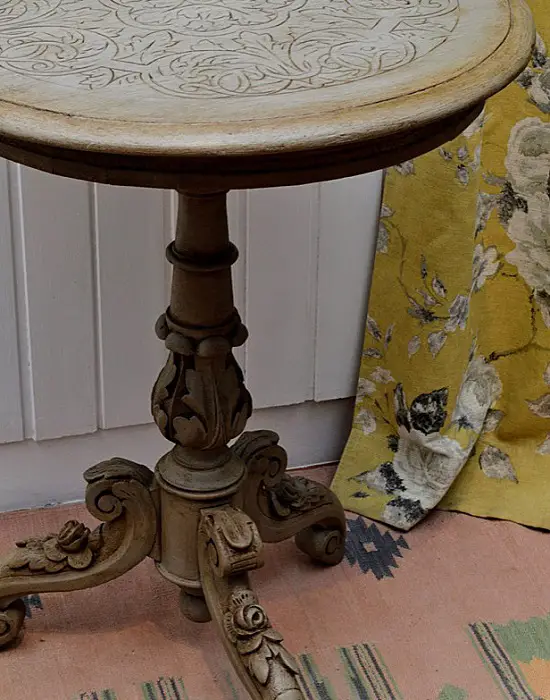
The desire to change the look of old furniture arises for several reasons. Either it has deteriorated, no longer matches the rest of the furniture or you simply don't like it any more, it can be painted and decorated to match your new colour or decorative preferences. Take the example of the coffee table below, whose classic colour will be replaced by a completely different and very bright one.
Steps to transform the classic wooden coffee table
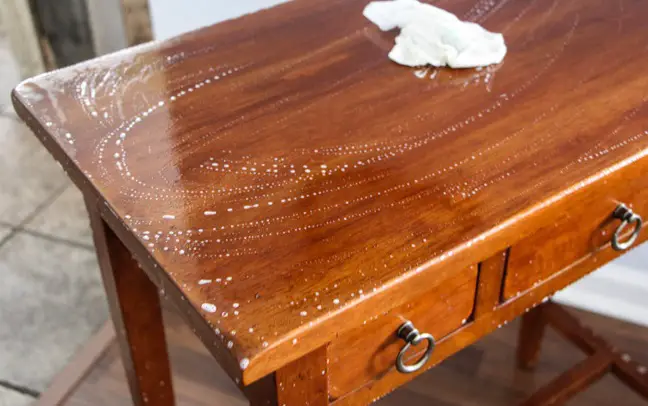
1. Cleaning the table
I've told you many times thatAnnie Sloan paints need no special preparation and have adhesion on most substrates. This remains true. However, it should be taken into account that an old piece of furniture collects dirt that needs to be removed. Greasy stains and sticky surfaces must be cleaned thoroughly.
In this case, cleaning the coffee table meant washing with water and detergent (soap). After washing it was wiped very well with a clean cloth.
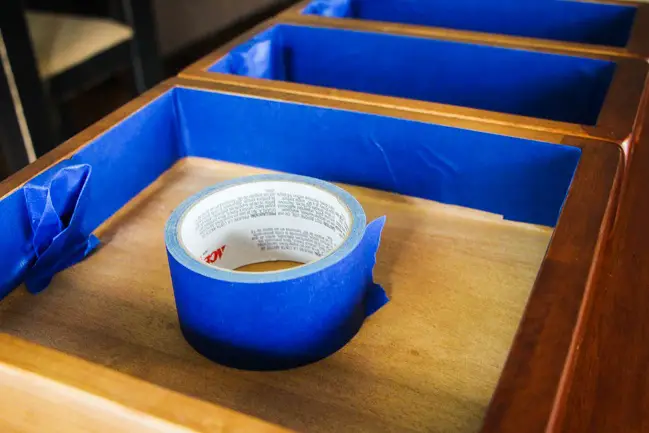
2. Preparation for painting
The first step: removing the hardware. Not all of it, but only the rings of the drawers so that you can paint underneath. In the same idea of change, at the end, the rings replaced with studs more suited to the new look.
Remove the drawers and insulate the insides with adhesive paper. It's available at hardware stores in rolls of various widths, and the glue leaves no residue.
Check the furniture for holes, scratches or other defects that can be repaired. If you find holes in the furniture you want to convert, check that they are not cari. In this case, treatment is needed because otherwise they can infest and destroy other pieces of wood. If they are simple holes you can fill them with wood putty, which you can also find in DIY stores. Leave to dry, then sand and sand off.
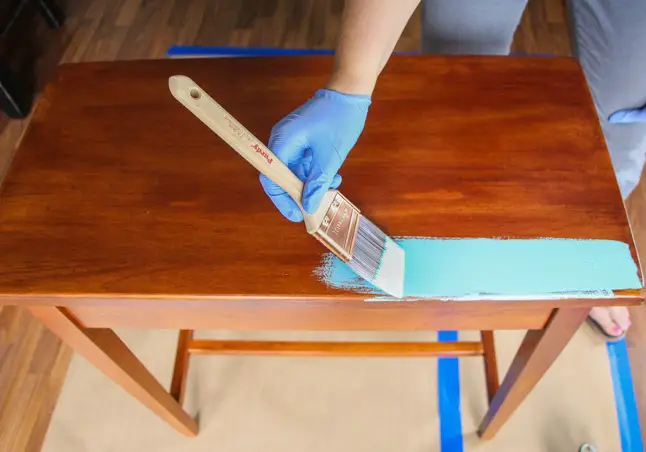
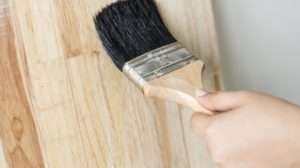
3. Applying the first coat of paint
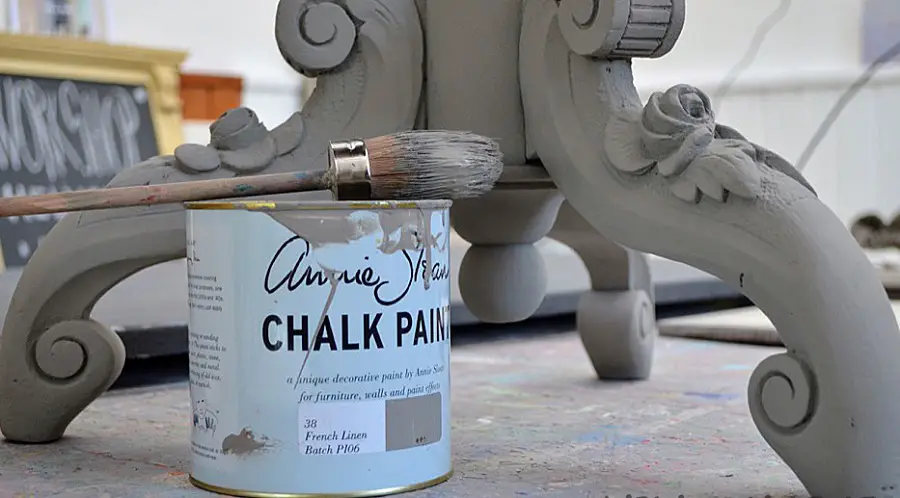
After everything has been prepared, the paint is applied. In this case Annie Sloan Chalk Paint Provence was chosen, a navy blue combined with a midday summer sky. A special colour, like all Annie Sloan colours. Being a water-based paint the application was done in house without any problems. A good regular brush was used, which leaves no hairs.
So as not to be nervous, start with a more hidden part of the furniture. That way you can get your hand out and paint the exposed parts more boldly. You don't have to work in a hurry, the paint is not fast drying so it gives you time to spread it well. Here are some other tips to help you with your first transformation:
- Before use, mix the paint thoroughly in the packaging. Use a clean wooden rod for mixing
- Instead of painting straight from the can it is better to put paint in a pot. You may not use all the paint in the can. Water or other impurities that get inside can damage the remaining paint.
- If you stop for a moment or take a break, put the brush in a bowl of water so it doesn't dry out. When you come back, wipe the brush so that excess water doesn't dilute the paint too much and cause spills.
- Paint along the fibre. If you brush and perpendicular for better coverage, make a final pass along the entire surface of the fibre.
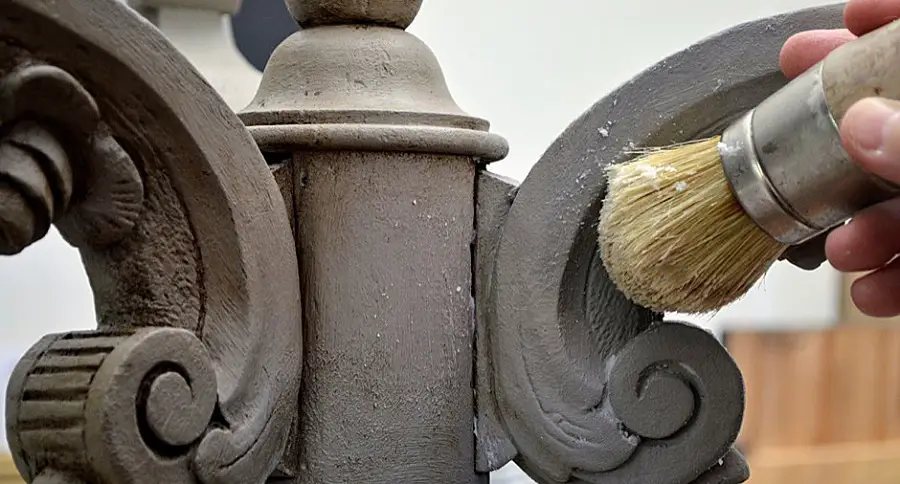
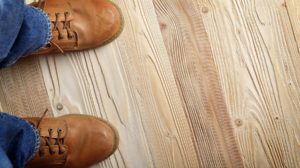
4. Applying the second coat of paint
After the first coat of paint has dried (in less than an hour) a second coat is applied. Coating cannot be done perfectly from one coat alone. You can also leave it on if you want the first coat to be visible, thus achieving a special effect. If you want the old coat to be completely covered, you must apply two coats of paint.
The application was done without sanding between coats and in the end a very good coverage was achieved.
If you want to get distressed furniture - that effect where the paint comes off the edges of the furniture - now is the time. After the second coat has dried the edges can be sanded with an abrasive sponge. But that wasn't the case with the side table, so after drying completely, it was time to apply the wax coat.

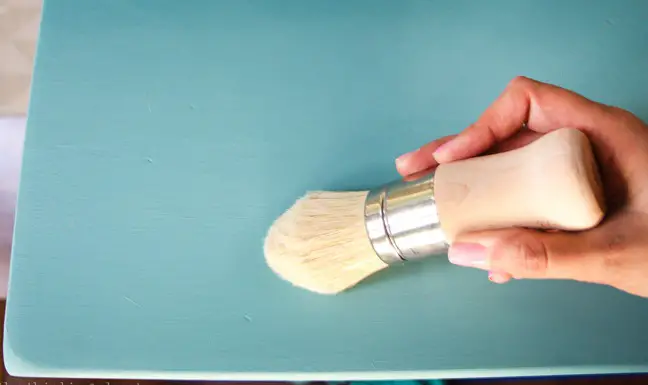
5. Application of the transparent wax layer
Wax seals and protects furniture. So, to protect the new finish, clear wax was applied with Annie Sloan's special wax brush. I've told you on other occasions - if you can use other brushes for paints, for wax it's better to use Annie Sloan brush. You will be surprised by the difference.
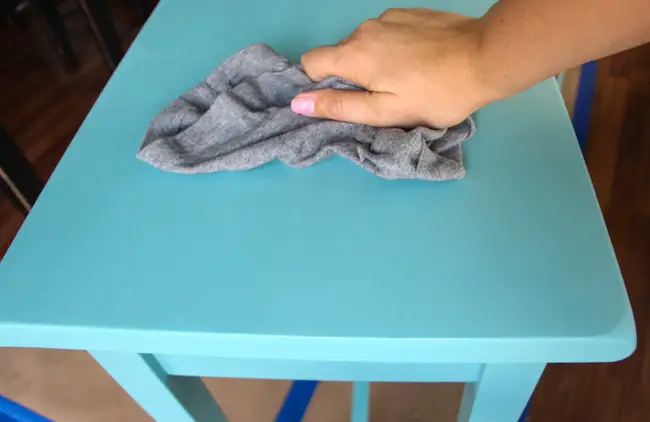
Wax was applied to all the painted parts of the table by wiping off the excess with a soft cotton cloth. The application was done in circular movements, so that the wax penetrates as well and as deeply as possible. Wiping with the cloth is done along the grain.
It is better to apply the wax gradually, in parts, wiping off the excess immediately, not the whole surface at once.
In general, one coat of wax is enough, but for better protection you can apply an extra coat on the countertop. This is also applied to the table, but only after 24 hours, which is the time needed for the first coat to dry.
Finally, for a silkier look, the wax was polished with a soft cotton rag. The wax is polished after drying and is not a mandatory operation. Only if you want a bit of gloss. If you want the furniture to be matt, no polishing.
6. Reassembling the piece of furniture
After drying the extra layer of wax on the countertop and polishing completely, the paper protecting the inside of the drawers was removed, the new knobs were fitted and the drawers were put in place. According to Annie Sloan's information the wax is fully cured after 2-3 weeks so until then the dresser should be used more carefully.
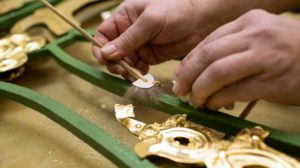
With coloured wax, gold leaf and Annie Sloan's special techniques the transformations can be spectacular
I started with a simple mask to see how easy it is to dye and apply Annie Sloan products. On the Annie Sloan website you can see spectacular transformations that sometimes seem impossible to achieve. And yet, with the help of dealers and distributors, you too can slowly achieve such performances.
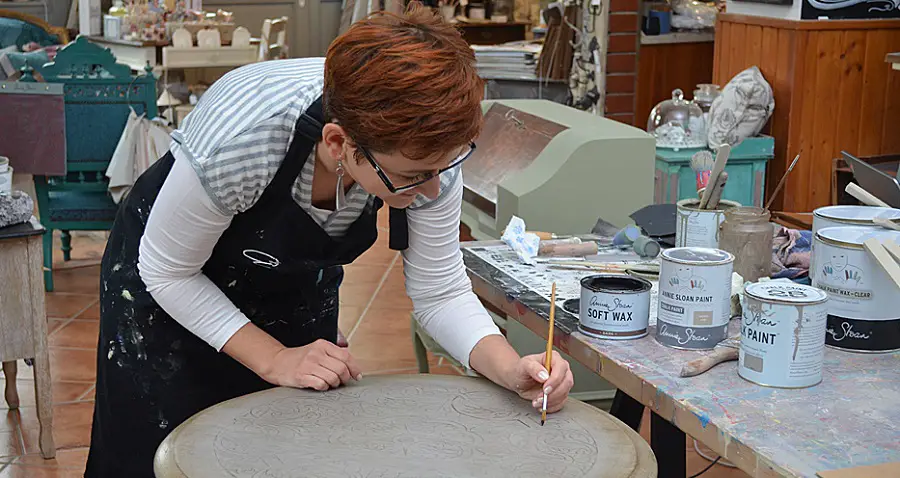
In a future article we will present such a transformation, using several colours, patinas, sheets and special techniques. Until then, a not very complicated but very effective example: a coffee table transformed by Enikö, Annie Sloan distributor responsible for Romania. The full list of Annie Sloan distributors in Romania is here

Good luck with your transformations!


Add comment